
Pattern Magic: Cushion Cover in Portugal
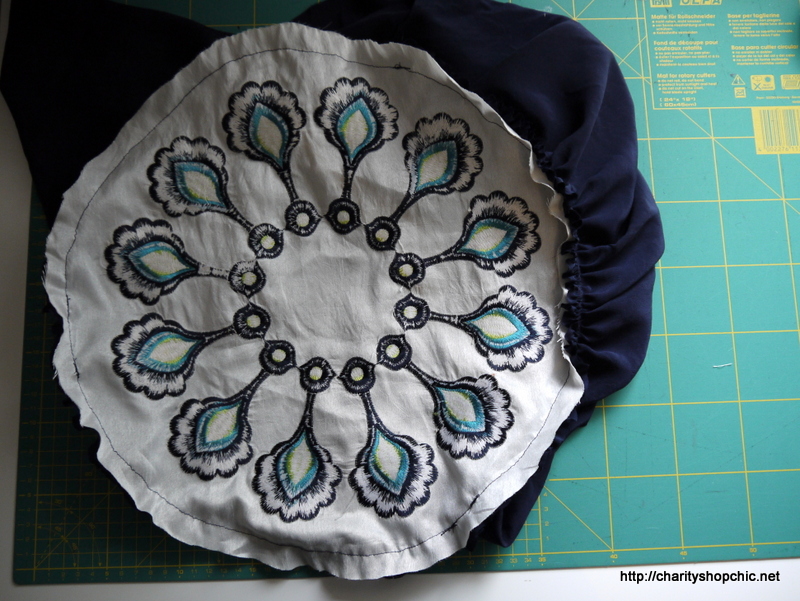
I bought this splendid cushion cover without much of a plan for it, but it clearly wasn’t going to stay as a cushion cover. I love working with home dec fabrics because they are often heavy weight and they have bigger and bolder prints. This circular cushion cover had an embroidered motif on it but it was on ‘faux silk’, ie it was closer to garment weight. Check out that piping too! It’s navy, turquoise and lime green on white polyester.
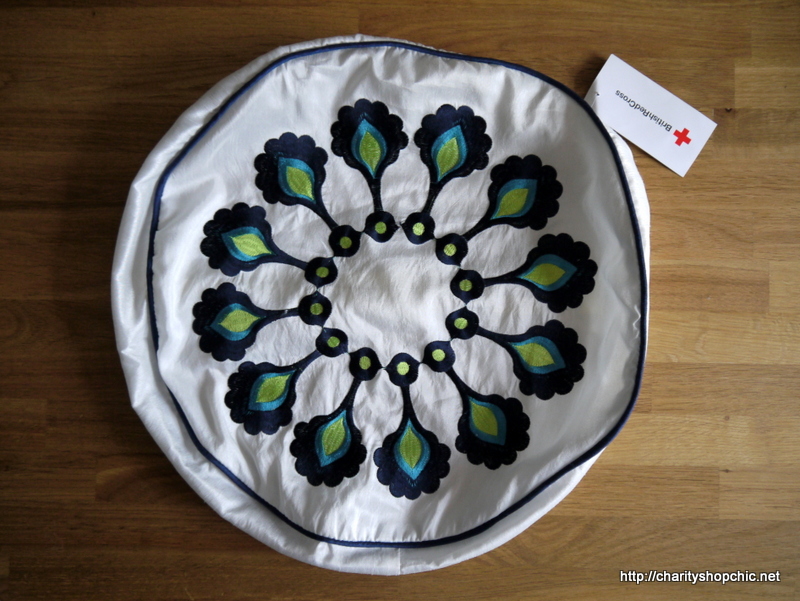
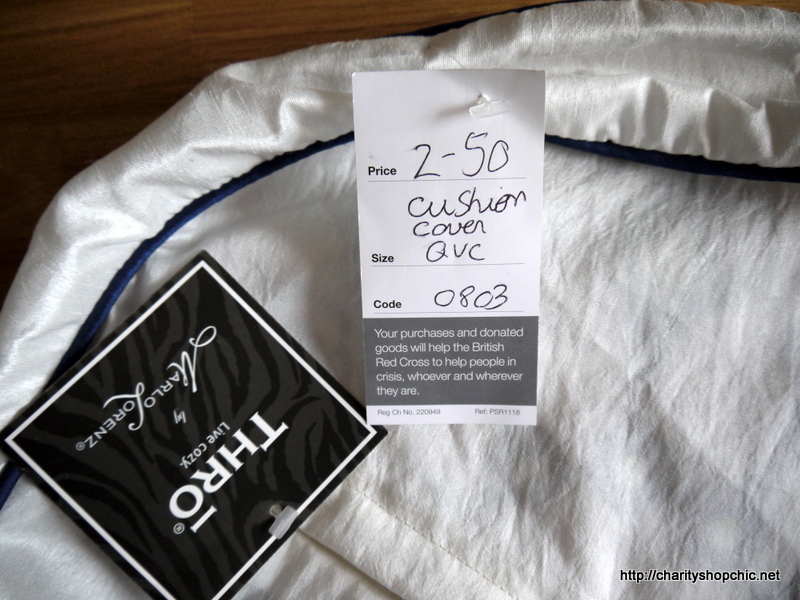
I paid £2.50 for this little beauty in the Red Cross Shop in Lewisham.
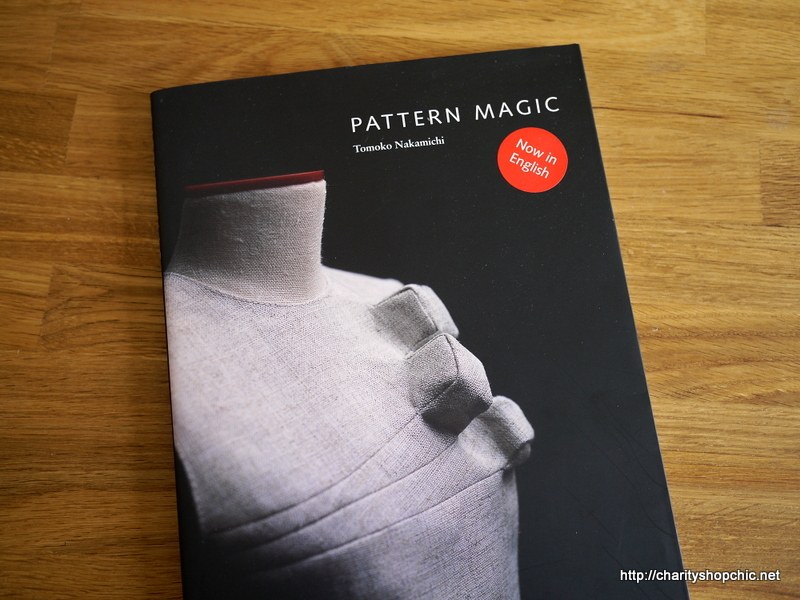
In order to turn this into a garment I had to come up with some sort of design with a circular element. For inspiration, I turned to the fabulous ‘Pattern Magic’ by Tomoko Nakamichi. (You can see my previous make from this book here).
I settled on the ‘dress with gathered hole’, which has a drawstring at the side – when pulled tight, the hole is a circle. There are a couple of great versions out there in blogland – Carolyn’s here is exquisite, and Sew2Pro took hers a step further by adding the ‘sleeve with gathered hole’ too.

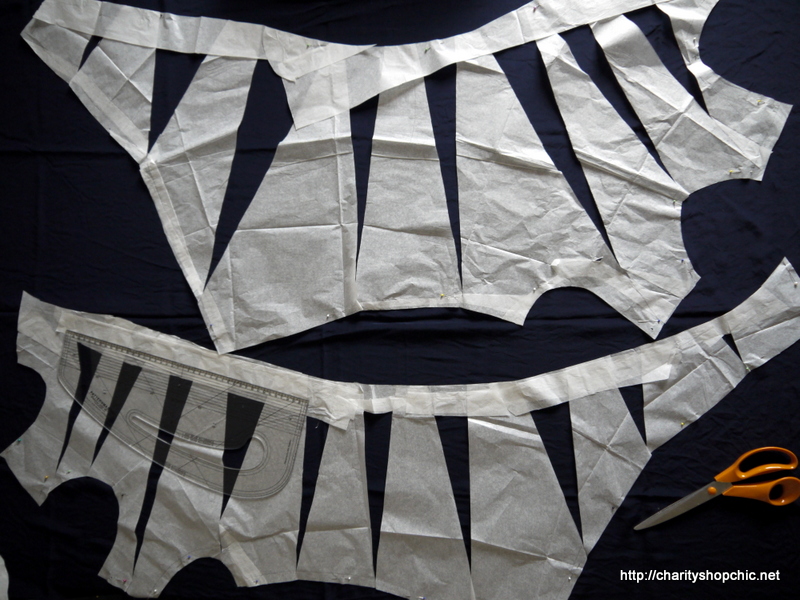
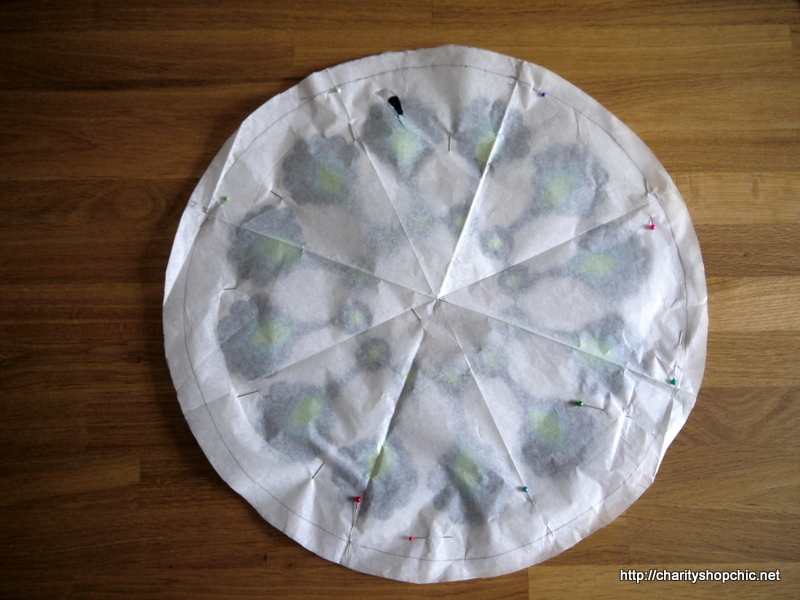
I am sure you can see where I am going with this. I planned to make up the pattern but instead of using a drawstring, gather the fabric onto a circular piece of material, namely, the circular embroidered section from a rather special cushion cover in my collection. I also imagined this as a loose fitting top rather than a dress, don’t ask me why. I measured the embroidered section and it was about 40cm in diameter. This meant the ‘top’ had to be longer than I planned, more like a tunic, but you’ll see below how it worked. The design is essentially a dress block with a circle cut out, then you slash and spread radiating lines from the circle, closing the darts, and the slashed areas make up the extra volume for the gathering. Clever but simple! I started with a loose-fitting block so there was no need for a closure (I pull this on over my head).
I spent an entire day working on the pattern and toile and here it is. I found this African wax print fabric in my stash and had a bit of fun with placing one of the circles in the centre of the ‘hole’! My favourite bit is the bit that looks like a ruffle below the circle!

The back is better than the front, in my opinion (it looks better on).

The obvious choice for the final garment was navy blue. I had originally earmarked a piece of medium weight polyester, but there wasn’t enough (the slashed and spread pattern pieces are huge). The only thing fitting the bill was 1.5m of blouse weight silk. I had to cut this really carefully, and play a little ‘fast and loose’ with the grainlines, but I just about got all of both pieces onto the fabric.
Of course, I had made a pattern for the circle too! Unfortunately the piping didn’t survive!

Here’s a work in progress shot. The first seams to sew are the side seams and shoulders.

Then I sewed basting stitches around the hole and gathered it onto my circle. Note that about two thirds of the circle is at the front, about a third is at the back.

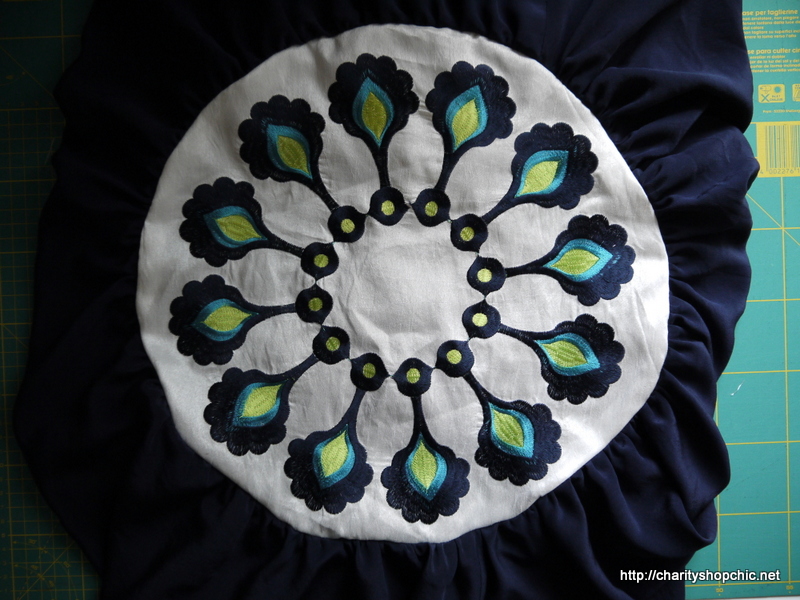
I put it on the stand to check it and unfortunately, with the silk being drapier than the thin poly/cotton I used for the toile, the front hangs a bit lower than it should, and somehow the almost-ruffle at the bottom of the circle isn’t as effective. The colour combination is rather striking though!

All that was left was the finishing.
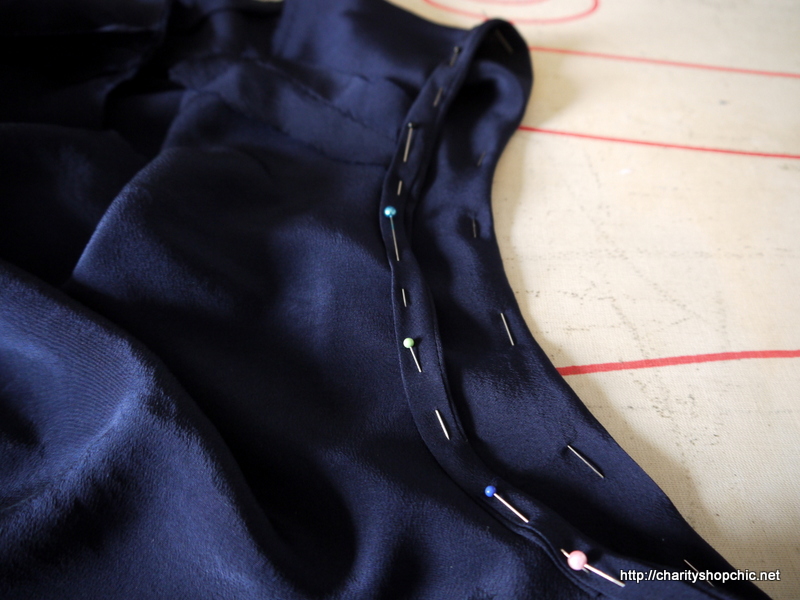
To finish the arm and neck holes, I cut some bias strips and pressed them in half, then sewed them onto the right side, raw edges matching.

Then you have to press them upwards, towards the arm or neck hole, and then inwards to the wrong side.
And finally, sew them down about 10mm from the edge (depending on how wide you cut the strips to start with). You’re left with a nice line of topstitching as the only visible part.
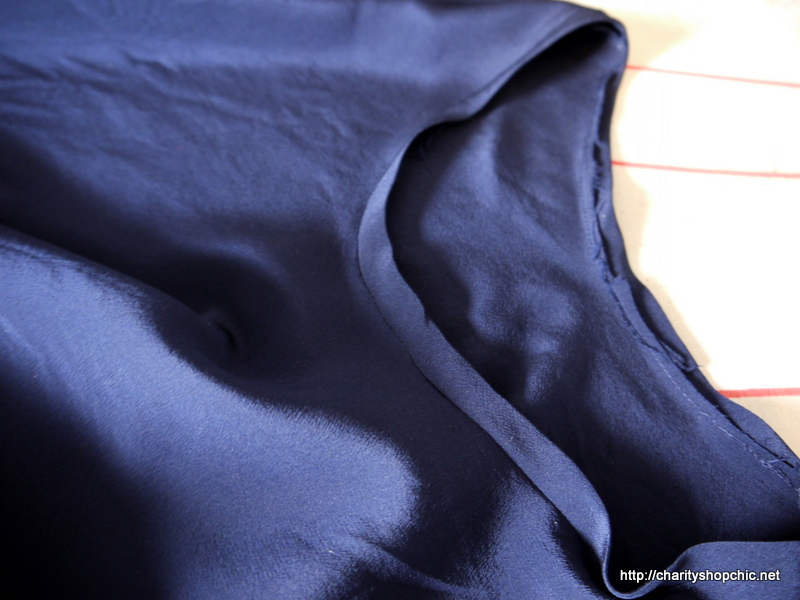
For the hem, I did a machine rolled hem (pin hem), as follows.
First, sew a row of basting stitches close to the edge (mine are 5mm in).
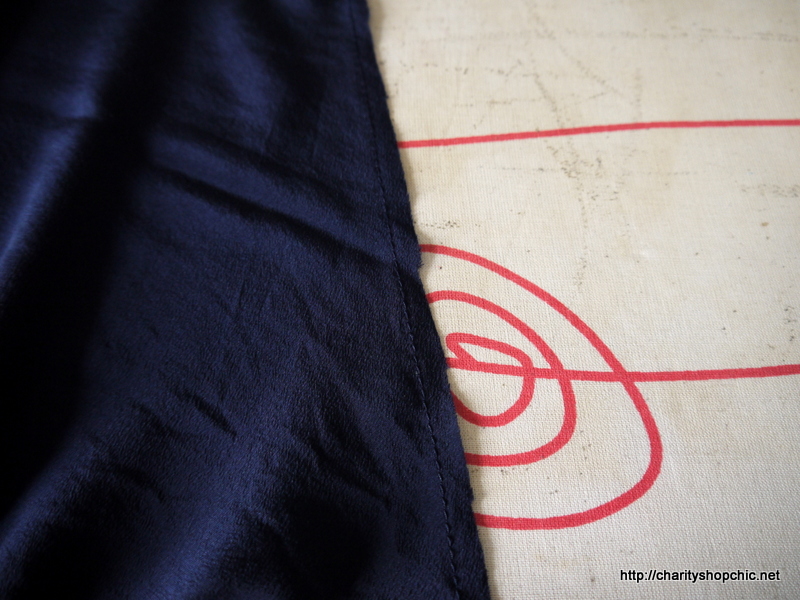
Press the hem up on the row of stitching.
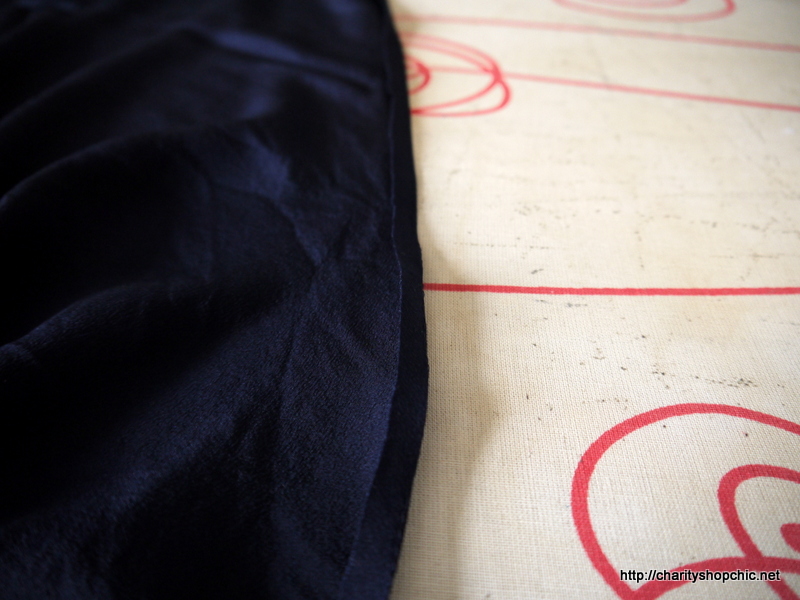
Sew a row of stitches as close to the edge as possible (mine are about 2mm).
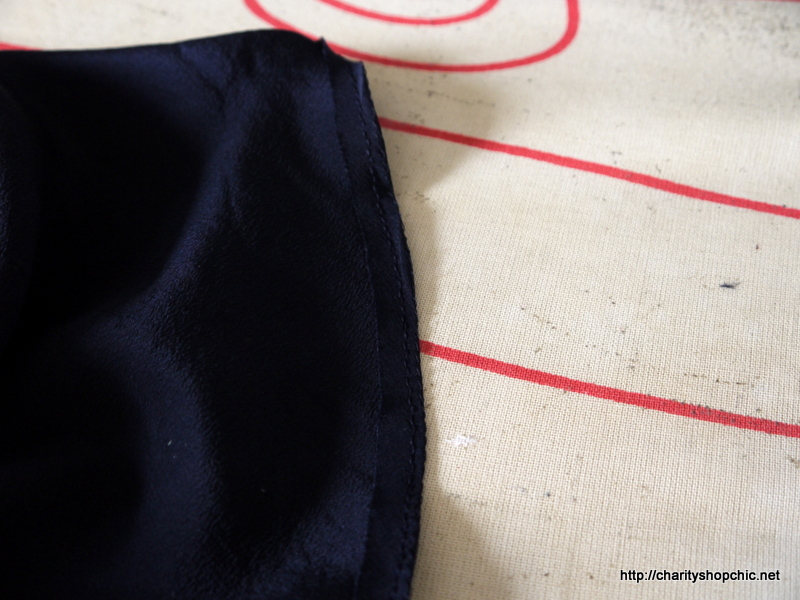
Then, trim the seam allowance as close to that row of stitches as you can. The final step is to fold it up one more time, as tightly as possible, and sew over the same row of stitches. The final result should be a small, neat hem.

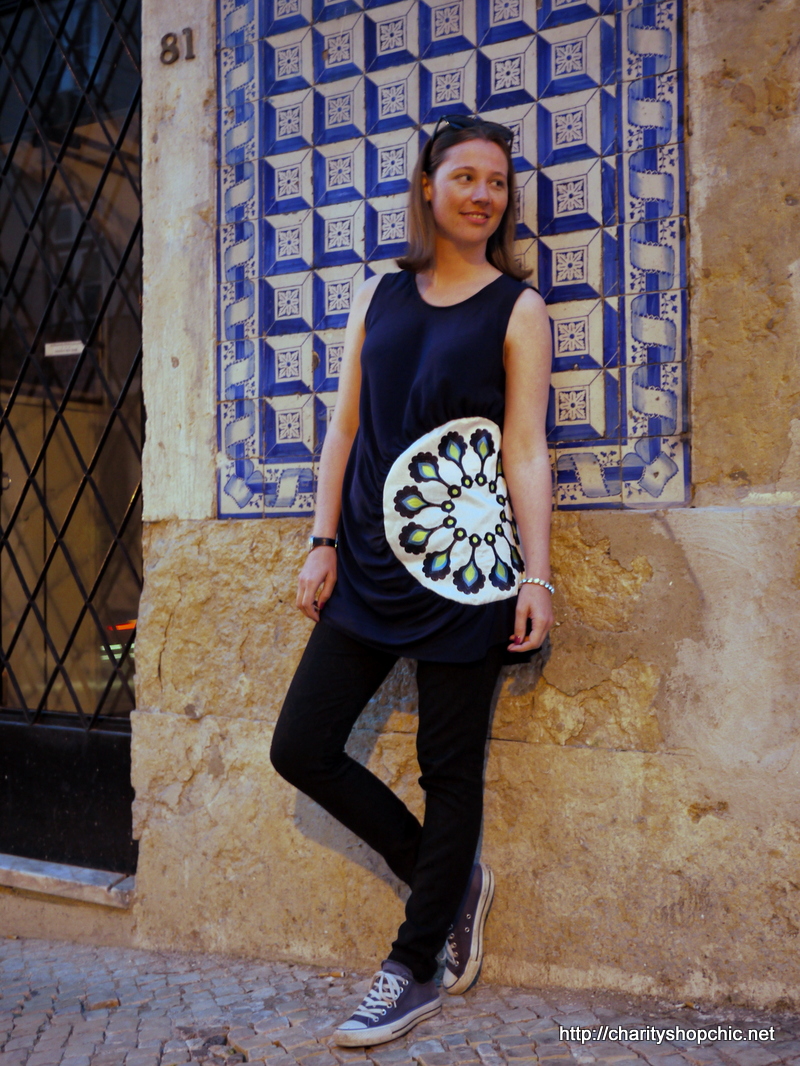
Well, I took this top on my recent trip to Lisbon, hoping a photo opportunity would present itself. Boy, did it ever! In case you haven’t been there: houses in the old part are often covered entirely with patterned tiles. It’s an absolutely incredible sight.


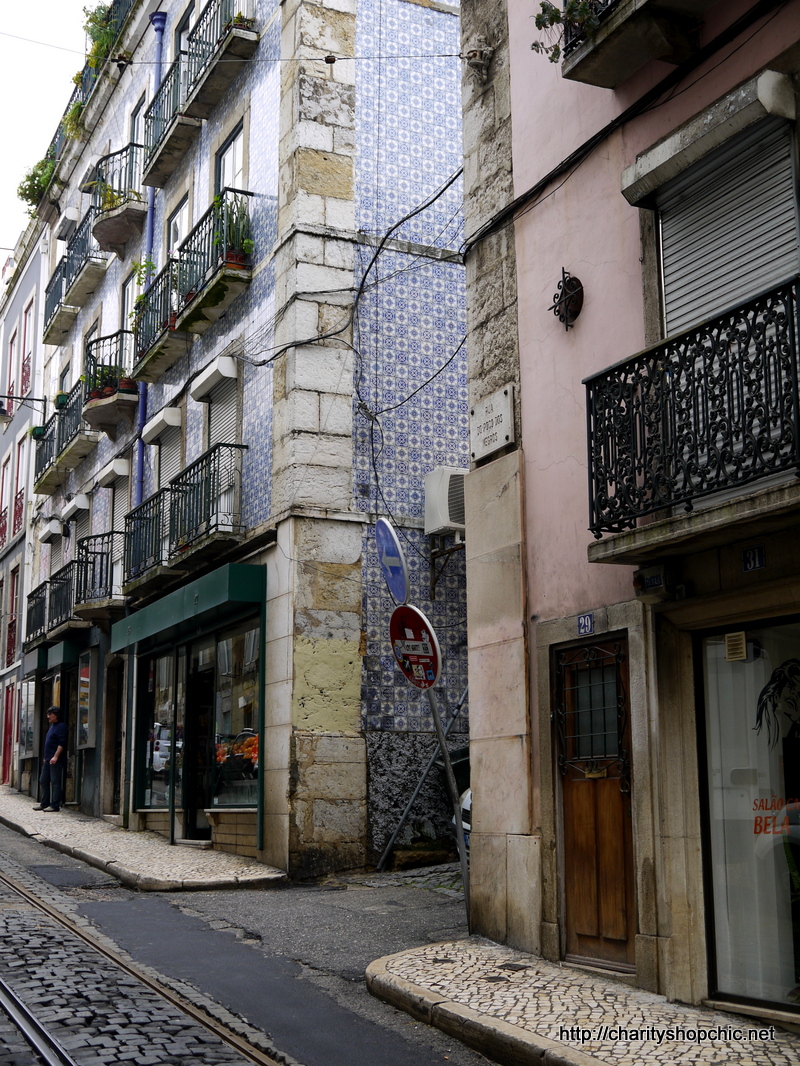
The tiles come in many different colours and designs, but the buildings are always covered in one design only. Here are some of my favourites. I took about 1,000,000 pictures.


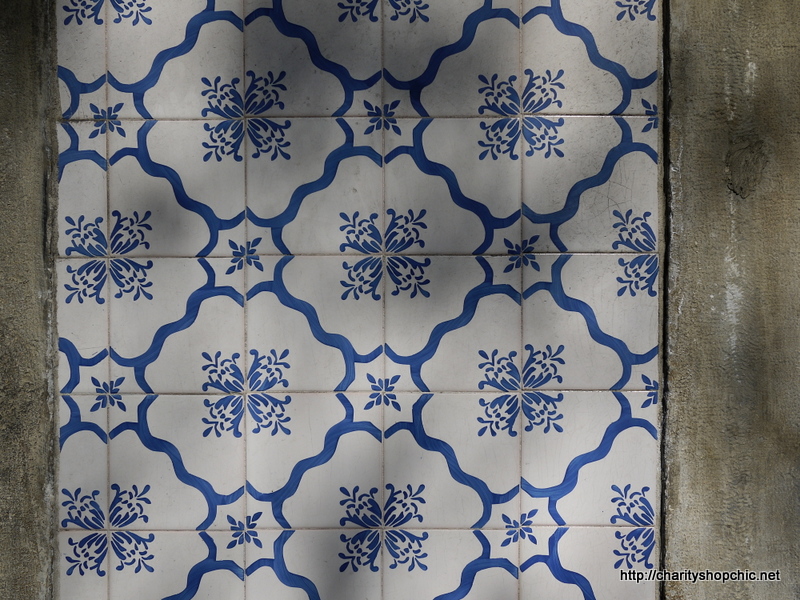
Of course I became obsessed with finding a tile pattern that matched the embroidery on my cushion cover. I think we did a reasonable job!
This tunic top was always going to be a bit of an experiment, but I’m quite pleased with how it came out. The hem doesn’t hang at all straight, and the gathering is definitely more pronounced at the back, so it isn’t perfect, but I still love it. It’s so unusual and I love that about it. The silk was comfortable and breathable in the heat and it didn’t crease terribly much.


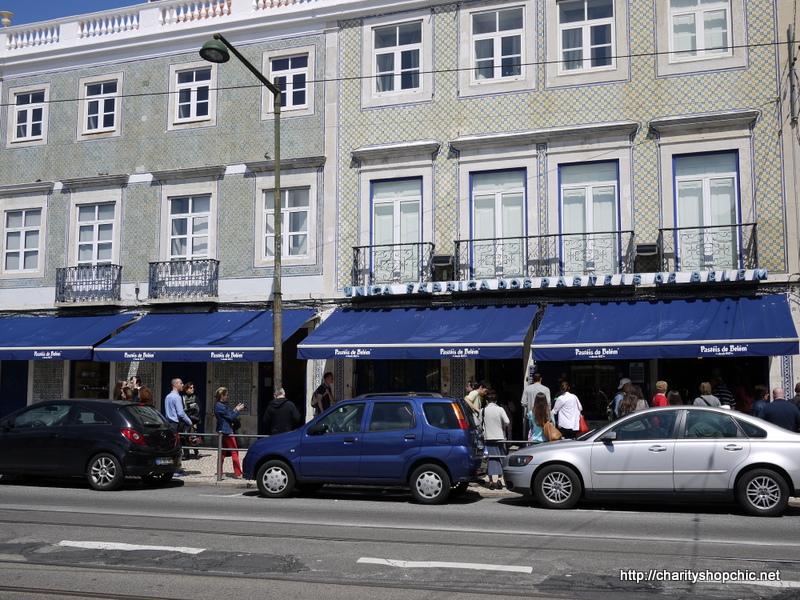
As well as taking in the sights of the city, we also sampled the tastes – these pictures were taken at the infamous Pastéis de Belém, which supposedly does the best pastéis de nata around. These were pretty special, but I have to say, the nata we had all over Lisbon were also excellent. More research needed, I think! :)
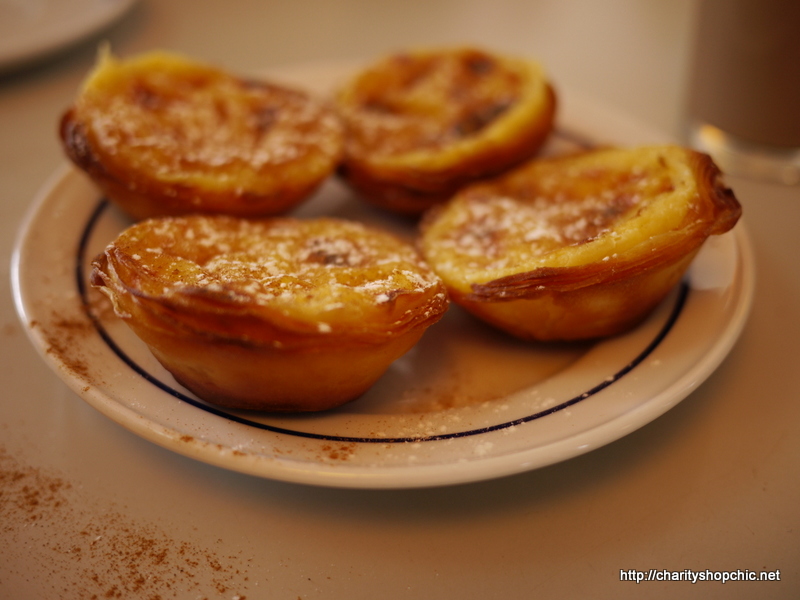
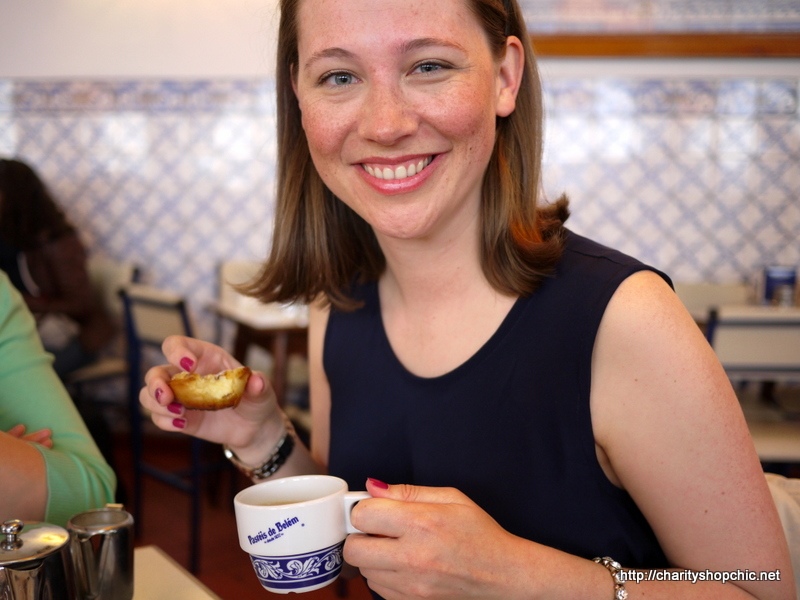
If you are going to Lisbon/Belém, definitely call in here. What looks like a small bakery from the outside is actually rather a large enterprise. If there’s a queue outside, go for table service – there are many rooms inside (it’s a bit of a rabbit warren). The trick is to head indoors and as far back as you can. Turn right behind the shop and keep going. Follow the sign for the toilets and it will eventually bring you through to a huge room at the back where there is plenty of space (ie no queuing!). We tried a selection of the pastries (as well as Nata), and they were all excellent.

One also had the opportunity to match one’s snack foods to one’s outfit in Belém.

Back in the city that afternoon, we also called into the Hotel Bairro Alto for a drink. The roof terrace is small, but it has possibly the best view in Lisbon – highly recommended. The trick is to get here a little before sunset to take in the view before heading to dinner.

Passion fruit Caipirinhas all round!

We got up to all sorts on our trip (including buying some second-hand clothes from the famous Feira da Ladra flea market – more on that at a later date – and speaking some pretty dismal Portuguese) but the view from the Terrace at the Hotel Bairro Alto was probably my highlight of the trip. If you make it to Lisbon, it’s highly recommended. The prices are closer to London than Lisbon, but it’s worth it for that view. Trust me.


The only thing that bothers me is that you said it’s “not perfect”. I mean, if this is not perfect, then what is?… ;) It’s certainly very inspirational and challenging! Glad you had good time in Portugal :)
Thanks Kasia, this one definitely falls into the category of ‘experimental’!
It’s actually quite lovely – you look like a peacock! :)
Ha, thank you! I actually saw some peacocks on my trip, I should have posted a picture!
What lovely photos of Lisbon. The pastéis de nata from that place you went to are heavenly and definitely the best I’ve ever tasted.
I agree – they are wonderful! I need to go back there someday.
Wow! You are so talented Sally, it looks lovely and so unusual. x
Aw, thank you Jane. It was a bit of an experiment, but I think it worked.
I love what you did with the pillow top, inserting it into a tunic top to showcase it — beautiful! And thanks, too, for sharing your pics of Lisbon — it’s a beautiful city, I think I need to go back there again!
Thanks Margaret, that embroidery just had to be saved!
That must be one of the best uses of a charity shopped cushion cover ever!
I hope so! I had fun with it anyway.
Wow. This is amazing sally! Who would ever guess it used to be a cushion?
Thanks Jo, hopefully no-one, although I do worry!
That was such a genius way to use that cushion! So awesome looking! I love Portugal too….the sites, the food….ahhhh….:-)
I actually loved Lisbon even more than I thought I would. I will definitely go back! Thanks for reading!
Too clever!
Thanks :)
This is an unusual top – I didn’t know where you were going with it but I like that it is different. It’s cute!
I too love tiles and have pictures of them from subways and bathrooms on my trips. (The bathroom at Monet’s house at Giverny.)
Yeah it definitely falls into the category of ‘experimental’!
I was so taken with the tiles – wish I could have posted more tile pics. Maybe one of us should start a tile blog!
Very unusual and I love it.
Thank you annikins :)
I love reading your posts, I think this one is amazing! You have such brilliant ideas.
Thank you so much! Glad you liked this one, despite it being a little ‘unusual’!
Love the dress and love the city pics! Hope I get to go there sometime!
You should definitely go to Lisbon, it’s gorgeous. The people, the food, the tiles… it was wonderful!
I didn’t come here for a while so it’s been a pleasure to discover you latest creations. You are SO talented. You are like the sculptor who sees the statue in the rock before it starts working. You see the new outfit in the old one.
Thanks for sharing.
You are welcome Meugleu, thanks so much for the supportive comment.
Lovely!
Thank you :)
your work is lovely and very creative, as usual. I’m glad you liked my city. We’re very proud of it and I think it’s one of the most beautiful cities in the world.
Hi Luisa, I loved your city! I will definitely come back someday!
Cute refashion. I love your hair cut too.
Thank you very much, Julie!
You are an inspiration. Some fine things come out of good old Whitby :-)
Hello and thanks for oommenting! So glad you’re enjoying reading!
As usual a clever use of a beautiful textile, and thank you for the tour of Lisbon. An easy way to do a narrow hem is to serge the raw edge with a tight three thread. This allows you to double fold the fabric as narrow as the serging and get a neatly finished hem.