
BONUS POST: Wedding Dress Refashion!
Calm down, I didn’t refashion my actual wedding dress. It’s been put away in two specially made garment bags for safe keeping.
But I did refashion “a” dress to wear at “a” wedding…
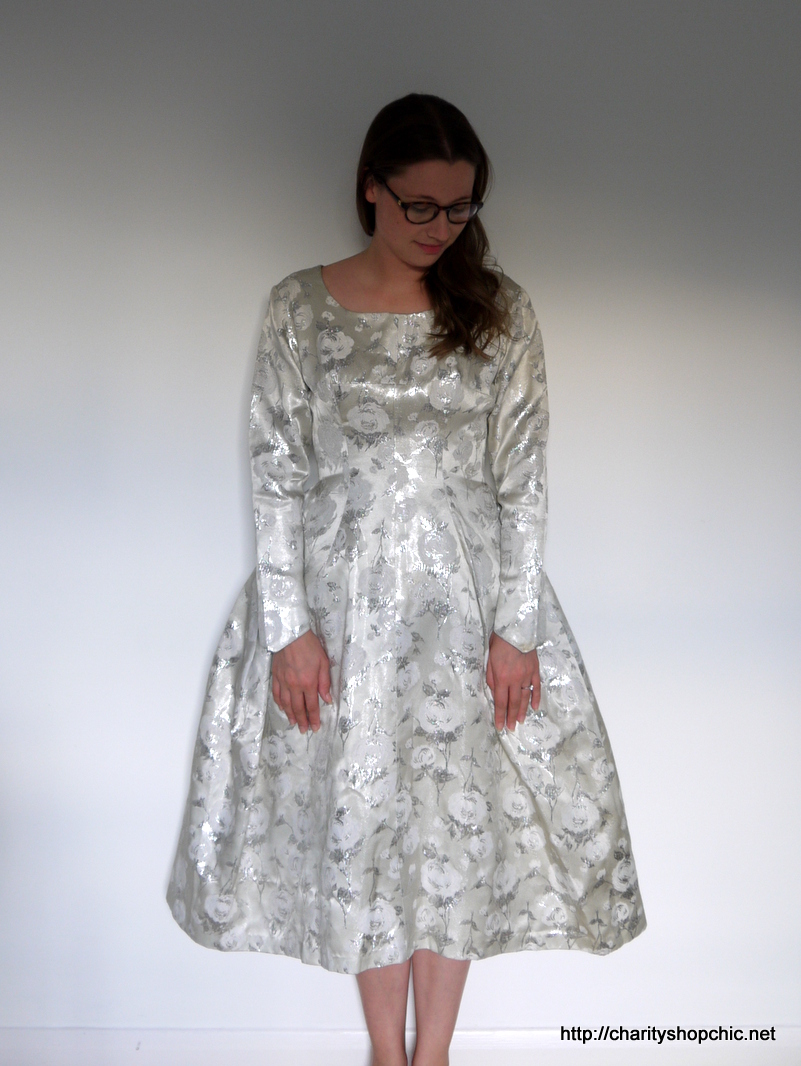
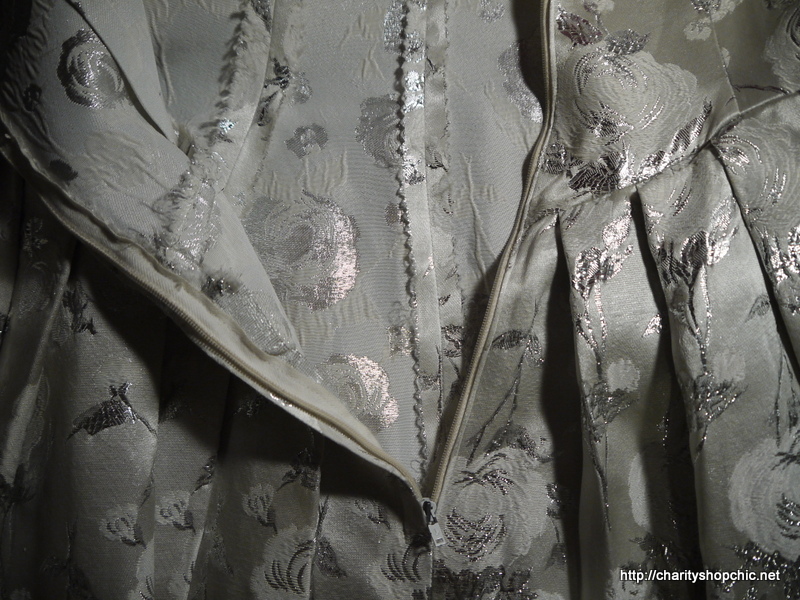
I bought this vintage (wedding?) dress in a shop in Deptford a few years back. The fabric is so, so pretty, but as much as I tried to believe it did, it just didn’t fit. The waist was far too high. The bust was too big. The torso was too short. The sleeves were too short. Basically it was made for a much shorter person.
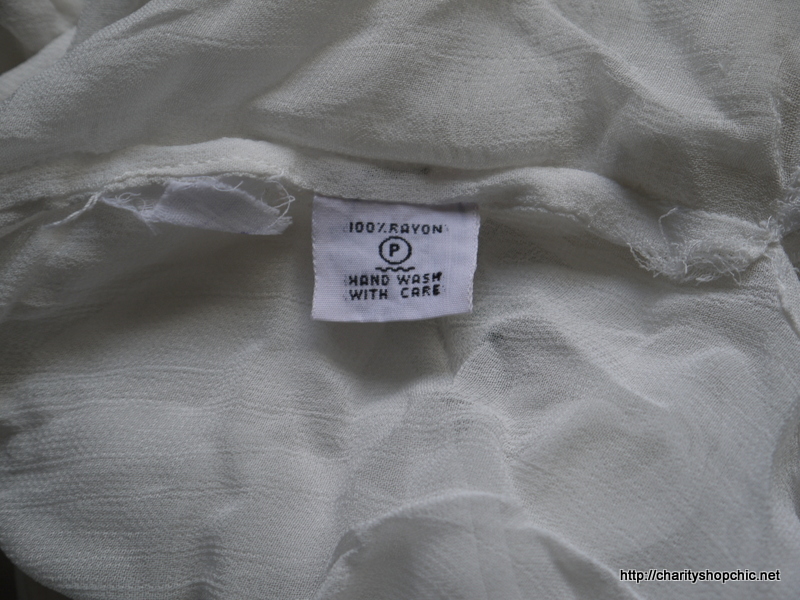
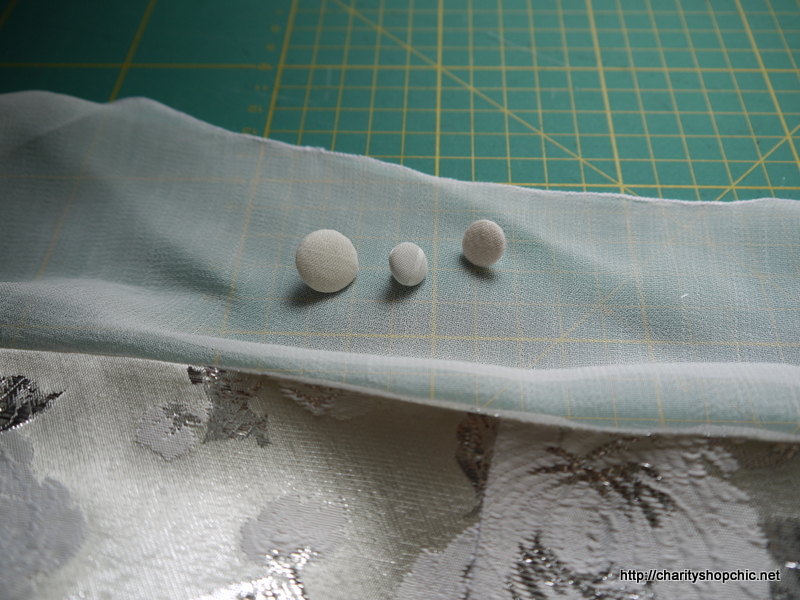
My plan of action was to remove the sleeves and make the bodice longer by chopping it off above the bust and adding a (longer than the original) contrast section instead. I considered adding a transparent section like you see on some wedding dresses, but didn’t really give it any serious thought until coming across this old blouse in my stash. It’s rayon and very thin, and the perfect colour to match the cream tones in the dress.
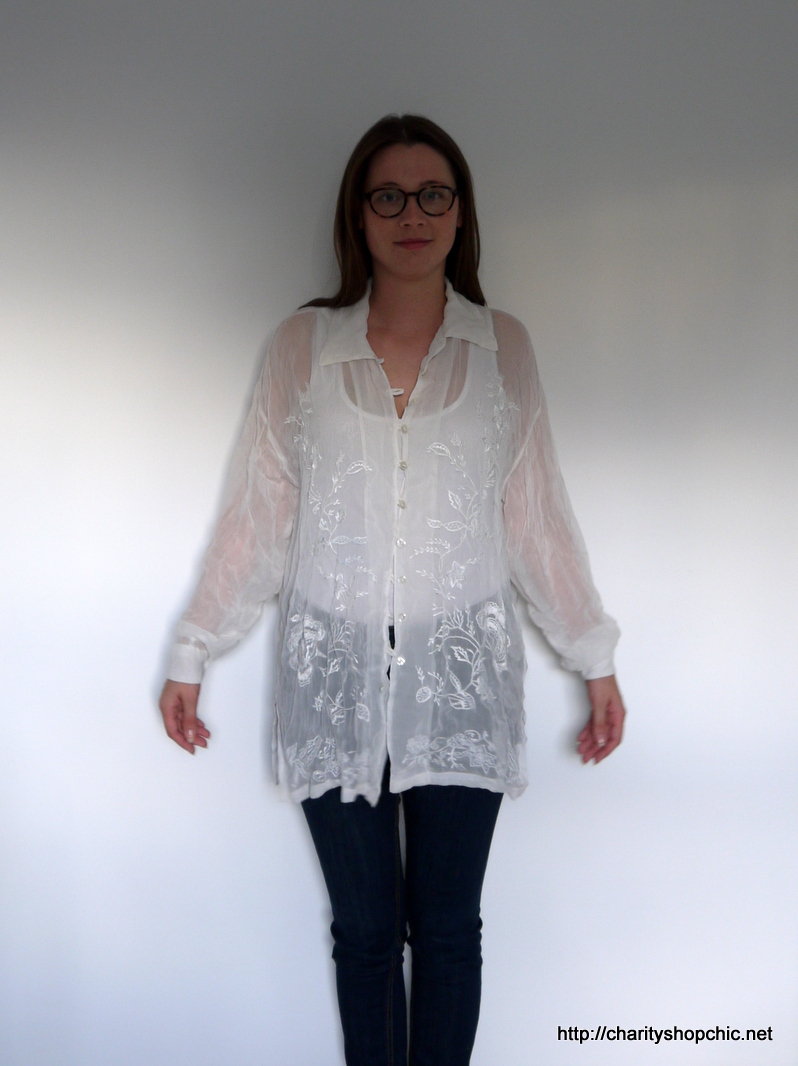
For the record, the blouse was purchased at the Mind shop in Whitby for £4.50.

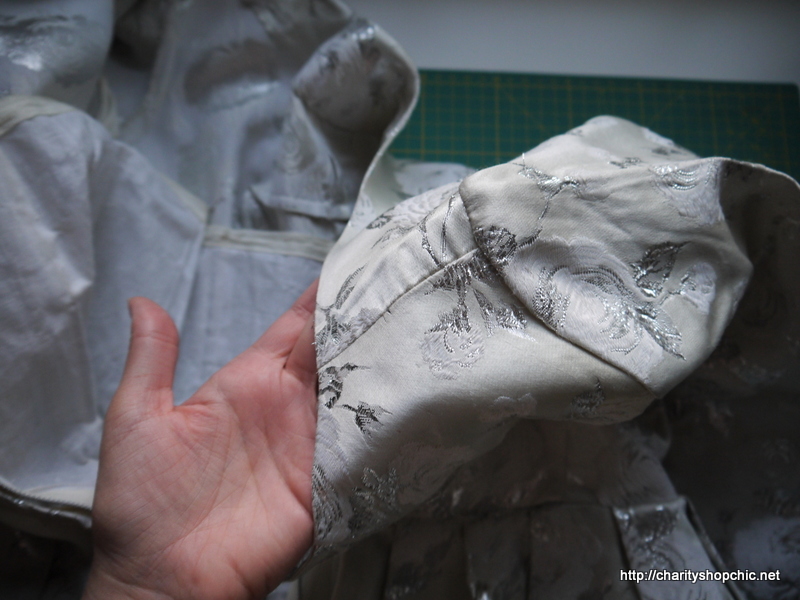
Cutting into a vintage dress is not something I take lightly. I thought long and hard about what to do and decided that in the end, it was my dress and I really wanted to be able to wear it. The dress was not really in wearable condition, anyway. It had been stored badly over the years and the creases down the sleeves would not come out. The pointed ends of the sleeves themselves were dirty and yellowed from wear.
The shoulders were creased beyond rescue from hanging, and dirty along the creases.
Inside the dress was a coselette made of some rough scratchy, papery material.
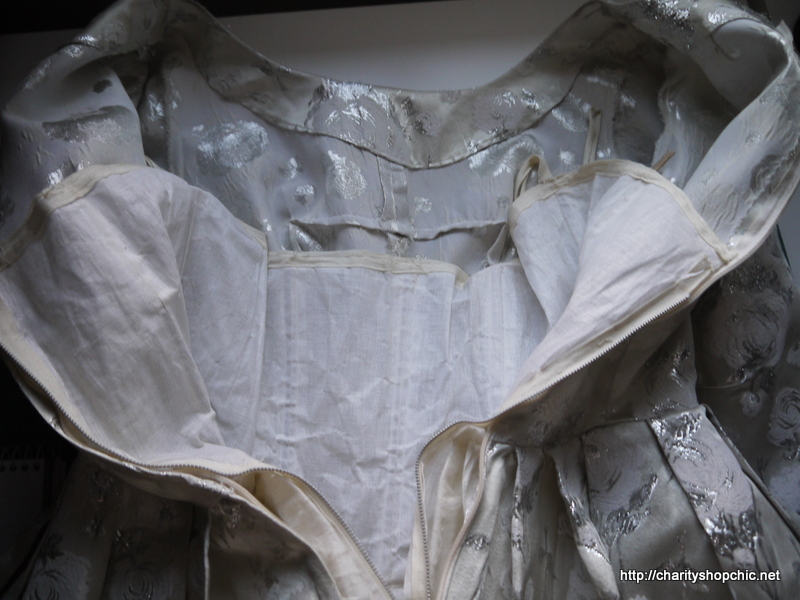
The bones were broken and sticking out.
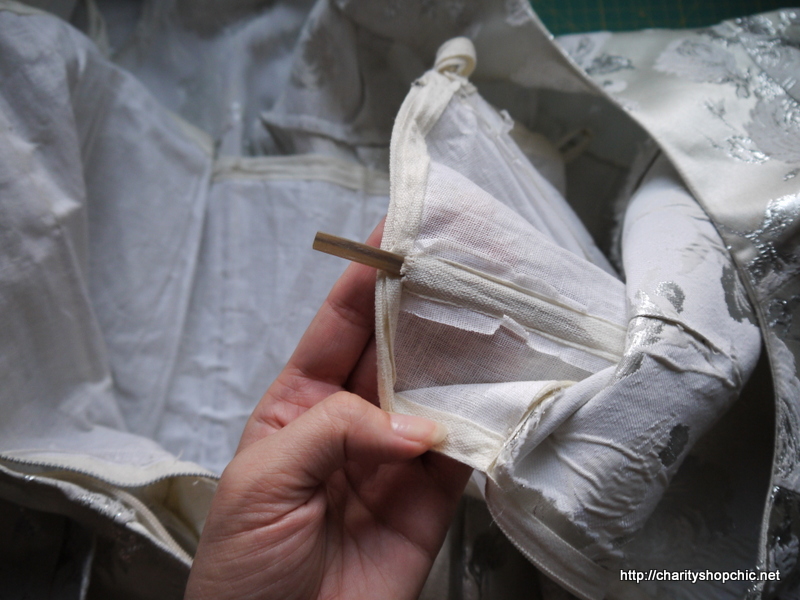
I cut the thread chains holding the corselette into the dress.
Here you can see it was in pretty poor condition. So I felt no guilt about throwing it away.
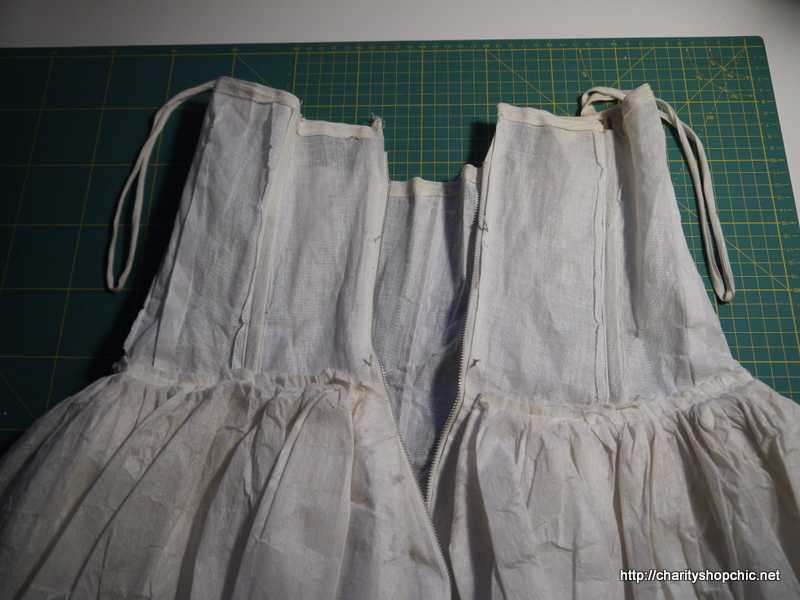
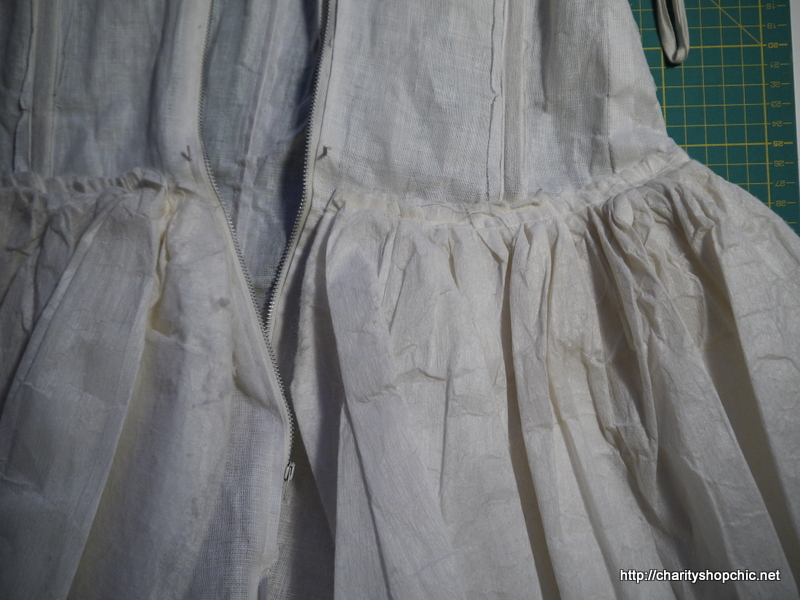
Notice the pinked seams inside? Do you think this was handmade by the wearer or someone close to them?
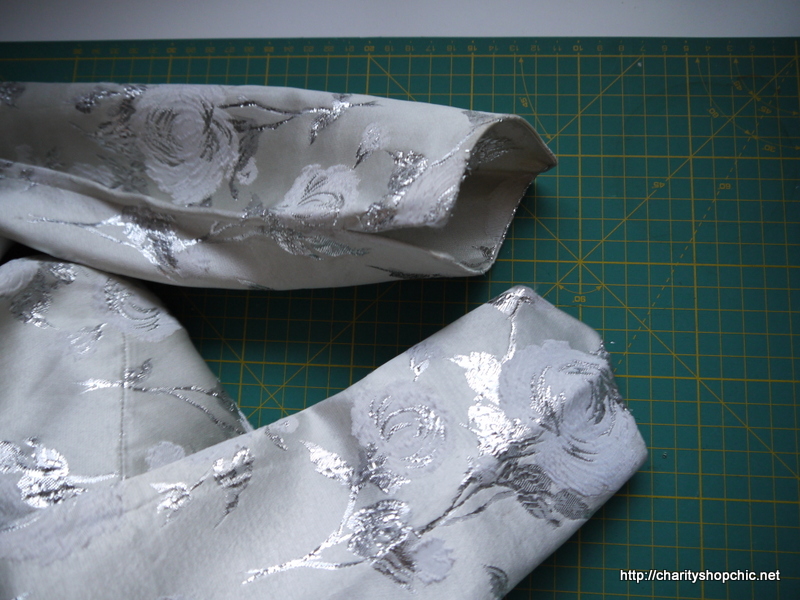
I took a deep breath and ripped the sleeve and shoulder seams.
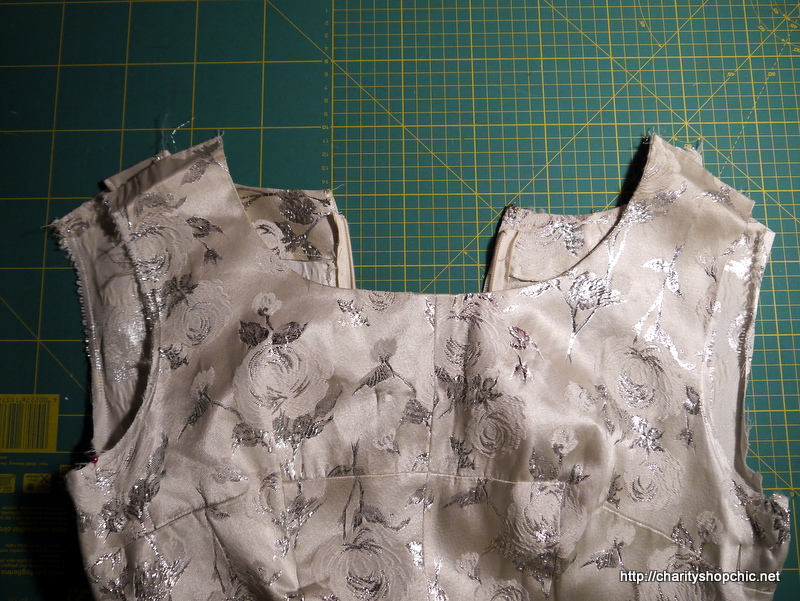
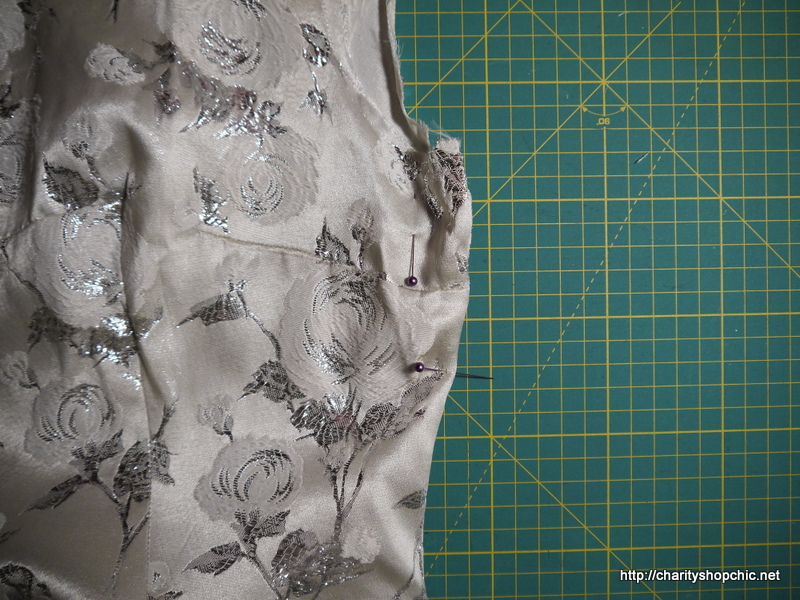
After trying it on, I took it in at the sides under the arms.
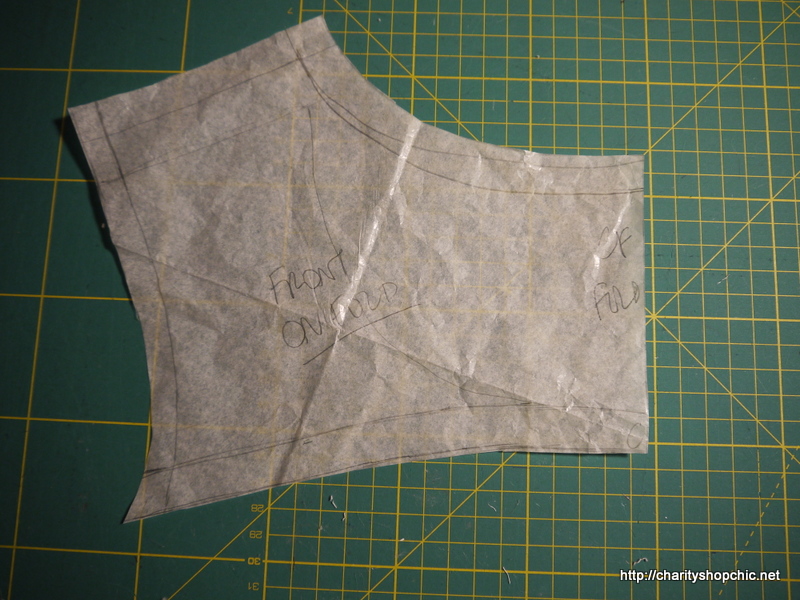
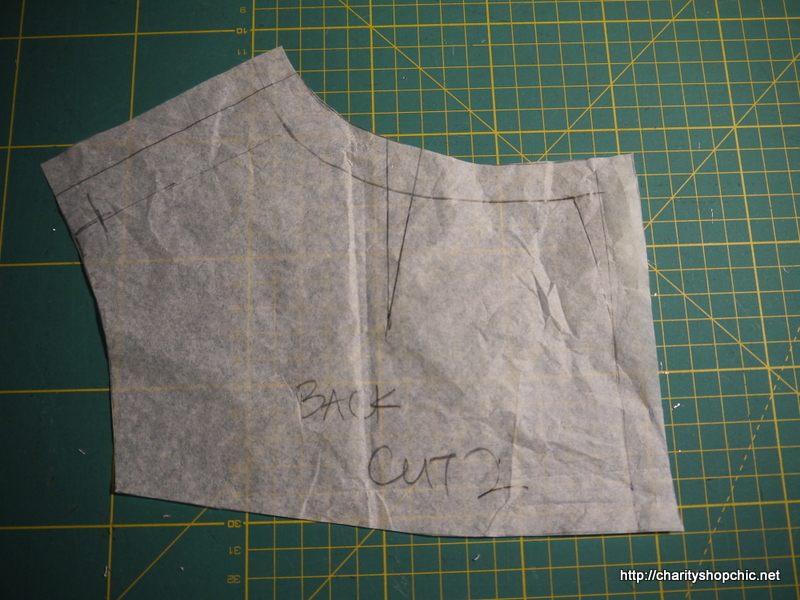
I traced the shape of the original front onto paper.
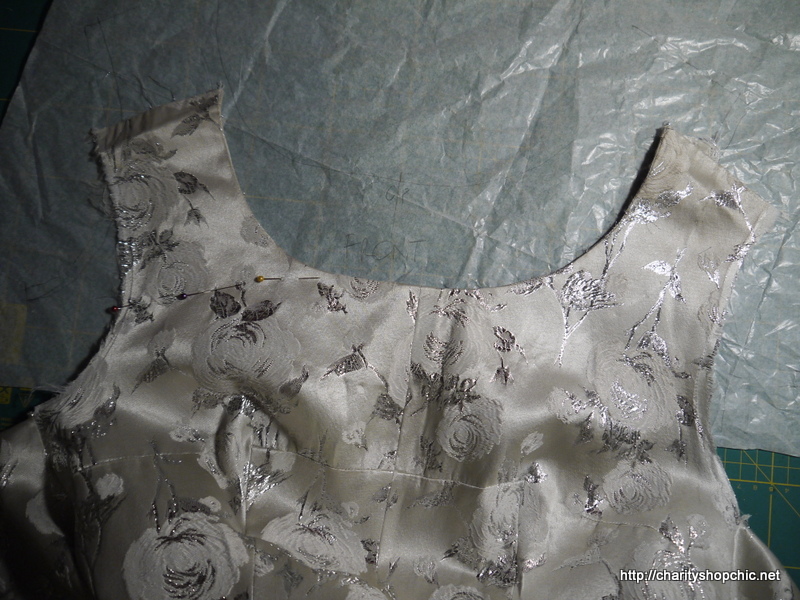
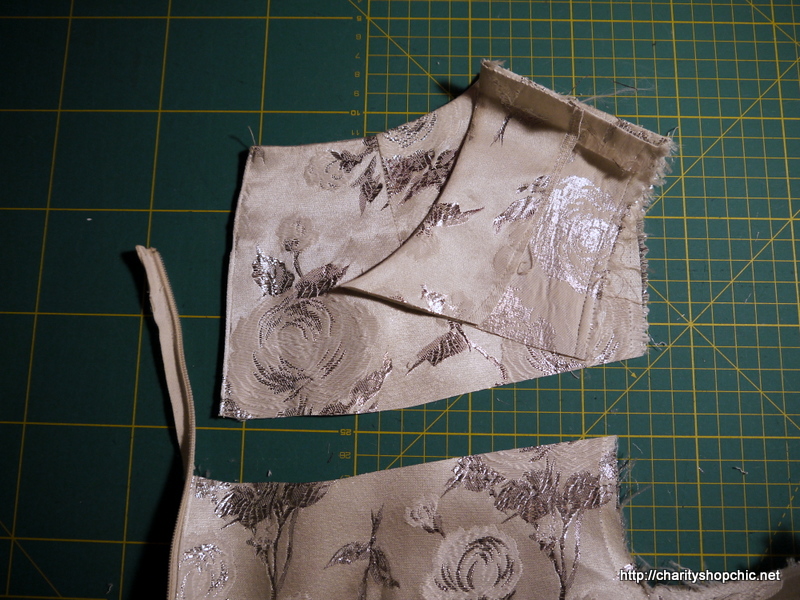
I cut off the dress above the bust.
Then I drew a new, longer front section based on the original shape. I gave it a boat neck.
Same at the back!
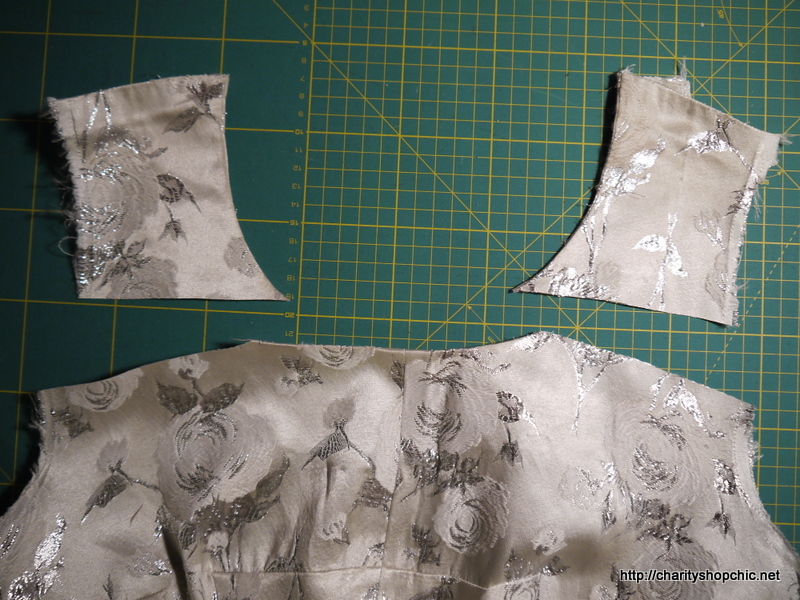
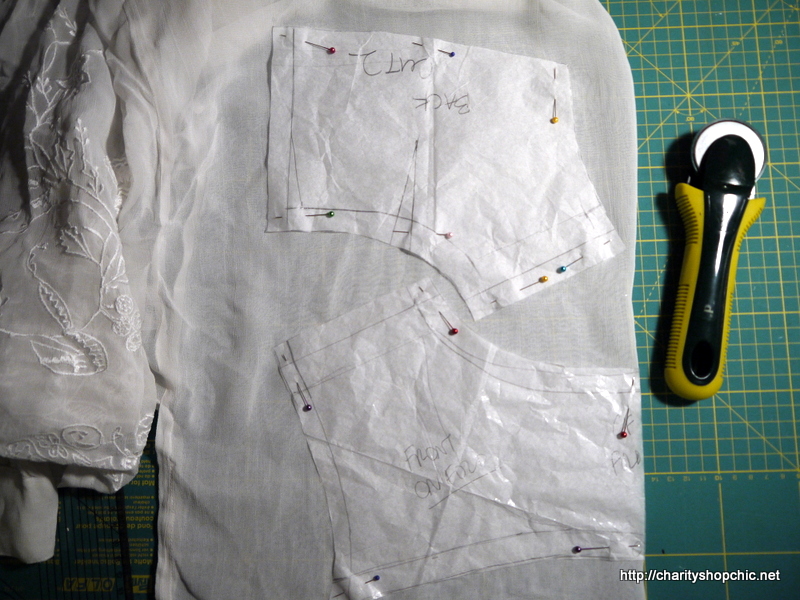
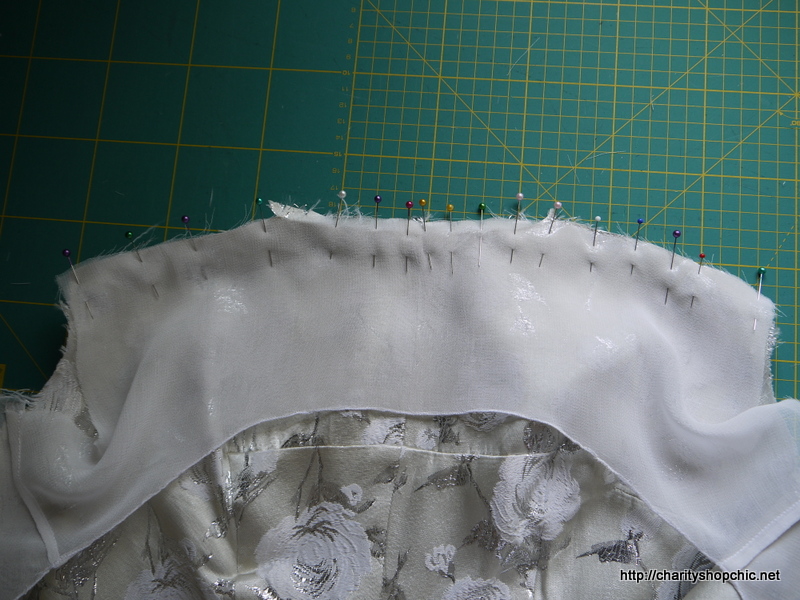
I used my paper to cut a new shoulder section from the rayon blouse.
Now, here’s where it got interesting. How to finish the neckline and armholes on transparent material like this? Binding is one option, but I thought it might look clumsy. So researched illusion necklines and came across a few articles online. Gertie discusses illusion necklines here and here, and the tutorial I ended up following was this very helpful post from Bunny, here.
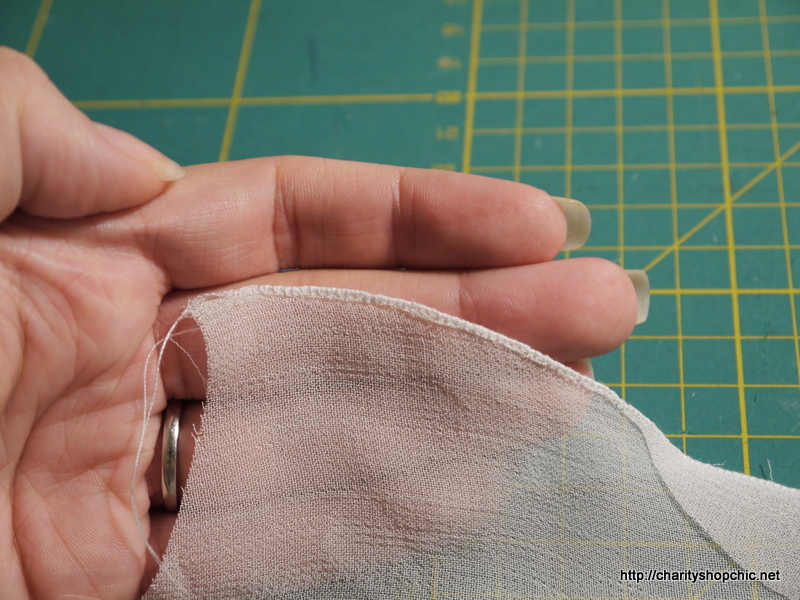
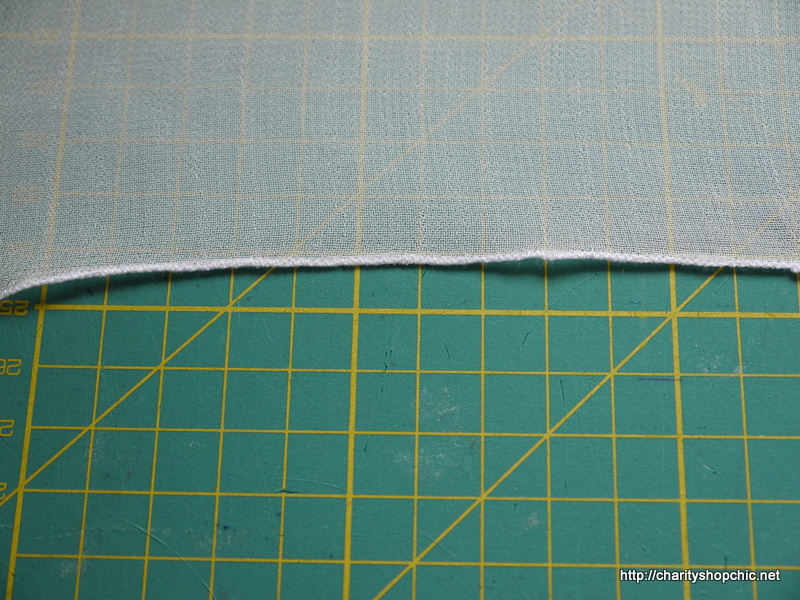
Essentially, you fold over the seam allowance at the neckline and press it, then sew a really small zig zag right on the fold, with the needle going off the edge of the fabric on the outside (below is just a sample).

The stitches have to be tiny.
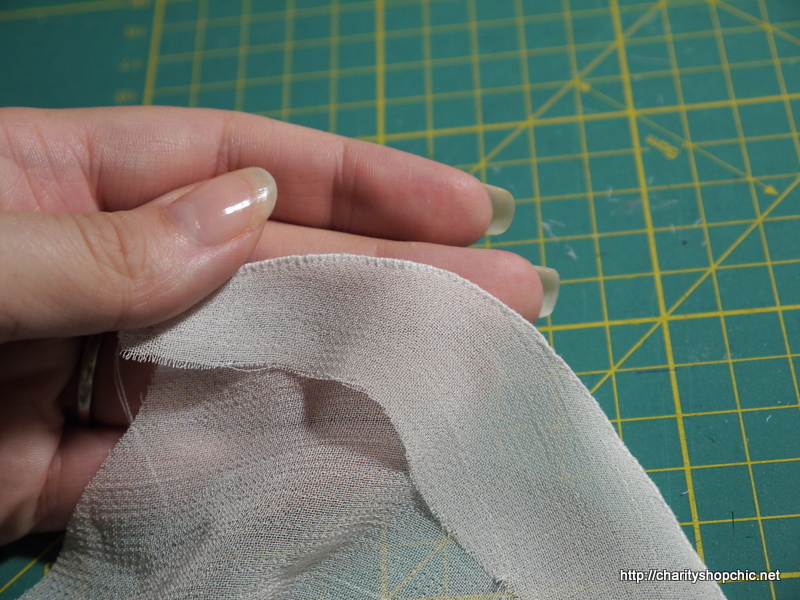
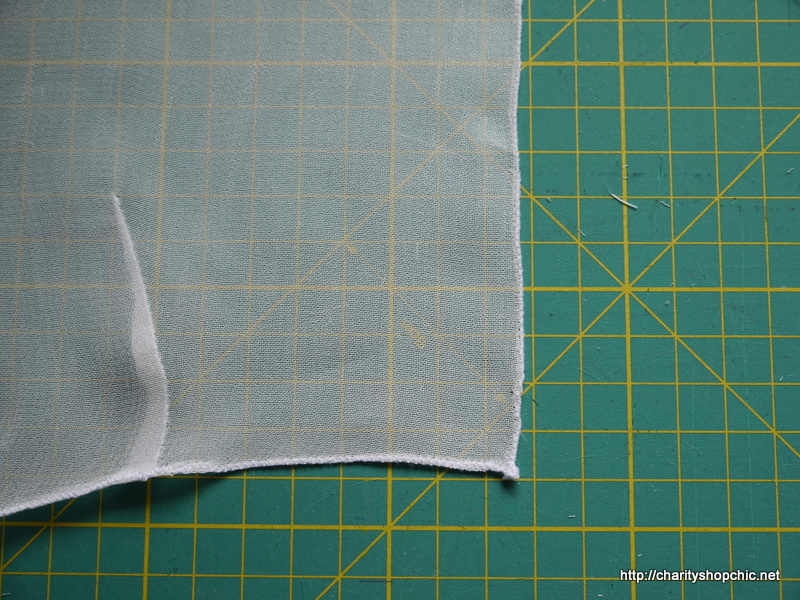
Then you cut off the seam allowance close to the stitches.
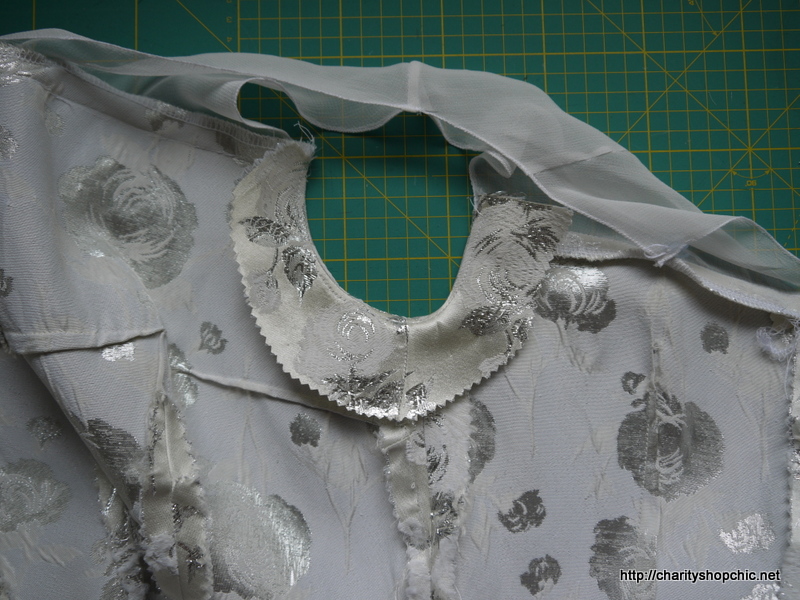
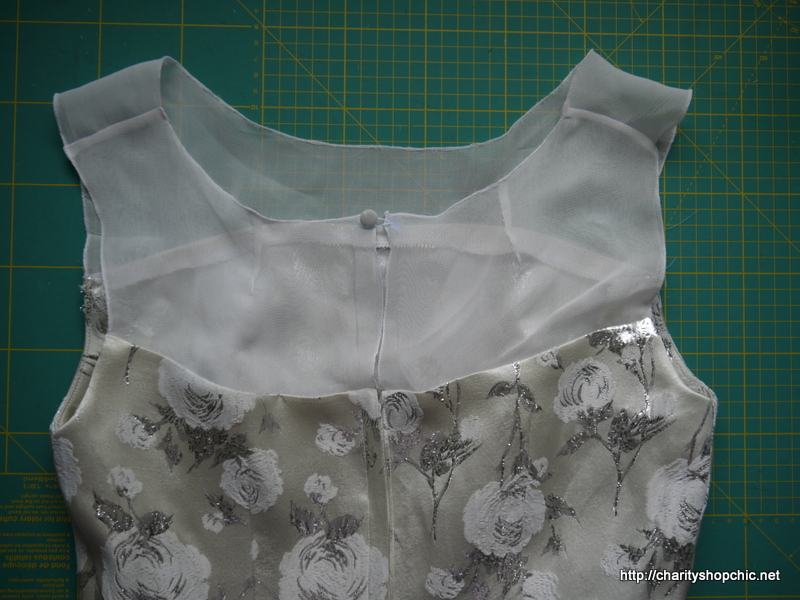
Here’s how it looks on my neckline.
And on the back:
Once the new top section was constructed, I sewed it to the dress.
For the centre back I added a button and thread loop. I searched my stash and can you believe I had three covered buttons in approximately the right colour? (I went for the middle one in the end, as it was smaller).
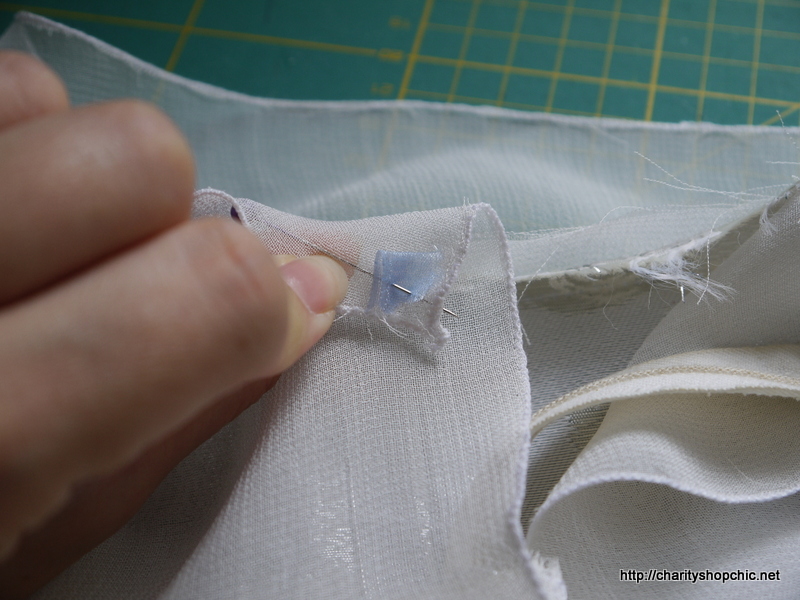
To stabilise the button area I used a tiny bit of organza selvedge – needs must, it’s not completely invisible but some strength was needed.
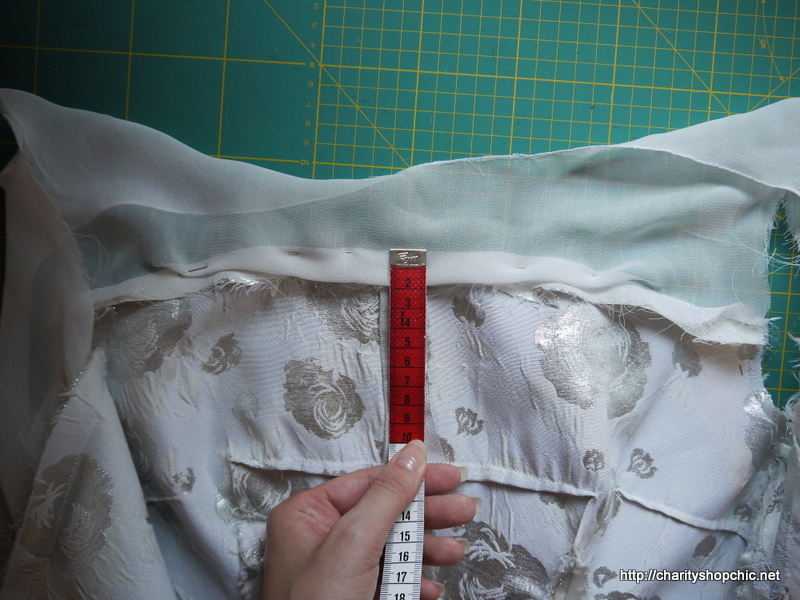
After trying the whole thing on, the top section was flapping about at the front and it just wasn’t right, despite my (relatively) careful pattern piece making. The quickest fix was to take out 4cm at the front – I know it seems like loads, and it was, but I’m not sure what happened. It definitely looked much better after.


I made a couple of quick facings from some of the material I cut off for the unfinished parts of the armholes.
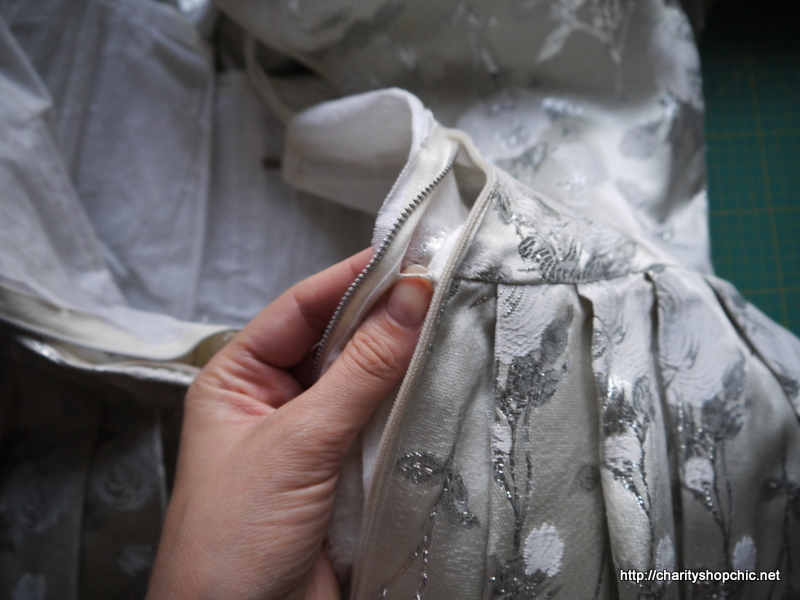
Here’s how the button and loop looked. Below that, the centre back is open until the top of the zip.

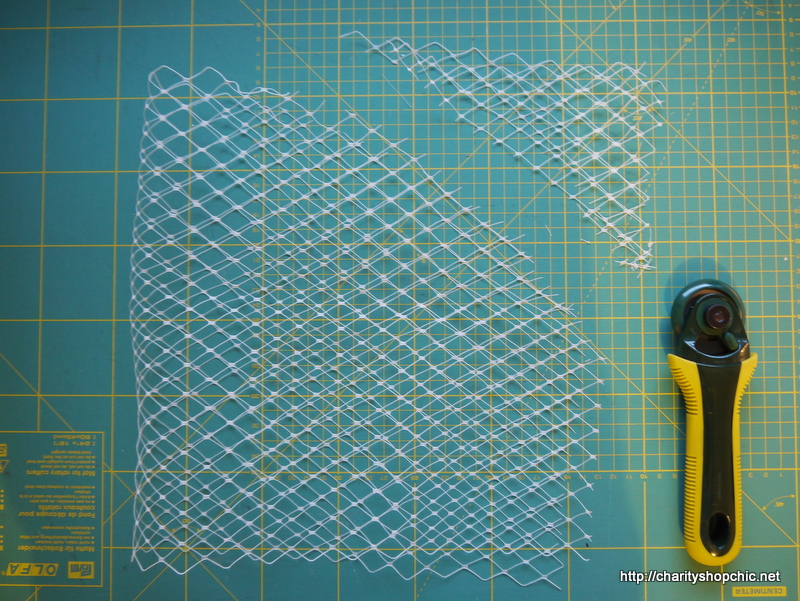
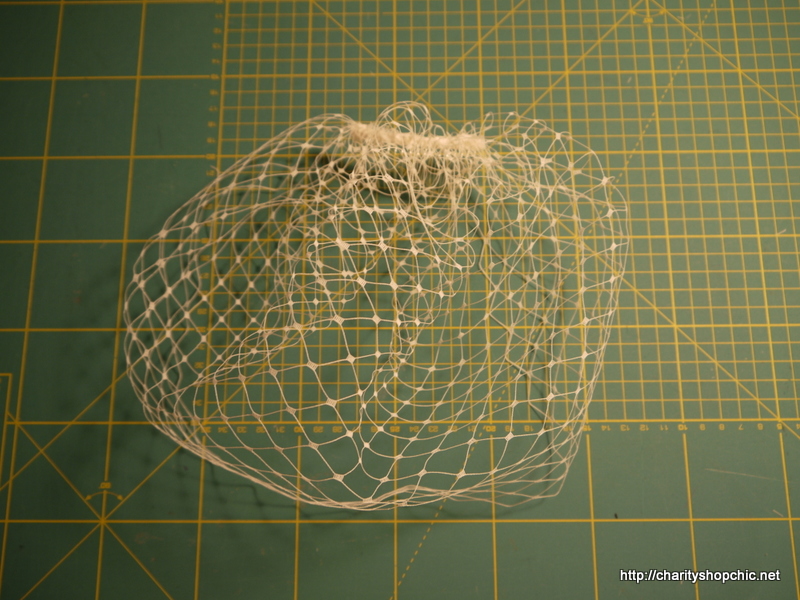
I decided at the last minute to make a small veil, in a suitable style for my newly refashioned dress. It’s a basic birdcage shape gathered onto a comb.
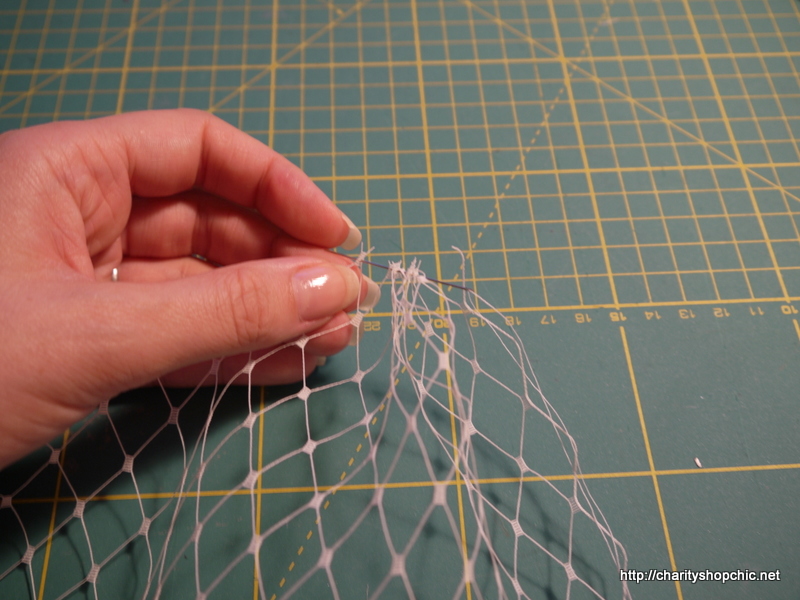
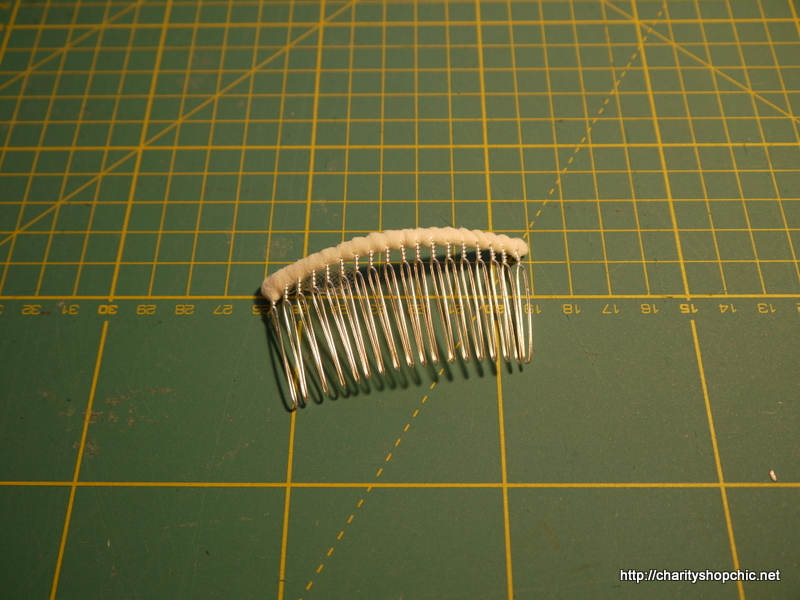
To attach it, you wrap strips of veiling around the comb.
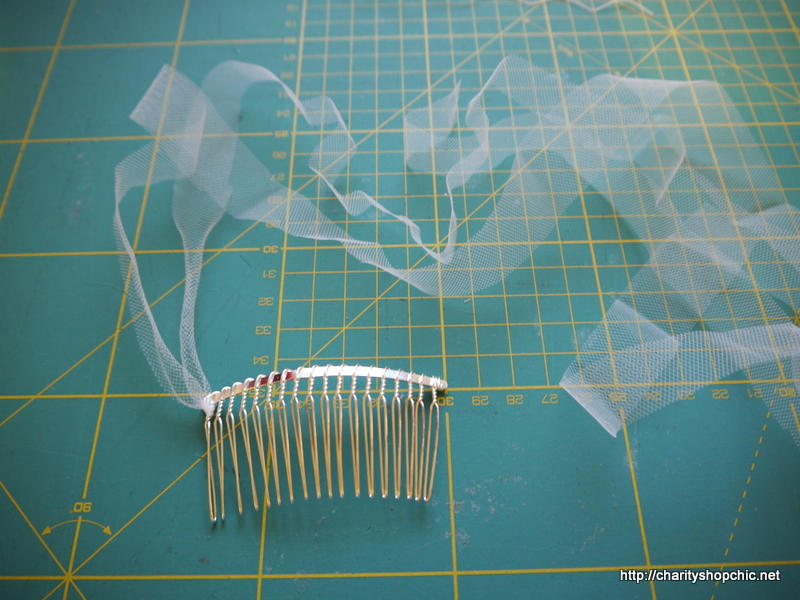
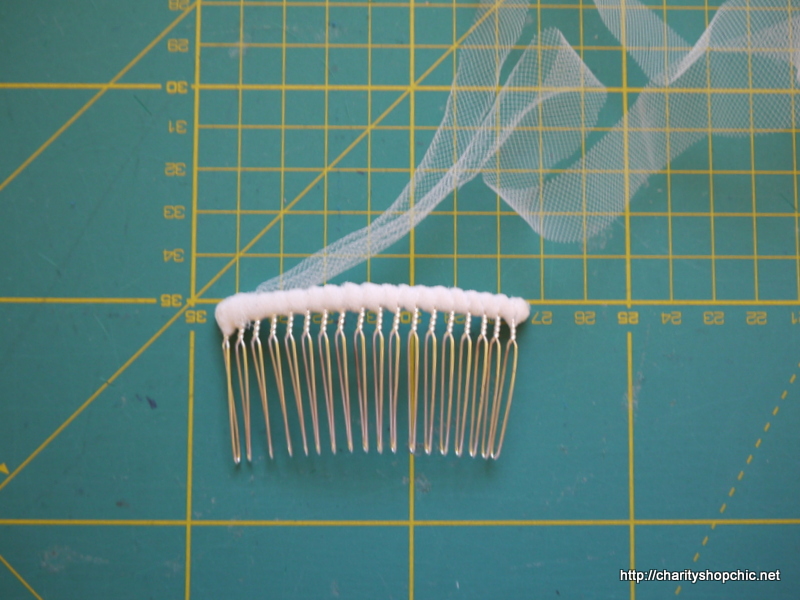
That gives you something to sew it to.
Here it is – it’s not massive.
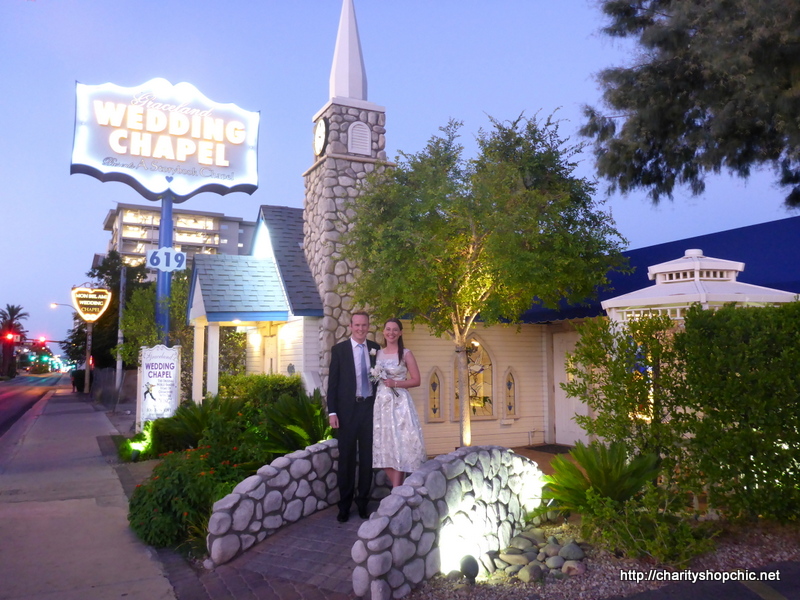
Since the final leg of our honeymoon took us to Las Vegas, I arranged for us to renew our wedding vows in a wedding chapel on the final night of our trip.
Just like you see in the movies! It was a tiny, kitch building.
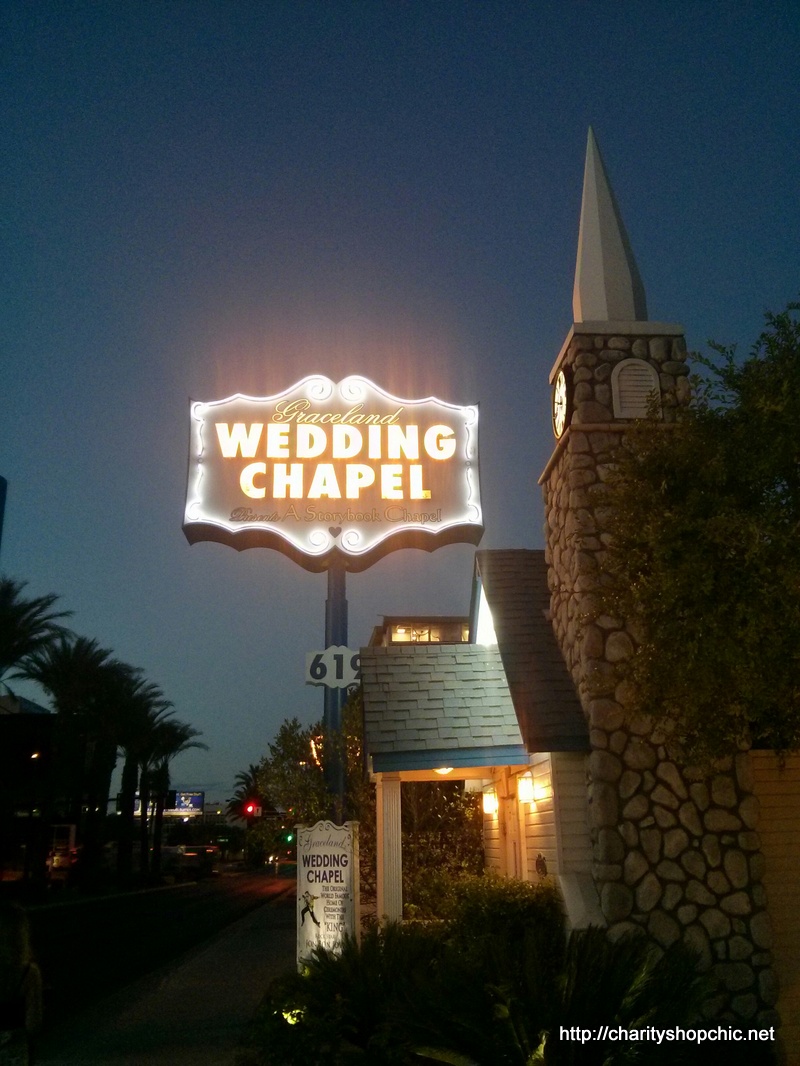
Church steeple, fake stream and lovely stone bridge. If only it wasn’t 30C (at 7pm) we could almost have been in England.
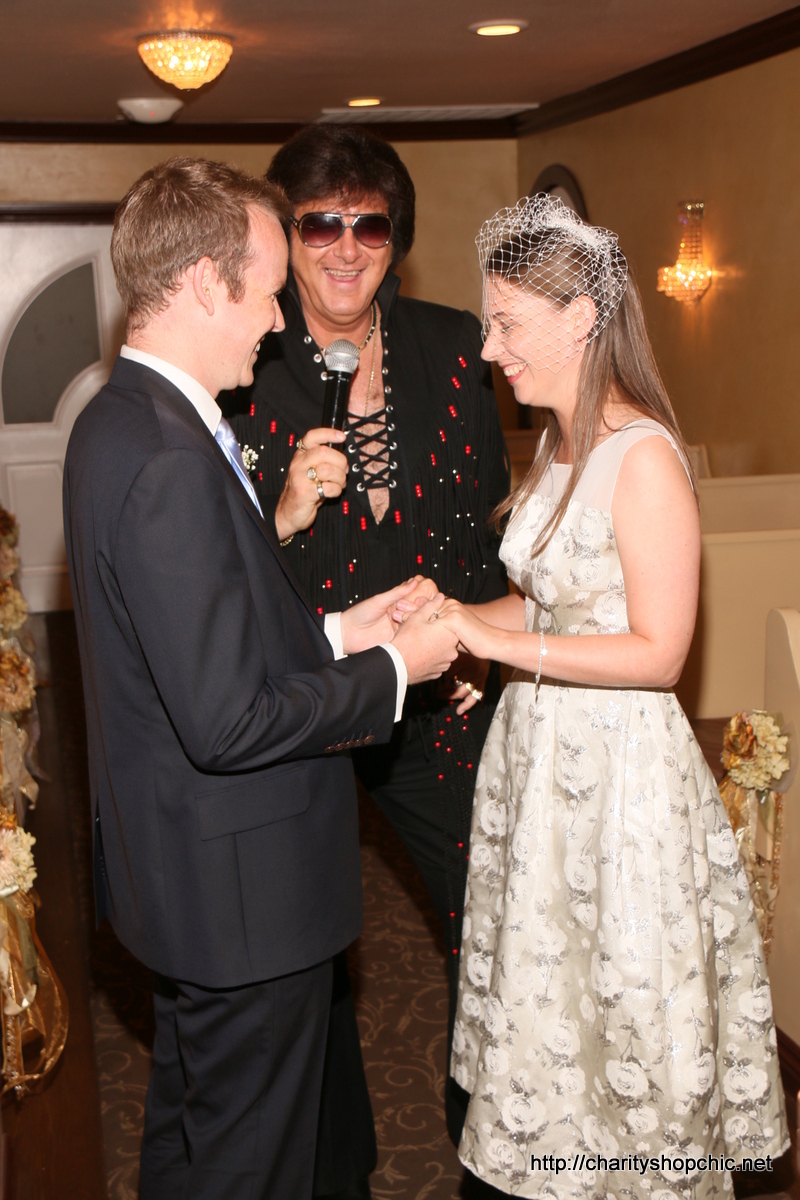
Of course, The King was present to walk me down the aisle, sing to us, and officiate.
The whole thing was hysterical.
I wore my shoes from my original wedding, and a petticoat that I had that gave the skirt some volume.
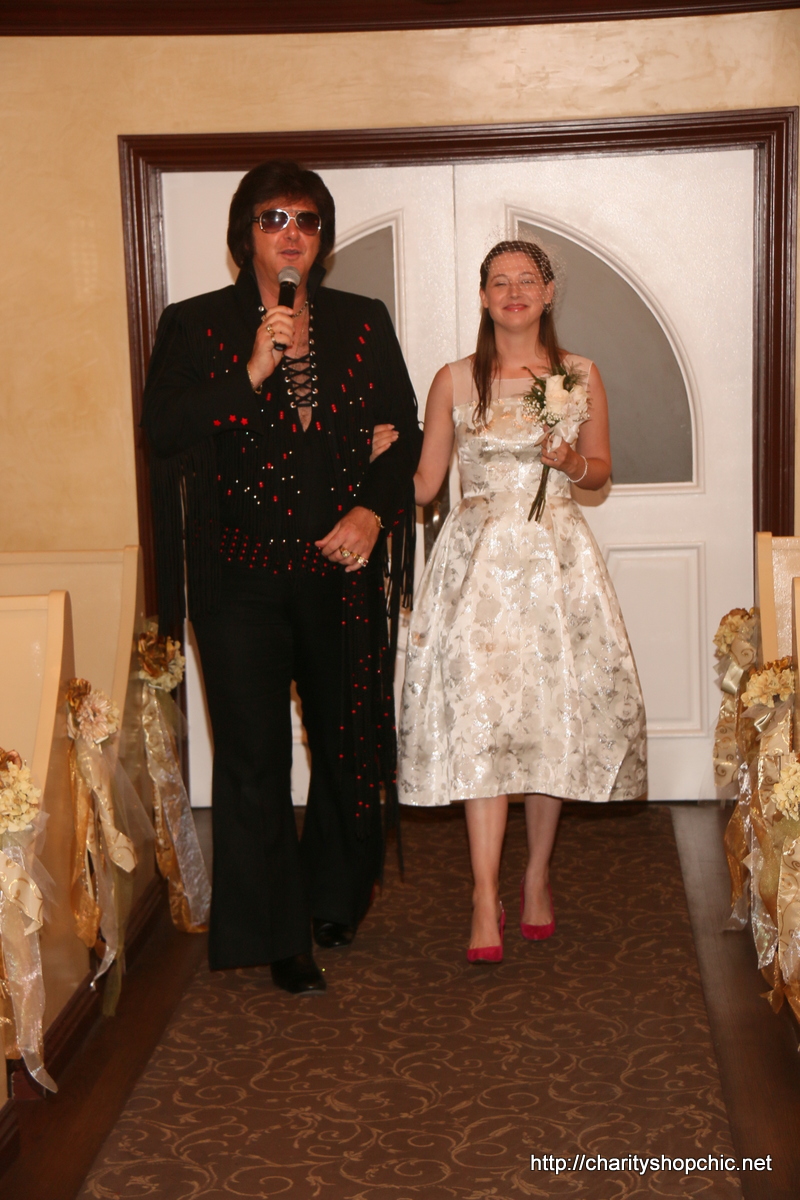
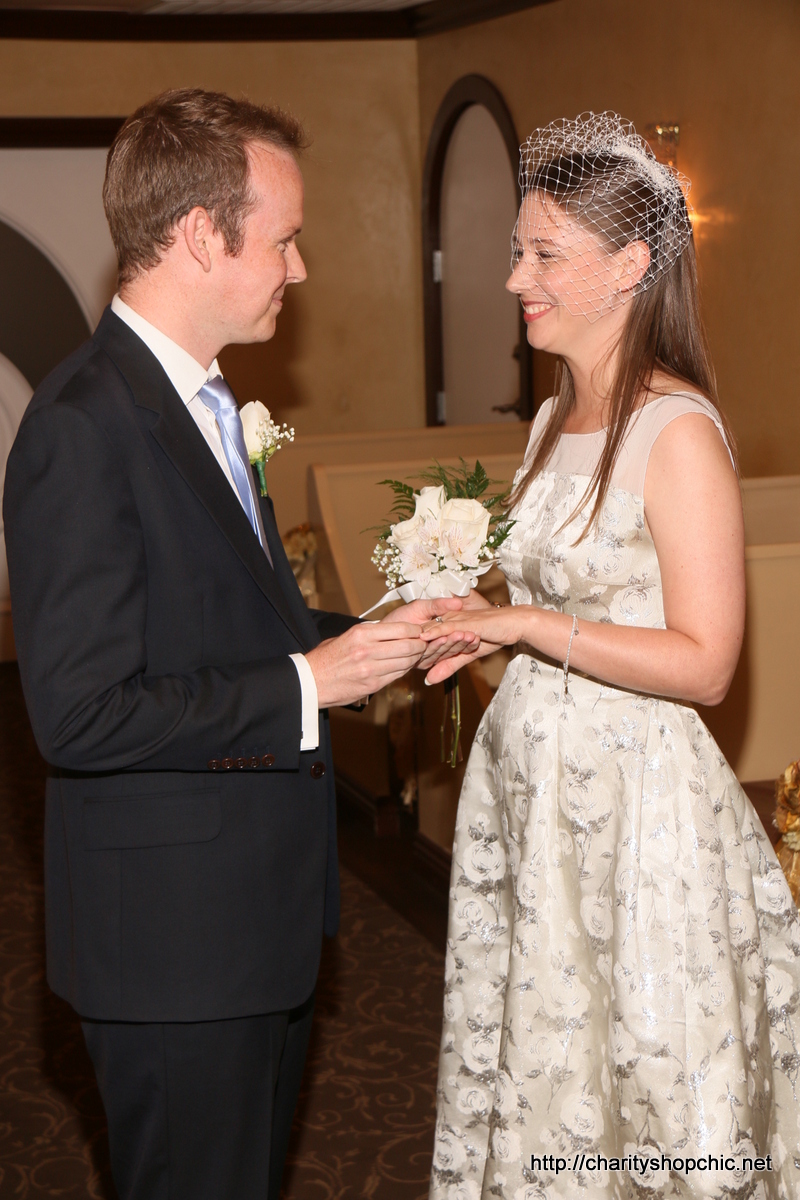
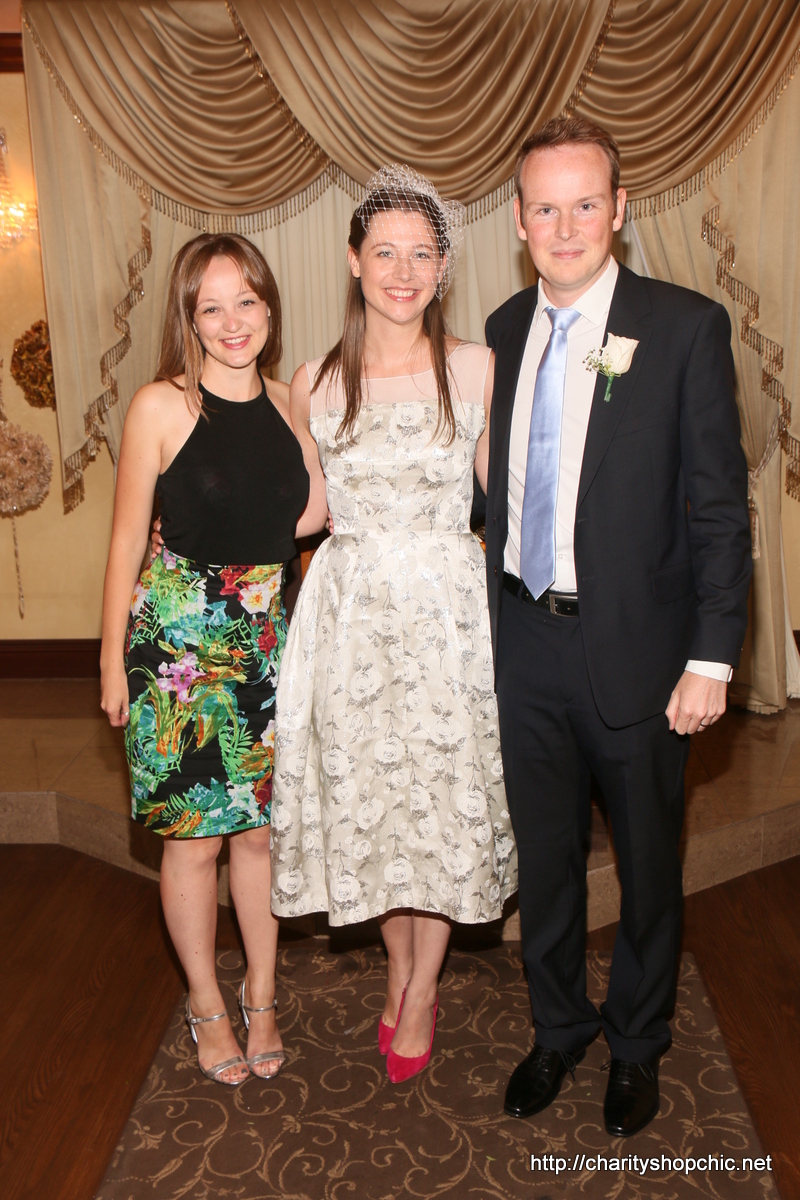
I was pretty happy with the fit of the dress in the end. And I think the illusion neckline looks perfect (from the front anyway… the back, less so).
Repeat after me… I promise to Love you Tender, to never Return you to Sender…
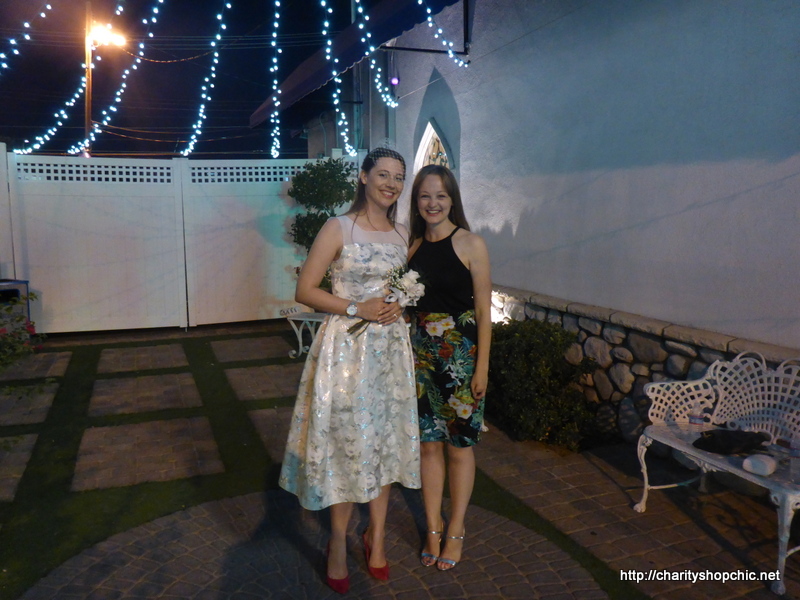
The wonderful Fiona, who wasn’t able to make it to our original ceremony, by some stroke of luck happened to be on holiday in Las Vegas at the time, so she witnessed the marriage and signed the certificate.
She also took this beautiful picture of us outside the chapel after the ceremony.
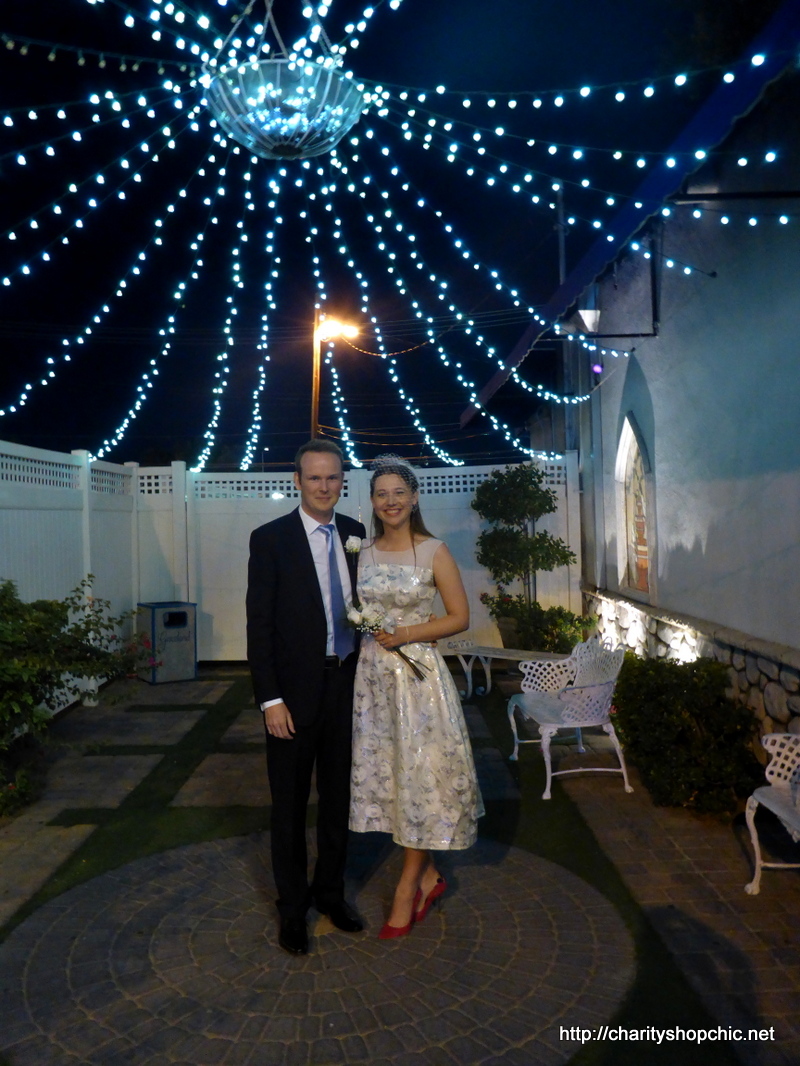
Thanks so much Fiona, we loved having you there!
I guess there aren’t many people who get two weddings (in the space of two weeks) – I am definitely a lucky girl.

And I promise, this is the last of the wedding related stuff!

What a gorgeous way to end a honeymoon and you really did that lovely dress justice! I’m a bit sad that it’s the end of the wedding posts – but thank you for sharing.
Thank you Sue, I’m glad you agree that it was the right thing to do. It was a bit nerve racking cutting into it but I felt like a million dollars going down the aisle…
Love it! Thanks for sharing all of this with us. You are so talented and wonderful!
Thank you MJ, you are wonderful too!
Ooh, you’ve done a beautiful job of refashioning that old dress, the fabric is so pretty and the finished dress looks to be a fabulous fit, love the teeny veil too!
Thanks Claire – I loved the fabric too when I first saw it. The teeny veil was more of a success than I imagined!
That is absolutely fantastic!!
Thank you, Margaret! :)
This is so beautiful!! I love that you had two weddings and I just can’t get over what a perfect transformation this is – perfect!
Thank you very much! It was great to have another wedding after enjoying the first one so much!
Wonderful! I was going to say you could have worn it as a second dress at your wedding – I didn’t realise there was a second wedding! Fabulous and a beautiful dress! xx
Haha, thank you! This one was almost as much fun as the first wedding :)
I wish you to be happy,healthy and so creative!
Thank you evi for your good wishes! :)
Gorgeous!
Thank you! :)
It is beautiful. I have been to Vegas and seen those places but not what happens – hysterical. Jo x
Thanks Jo, we had a blast! The Elvis guy was brilliant and we had a lot of fun.
I see you were giggling posing with the King. Wonderful dress, you could really have worn that one it looks so good.
The King was an absolute blast! What a great guy. Thanks for commenting, Connie!
Lovely :-)
Thanks, Jules!
another piece of CSC Magic:-) The dress looks great on you, and hats off you had the courage to cut into the vintage dress and make it into something even better! Your main wedding dress looks amazing too, and am truly amazed by your patience, skills, and collection of supplies and materials.
Haha, thanks! It was very nerve racking cutting into that dress, probably the nicest thing I’ve cut up, to date… I loved wearing it though. Thank you for reading!
I love what you did with it Sally! It is beautiful!x
Thank you, Kezzie!
You transformed the original dress into a lovely 2nd wedding dress to use again. Your vision never stops to astound me. I love how you can envision something even better than the original garment.
Thank you so much, learningnewtricks! You are very kind :)
Gorgeous refashion! How did you find the time?
I was literally sewing it in the hours before I was heading off for my (first) wedding… I’m a bit crazy I think ;-)
What a wonderful dress and what a great place (and occasion) to wear it!
Thanks Kathryn, we had a blast!
You did that dress a favour – it got worn at a wedding again, I am sure the original owner would approve of this stylish update.
Thanks Helen, I’m glad you agree it was the right thing to do.
stunning, great job. fantastic and well made update, and the dress looks a classic still
Thank you so much, Eimear!
This is just lovely, especially the translucent shoulder parts. It just works so well. How wonderful to have two weddings. Marvellous.
Thanks fabrickated, I know I am spoilt but we had an absolute blast at our second ‘ceremony’… definitely worth it!
O Sally! I absolutely LOVED being there! Definitely a day I’ll never forgot either. You really transformed this dress and looked stunning. Perfect for the occasion. Congratulations again to you and Tom and thanks for having me as part of you second special day :)
Such wonderful memories! I am so glad you could be there to help us celebrate as well, we had such an amazing time! xxx
I’ve been following your wedding dress series avidly…. As if I didn’t love your blog enough, you go and renew your vows in the same wedding chapel that we got married in! Brilliant! Congratulations to you both xxx
HAHA that’s incredible, what a coincidence! Such a great place and we had a blast. Thanks for your good wishes :)
That is absolutely fabulous! I would wear that style in a heartbeat. So wonderfully done.
I love seeing your blog and postings. Its inspirational for my redoings’. I try to keep a bit of the ideas in my mental file as I hit the thrift and charity stores here.
I just love seeing new-life brought to something that was once loved by someone else–and you do every piece in a great way~
Hi Kathie, thanks so much for commenting! I’m glad you like the dress and that you’re enjoying reading about my sewing adventures.
Very pretty! I’m glad you were able to save the fabric. It is fabulous! (And yes, I was scared that you cut into your other dress!)
Sorry to have frightened you Linda :) Glad you liked this dress anyway and thank you for commenting!
That’s so awesome (and love the idea of a second kitsch wedding in Vegas – I’m thinking of doing that for our wedding too!) and I love your second wedding dress!
I definitely recommend it, we had an absolute blast! The Elvis guy was brilliant, such great memories…
That’s another lovely dress. I’m in awe of your imagination and talent. And thank you for the bit about the “illusion hem” – I have never heard of this, although I’ve been sewing (on and off) since I was about 8, and I’m now 60! Congratulations again.
Hi Heather, I hadn’t heard of it either until reading a Gertie post about it – it’s amazing what you can learn from sewing blogs ;-)
I just love the dress!!!!!. you did a beautiful job.
Thank you very much, Gina! :)
Reblogged this on vintagethrifter51.com and commented:
Beautiful dress.
Thank you! :)
Any new projects coming up?
Of course! Two pieces finished here but I need to get around to taking photographs…
Thanks for the reply
Any time ;-)
Absolutely love this dress, what a wonderful conversion, and the original owner (maker?) would be very pleased to see what you did with it, I have absolutely no doubt! Many congratulations on your two weddings ;)
Hi Heather, thank you for commenting! I’m glad you agree that this dress needed to be worn again. Thanks for your good wishes :)
Hi, I love your blog! I have just started blogging and naively thought I would be the only one out there blogging about charity shopping but seems like there’s quite a community. Anyway, I’d love it if you’d check out my blog and let me know your thoughts.
Cheers
Ludek
Hi Ludek – good luck with the blogging!
Lovely dress you made, you wondered about the pinking inside. Last week I watched a YouTube video from Gertie where she pointed out all special details of a true vintage dress. She had a similar corselet inside and pinked edges. Apparently this was normal then.
I like your refashions best of all blogs I follow, look forward to seeing new ones,
Letitia
Hi Letitia, thanks for the comment! I saw Gertie’s video – it was a beautiful dress – I guess pinking was pretty common back then! Personally I like pinking as a seam finish because it doesn’t add any bulk, unlike most other methods I can think of.
You look so beautiful and your beau looks very handsome. I’m in tears. Your dress is beautiful! I’m a bit tired of seeing long white dresses that cost thousands of dollars. My dad wore a suit and my mom wore a dress similar to yours, and happily ever after. No debt. And they looked really good together too. Again, I love your dress!!!!!!!~
Hi Deb, thanks so much for your kind words. I do love this dress and definitely plan to wear it again!
Wow, you look lovely, your husband must have been so proud!!
I’m so happy to have found this idea on lengthening the body of a dress like this. Being 1,80 m tall myself, I often encounter dresses that are way to short for my torso, which usually leave me looking like a really overgrown toddler, with those awkward high waists.. But this is great way to solve that problem! thanks for the idea!
Thank you so much for your kind words :) I’m not as tall as you but I do have to lengthen everything on the top half, it’s a pain, and it’s the main reason I wear separates. I also like to add a band in the middle like on this one: https://charityshopchic.net/2014/07/13/silver-screen-chic-pretty-in-pink/
I love the entire look. You look so pretty and chic in that outfit. Fantastic!
Thank you Clara, very kind!
What a lovely post…lovely dress refashion(the original kind of reminded me of the dress my mother wore for my big brother’s wedding in 1962…but her’s was a light blue). What a fabulous idea to get re-married in Las Vegas!
Eva
http://www.mypaperrosegarden.wordpress.com
Thanks, Eva! I think the original dress must date from around that time. We had a great time in Vegas and we treasure the pictures and memories!