Pattern Magic: Union Jack
I didn’t do a Halloween costume this year (check out last years’ costume here), but hopefully this makes up for it.
Here at Charity Shop Chic towers, any excuse for fancy dress goes! My friend J, who is American, hosted a party a few weeks ago to celebrate living in the UK for 7 years. The Anglo-American dress code was ‘red, white and blue’, which gave us a lot of scope… obviously I wanted to go as something British. Something patriotic. And something red, white and blue…
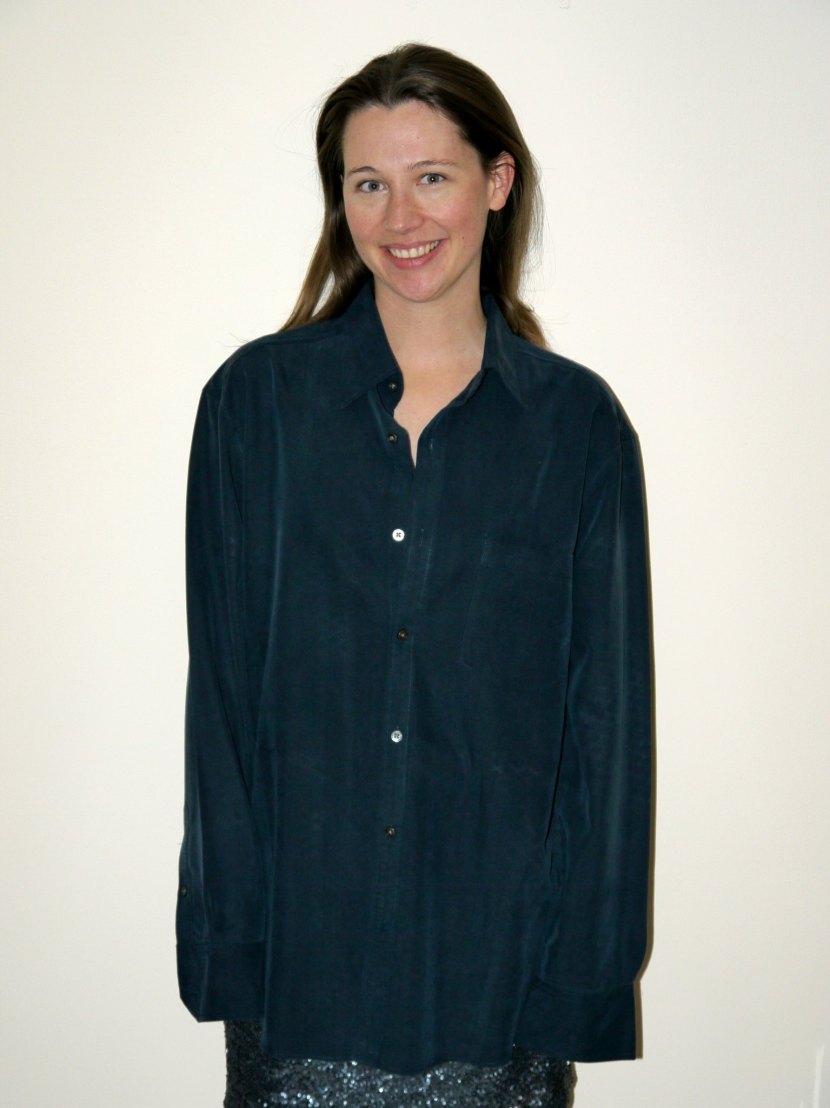
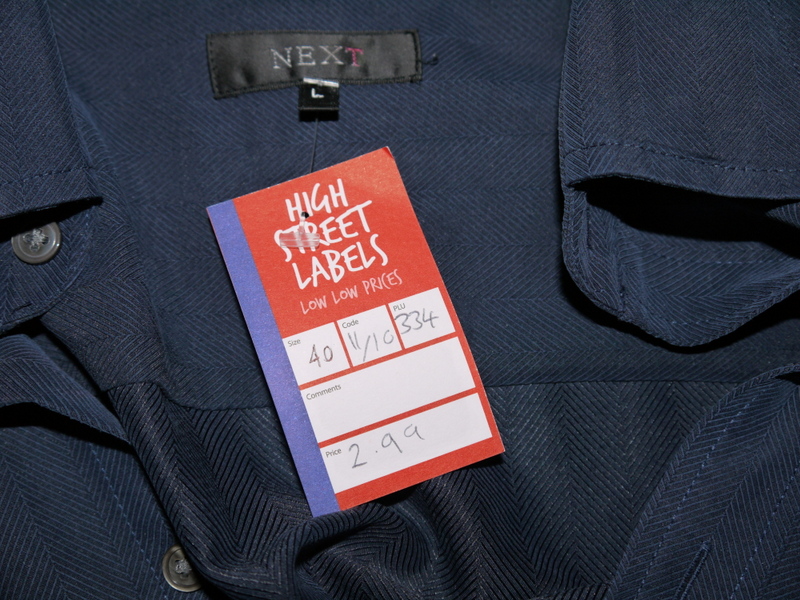
For raw materials I selected this rather boring blue men’s shirt from the British Heart Foundation shop in Balham. I paid £2.99.
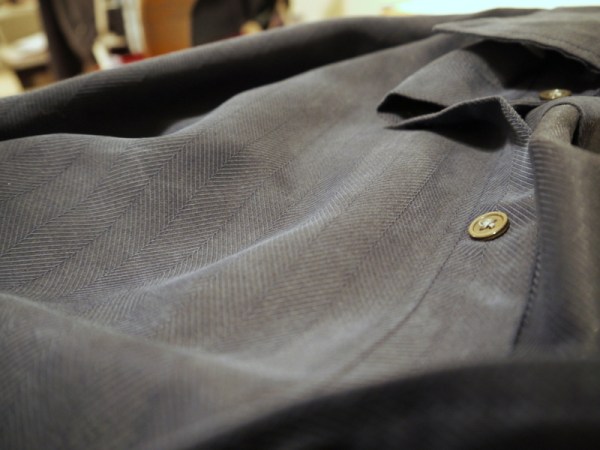
The shirt itself is quite a heavy synthetic material which has a wierd texture to it.
With this project I am also taking part in the Sew2Pro Pattern Magic challenge, in which we are attempting different makes from any of the three ‘Pattern Magic’ books by Tomoko Nakamichi. I have been a fan of the books for a long time but have not had any success with the really rather complex patterns thus far, so it’s got to be time to give it another shot.
I’m attempting what looks like one of the easiest patterns in the book – ‘Like a Jungle’. It divides the front bodice into four overlapping segments.
Can you guess what I’m going to do with this? That’s right – a Union Jack!
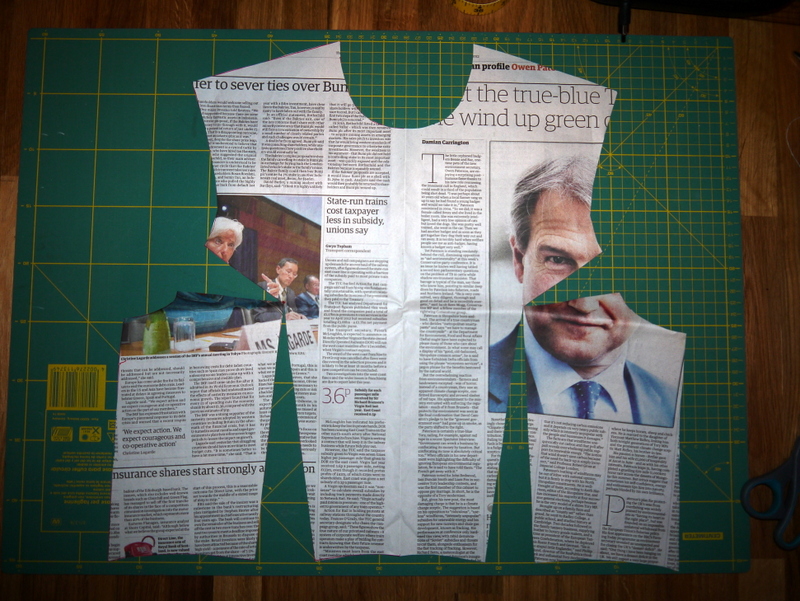
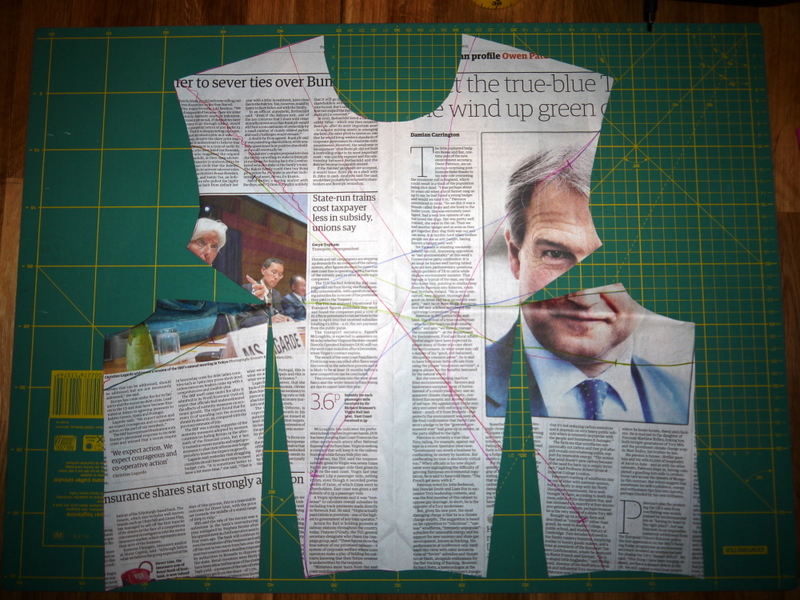
First, I drew out my front bodice onto large paper. (I’m using newspaper).
Then I drew the wavy lines on that divide the segments, like in the book.
Here’s a tip, which is not mentioned in the book. If you want to have your segments completely free of darts (if you don’t want to have any visible darts), each segment can only have one dart inside it when you draw it. That is, you have to make some of the lines of the segments that contain the darts pass through the bust points (a segment with a dart in must contain the dart completely). It helps a lot if you have got armscye darts (like in the book picture and my block above), not bust darts/side seam darts like in my first attempt, so that the waist darts and the armscye darts are far enough away from each other that they can be in separate segments.
Don’t forget to mark where the segments should be joined together and where they diverge with notches. Then I traced each segment off individually. Here are my pieces.
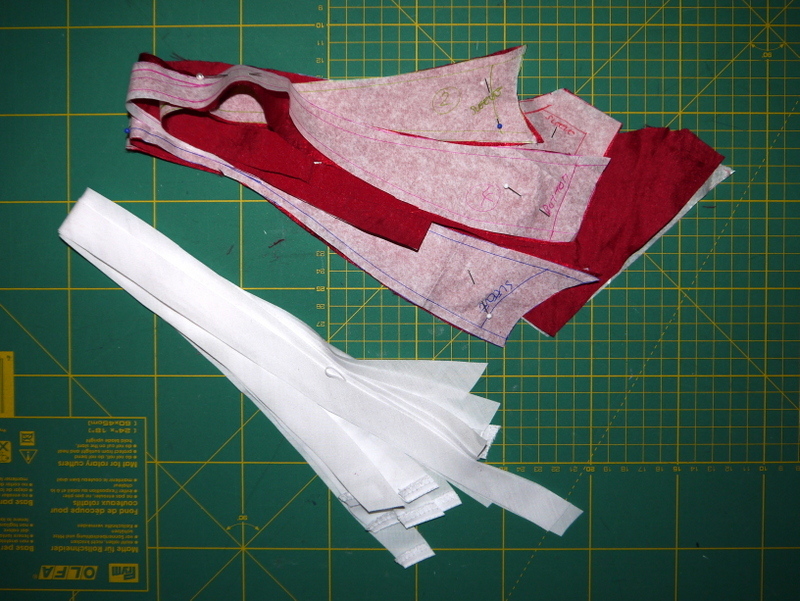
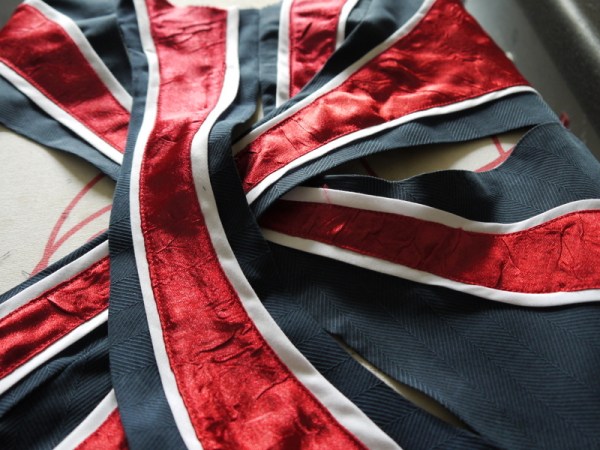
The red lines of the Union Jack are going to be appliqe-d on, with the white stripes piped.
What I had to do was make pattern pieces for the red parts, which are basically just slimmer versions of the segments.
The red parts are cut from some silky stuff I found in my stash. It has been there for a really long time. It’s a sort of satin-y shiny stuff with small creases pressed into it randomly.
The white parts are 2cm bias strips cut from offcuts from a forthcoming project.
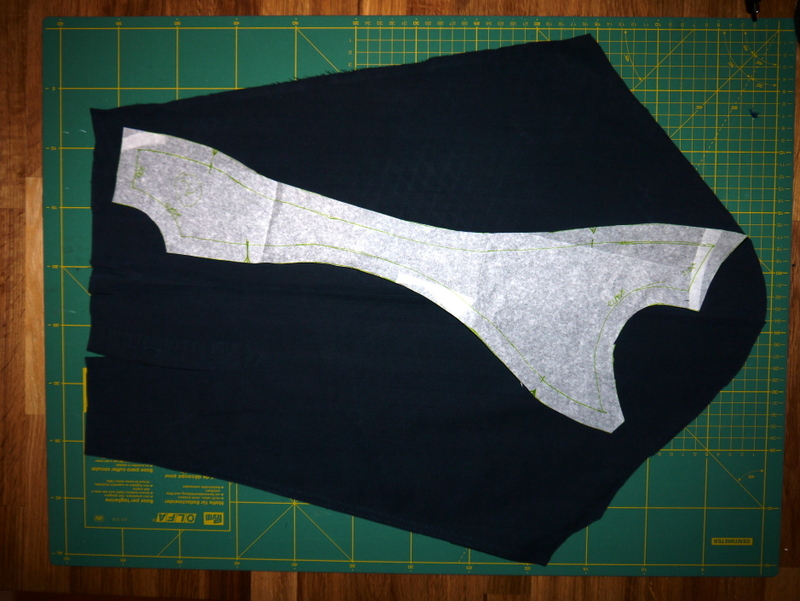
Of course, I also cut the big segments from the blue shirt. Some were cut from the back and some from the sleeves. Grainlines be damned.
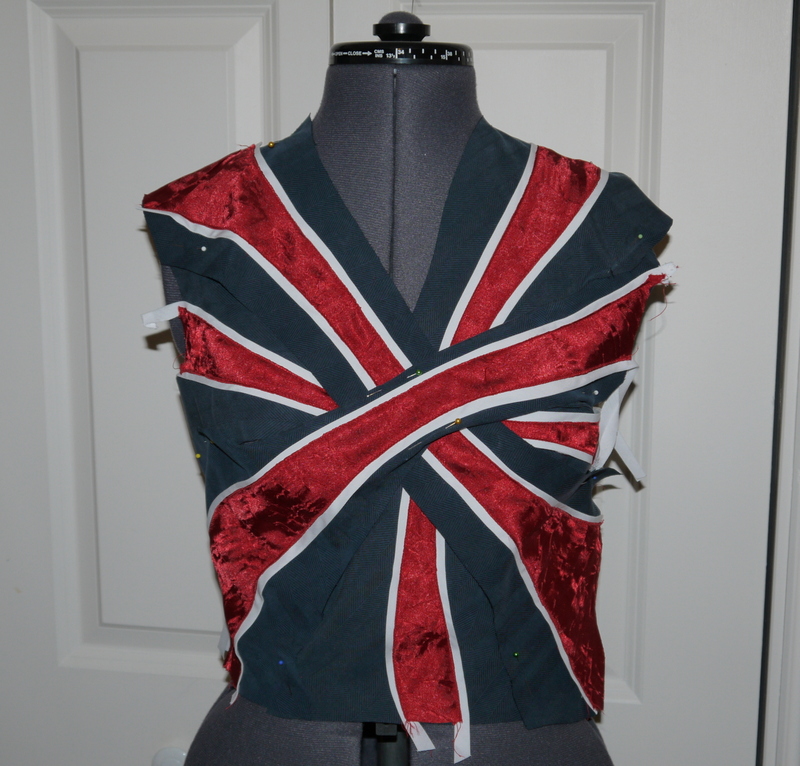
First step was to assemble each of the segments. The bias strips are just folded in half, there is no cord in them. The red parts are folded under and topstitched.
Here’s how it looks on the stand at this point. It does look quite like a union jack, no?
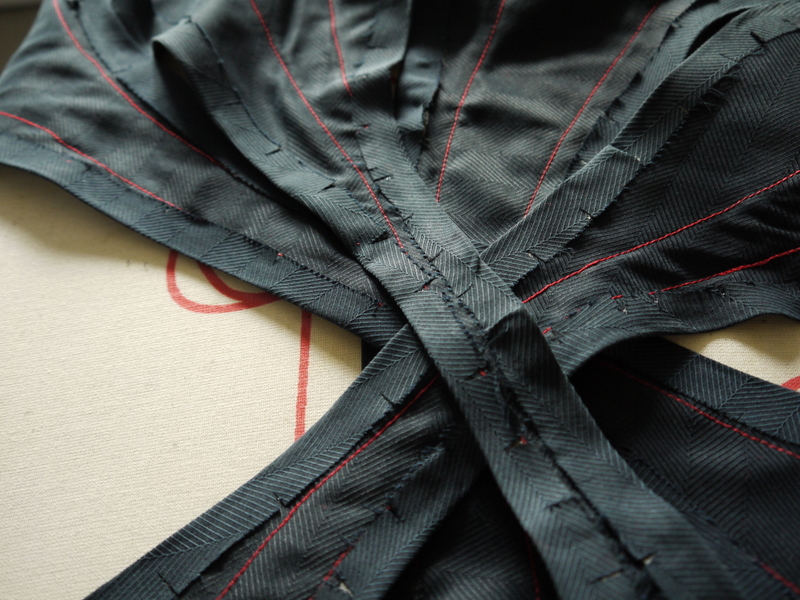
Then I had to sew each segment together up to the notches.
Here’s a close up of the applique. The original plan was to fold over the blue pieces and just sew them down as a quick edge finish, but having got this far, I didn’t want to add any more topstitching (the front was already quite ‘busy’, heh).
I ended up using iron on glue to finish all the segments. Took ages, and I burned my fingers, but it was worth it.
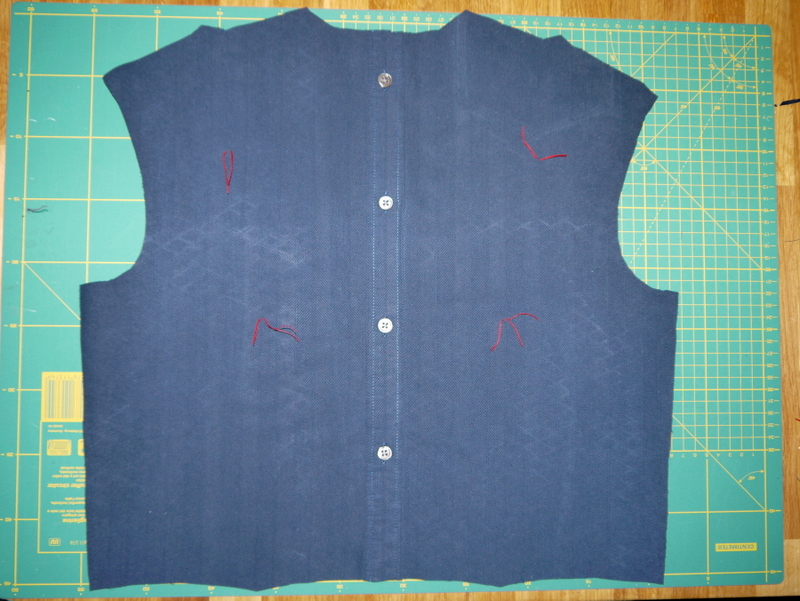
And now… the back! The back was cut from the front of the shirt, so it had the button placket up the centre. It’s just my back block with the neckline cut down a bit to match the front.
I had to remove what was left of the original pocket.
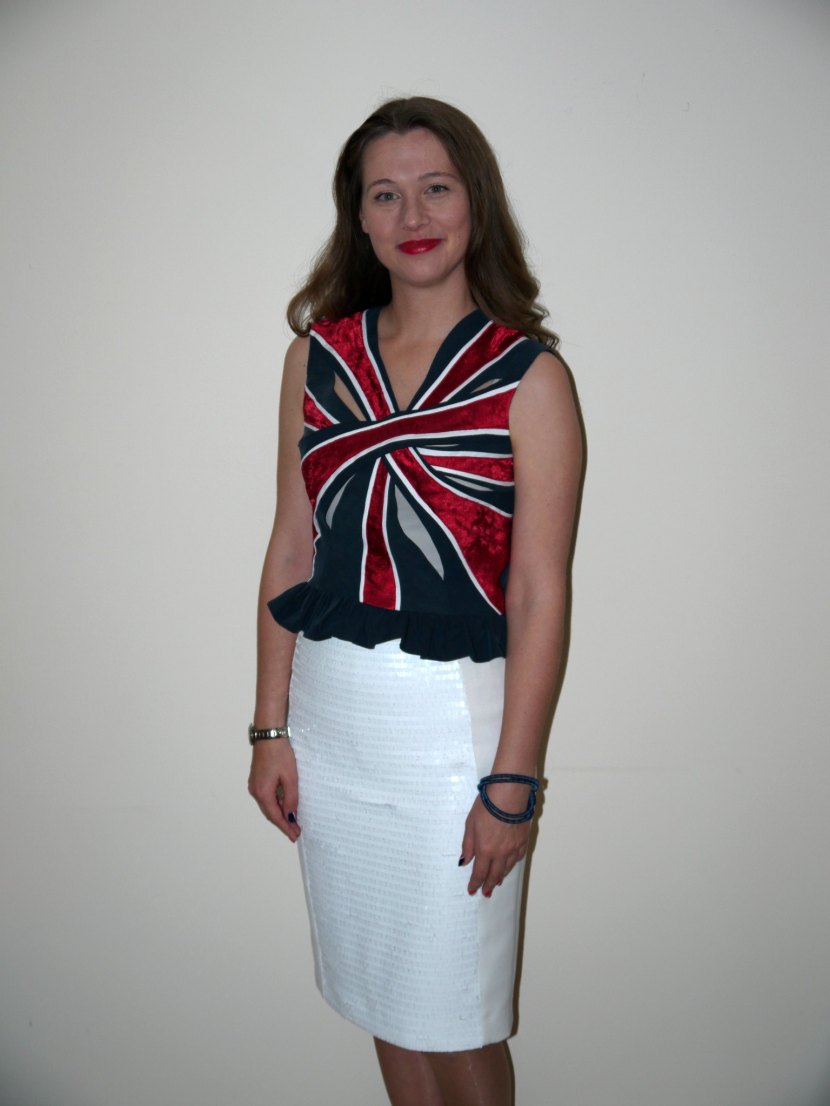
Here’s how the whole piece looks. It’s a lot more obvious from this photo why the shirt was given to charity… someone ironed it on the right side with too hot an iron and made an imprint of the ironing board.
Joining the front to the back looked like this….
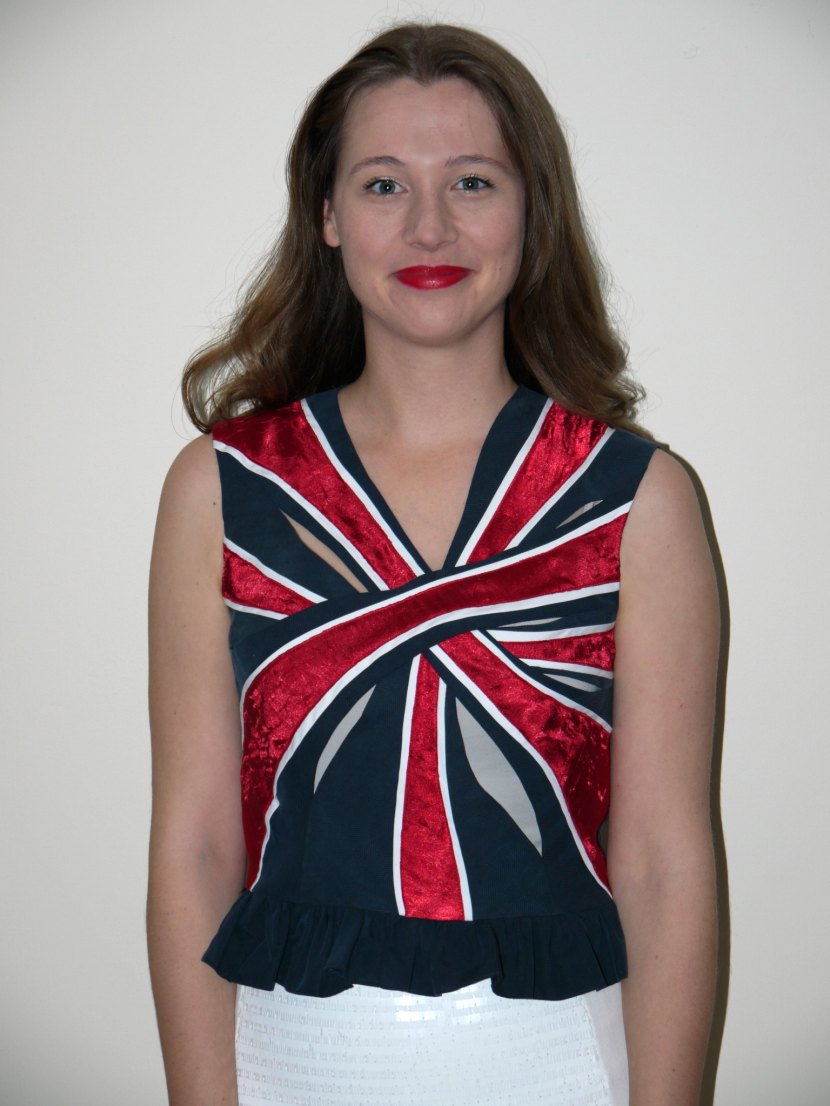
…but there was still something missing. I tried it on and decided it wasn’t long enough, as it only reached my natural waist. So I added a gathered ruffle as a peplum. The ruffle was cut from what was left of one sleeve plus the inside and outside back yoke. The back yoke was on the horizontal grainline on the outside, and cut from both bias directions on the inside (so left and right formed a chevron). The sleeve was obviously vertical. So this ruffle contains every possible grainline. Luckily, you can’t really tell.
It fits pretty well, actually, though some of the holes gape a little more than intended.
For the party, I did a ‘Union Jack’ manicure – completely over the top but why not.
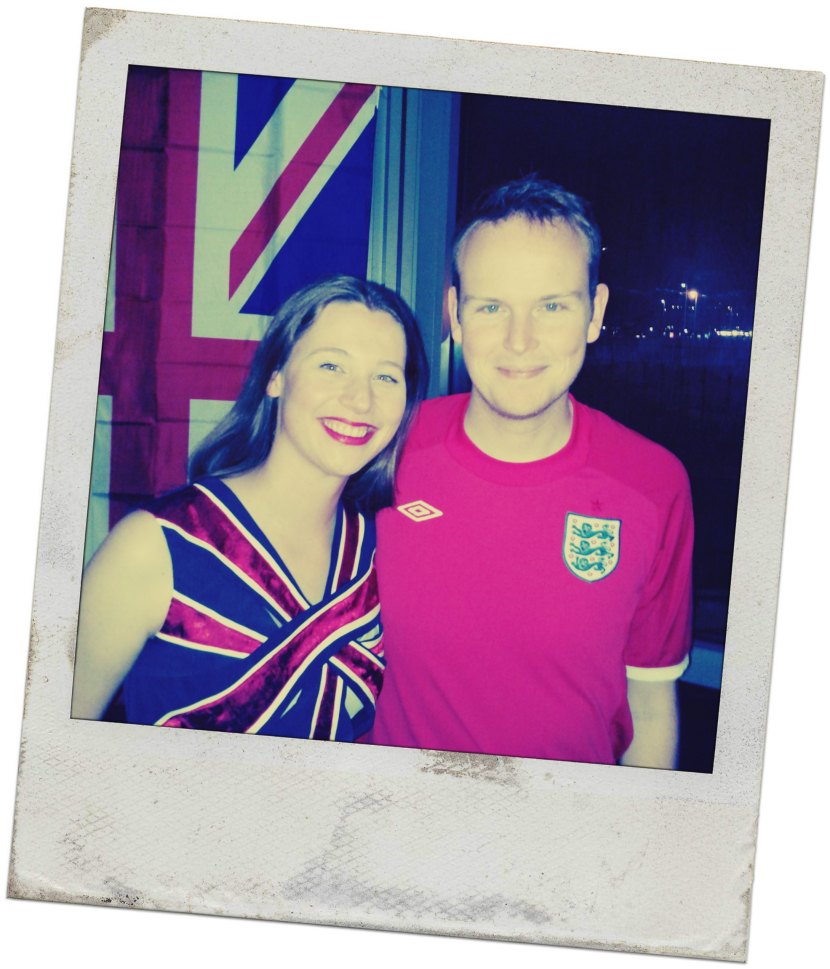
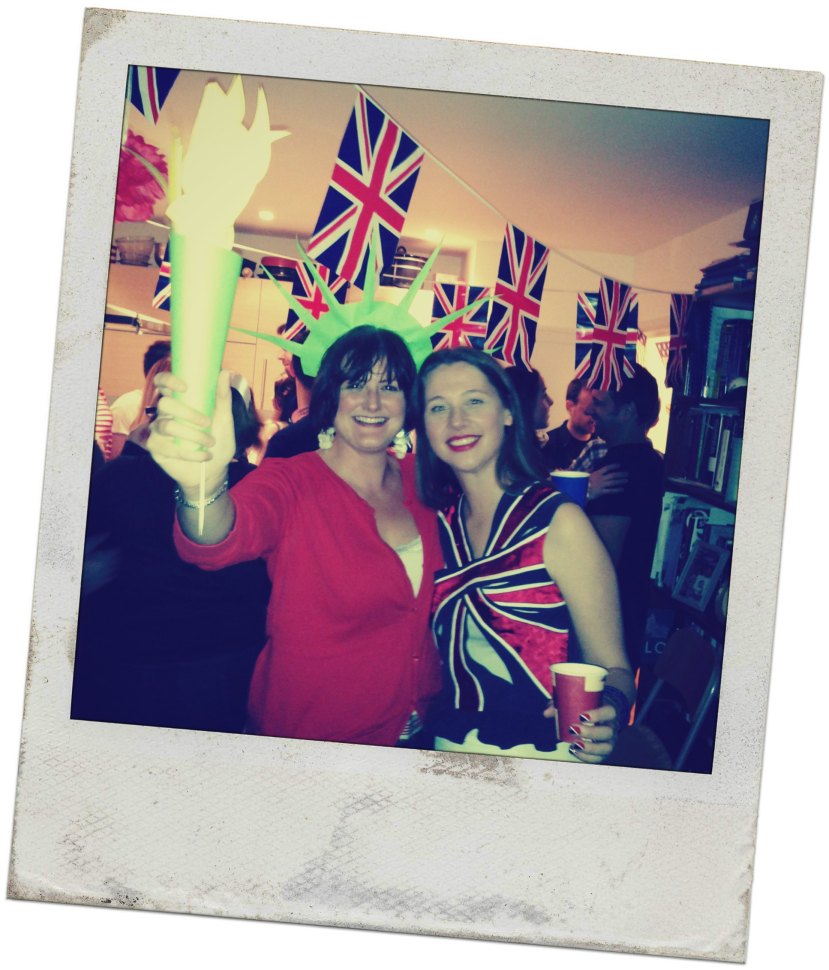
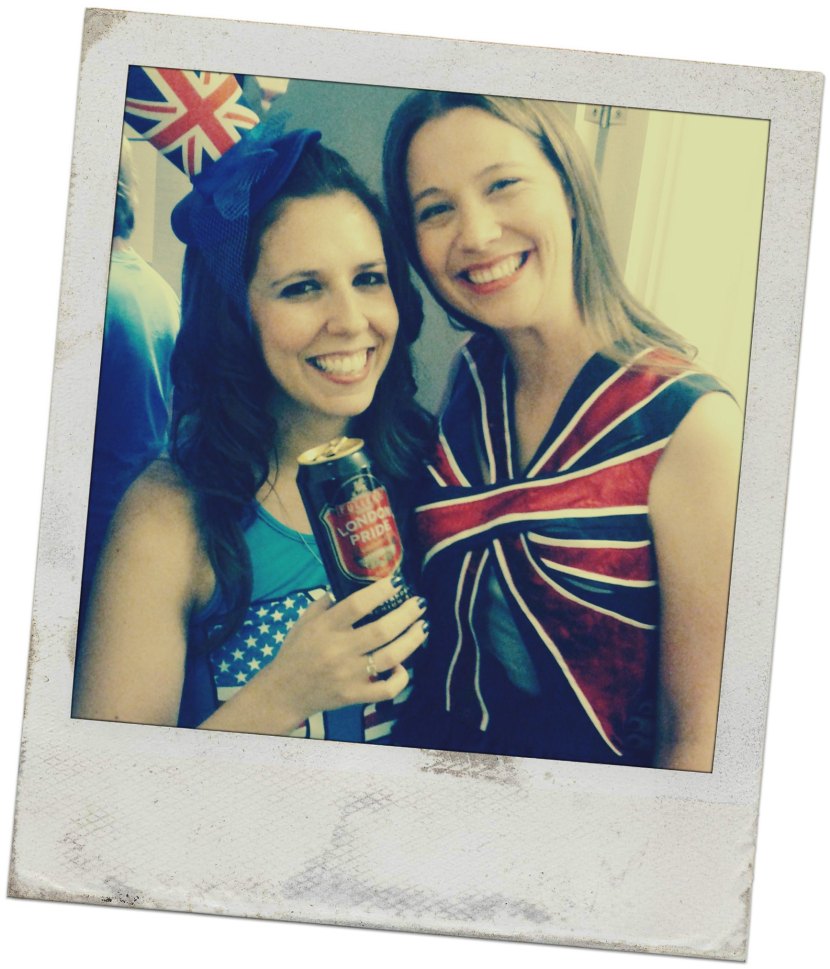
I had a great time at the Anglo-American party. I had the good fortune to bump into some GB and USA icons…
…including Lady Liberty herself!
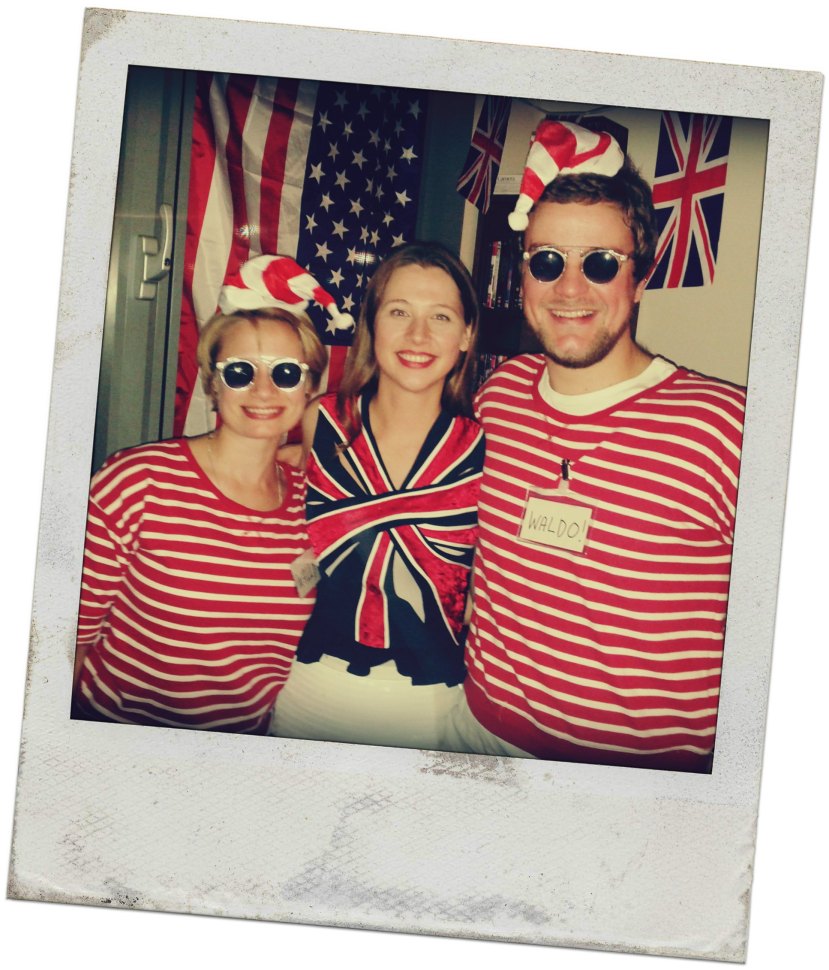
I also met the cutest couple who summed up the vast divide between UK and US culture with their costume Where’s Wally/Where’s Waldo.
Here’s me with the gracious host! Happy 7 year anniversary, J!
Thanks also for the wonderful US/UK themed food. It rocked!
Until next time, refashioners! Over and out!












Wow! That is absolutely wonderful. I’m doing the Pattern Magic challenge too – and I am in awe of what you have made. I need to do some serious work before Saturday!
Thanks Tracy! Can’t wait to see what you are working on for the challenge!
Brilliant outfit, very well done!!!
Thanks, Marie!
Delighted to see your American host was drinking London Pride! As an incomer myself, those cans smoothed many a path into my succesful integration ;)
Your top looks absolutely amazing! If I ever master tracing and cutting I would love to move on to more complex construction like that. Well done!!!
Even the drinks were patriotic :-)
Thanks for stopping by, glad you liked the top. It wasn’t too much trouble to make and trace this one… definitely one of the easiest in the book. Give it a go!
Such an amazing piece, I’m really stunned by your creativeness and pattern making skills (I know, it’s “just” following the book instructions but I own 2 of them, too, and wasn’t that successfull in recreating a pattern so far…)-
Thank you so much Katarina. I really can’t take credit for this as the pattern is straight from the book! It’s definitely one of the easier choices. I think I should walk before I can run :)
Wow, that is one amazing piece of work. I am both stunned and speachless at your ingenuity and skill. Truely fantastic work. Congratulations.
Thank you! It’s straight from the Pattern Magic 2 book, but happily the design fitted my Union Jack theme perfectly. Glad you are enjoying reading.
WOW!!!! I am blown away by that top. You have a lot of skill in sewing!! The colors really pop, the buttons up the back, the ruffles at the bottom. It’s all just so darn cute! Oh my gosh I can’t even imagine how much time you put into it, but it was worth it.
BTW – the manicure wasn’t over the top at all… :D
Thank you very much Ali – I think the manicure was a bit ‘out there’ but people seemed to like it :)
Glad you agree that the ruffle is a good thing. I wasn’t so sure when making it but was pleased with how it turned out!
Hooray! It looks lovely! Good job, really amazing.
Thank you! Thanks for commenting.
My heart jumps for joy whenever you do a new post. This one is incredibly clever and looks great with the white skirt.
Thank you so much, honestly, it’s me that’s jumping for joy when I get comments like this. Such sweet comments really make my day! I am so pleased you liked this top – there are lots of other patterns in that book that are dying to be tried out, so stay tuned :)
Once again, just amazing! And it looks lovely on you. =)
Thanks, Charity! I appreciate your kind words.
This tops certainly has star quality! Well done and thank you for illuminating the process of making it.
Funny how it never occured to me that the Jungle design might be one of the relatively easy ones from the books. Now I’m tempted to give it a go.
And you inspired me to spend a good hour today looking round the charity shops, wondering what forsaken item may be convertable into something as chic as your top!
Thank you! Yeah I think this is definitely one of the easiest. I’m leaving ‘tying a bow’ and all that stuff til later :)
Fab top! Glad you had a great time xx
Thanks! :)
Oh my gosh! This is such a crazy creative top! So awesome! It’s truly inspirational!
Thank you for the comment! Glad you liked it!
This looks amazing :)
http://shopaholiconashoestring.wordpress.com/
Thanks! :)
That is phenomenal! You are one talented lady!
Thanks Kerri, glad you liked it.
Love it! pattern magic is on my wish list and your creation is truly inspiring!
Thanks so much, I had a lot of fun making this and am keen to try something else from the book ASAP.
The top turned out great! Really creative and different. I love the contrast in textures of the red and navy fabrics.
Thank you very much! It is certainly very ‘different’… :)
I look at that book , it is so interesting and I often wonder if any one ever makes them. I’m so pleased to see one completed, its looks great. Well done and you will be sure not to turn up at a party with someone wearing the same outfit :)
Ha, yes, someone makes them and that someone is me! May I also recommend Catherine’s leggings: http://blog.cyberdaze.org/2014/09/06/apple-peel/
This top was made specifically for this party but I haven’t ruled out wearing it for another occasion.