
Wedding Dress: Part 3 (The Corselette)
Welcome back folks, today we’re talking corselette construction!
Firstly, I need to give a big shout out to Laura Mae at Lilacs and Lace as her post on corselette construction here is absolutely excellent and formed the basis of what I ended up doing. Thank you Laura Mae! There are not many resources out there on corselettes so do read Laura Mae’s very informative post if you are thinking of doing something like this yourself.
I also read Susan Khalje’s “Bridal Couture” from cover to cover (it’s OOP – HOW IS IT OOP???!! – and very expensive online but Clare was kind enough to lend me her copy – and to show me her wonderful wedding dress that she made in person!). This book is highly recommended to anyone thinking of making their own dress as it covers every aspect of construction. Some of the styles are a little dated but the information is brilliant.
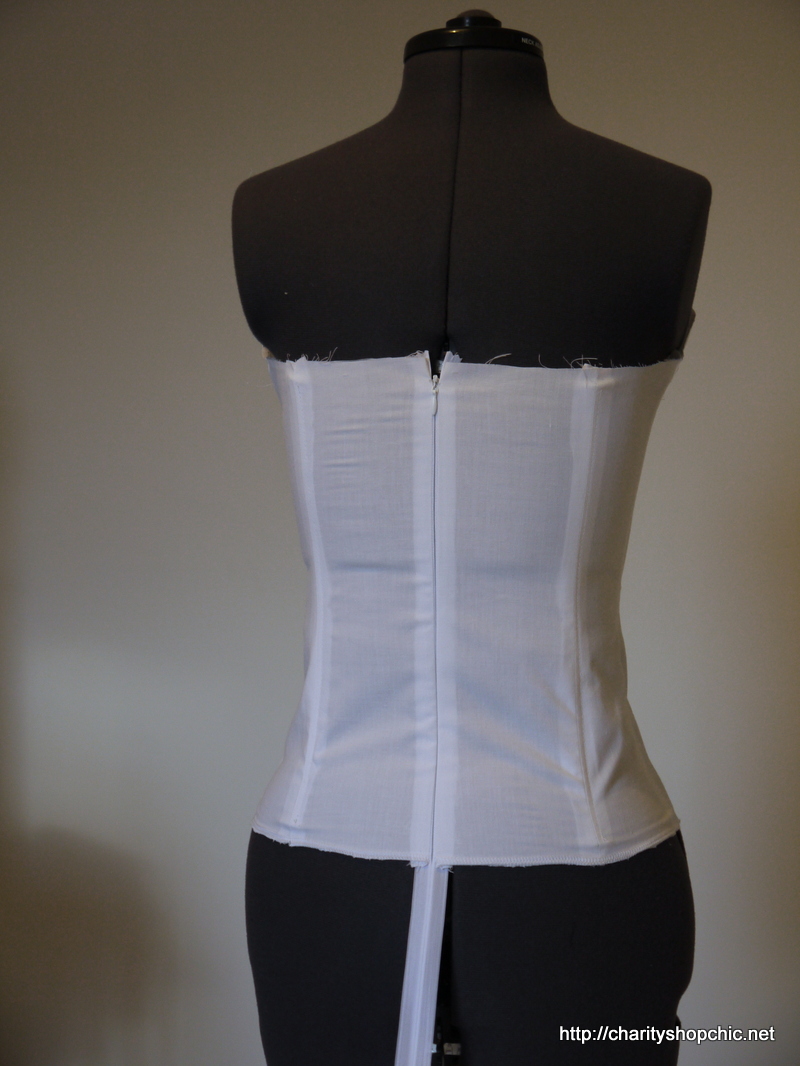
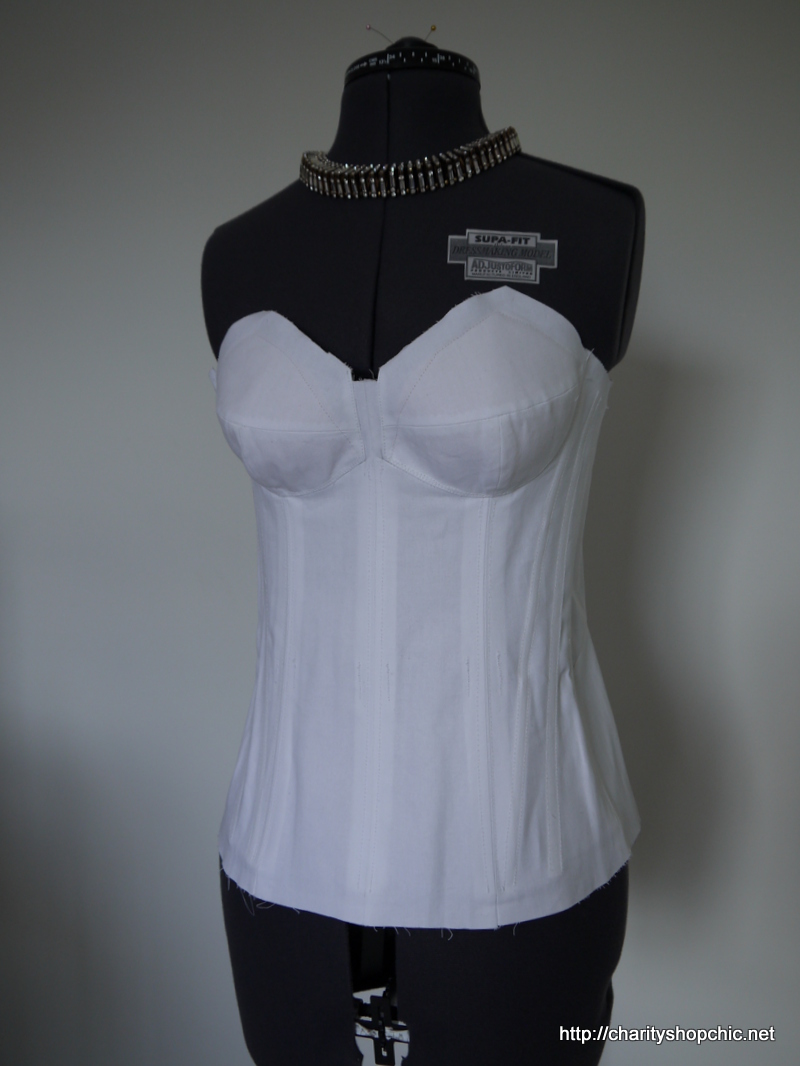
Here’s my muslin for the corselette section, which is loosely based on Burda 02/2011 #113, extended to the high hip and with a few other tweaks.

Note that I used an invisible zip here as the least bulky option. I hadn’t heard that you are apparently not supposed to use them in wedding dresses because they are apparently not strong enough (I read that somewhere recently). For what it’s worth, my dress used two invisible zips, one in the corselette and one in the dress itself and they were absolutely fine. Anything other than a concealed zip down the centre back would have ruined the line of the dress, IMO.
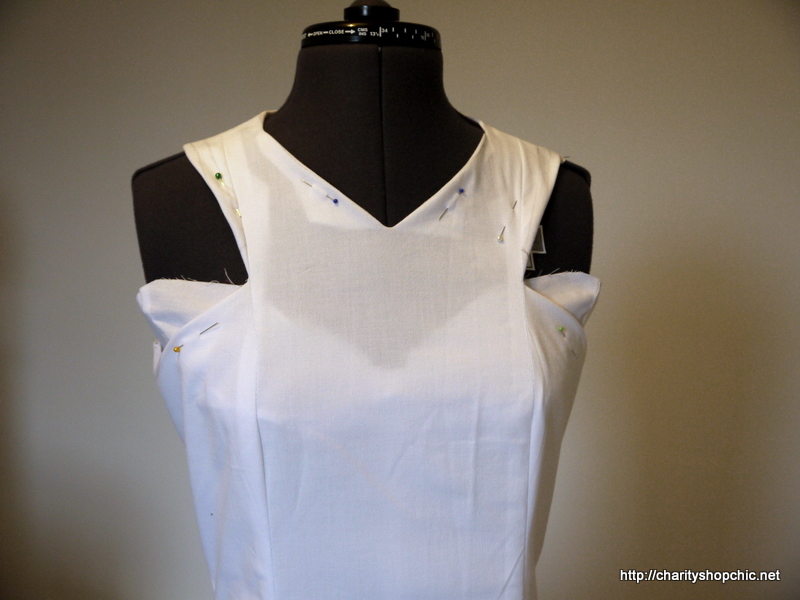
Here’s how it looked under the dress muslin – I trimmed away a bit of what was showing through the armholes in the final version.
The corselette itself is made from a very sturdy cotton coutil, which is the stuff used in corsets. It’s brilliant stuff and easy enough to manipulate with steam. It’s also extremely strong, with absolutely zero stretch or give whatsoever.

It has a herringbone pattern to the weave which is lovely.
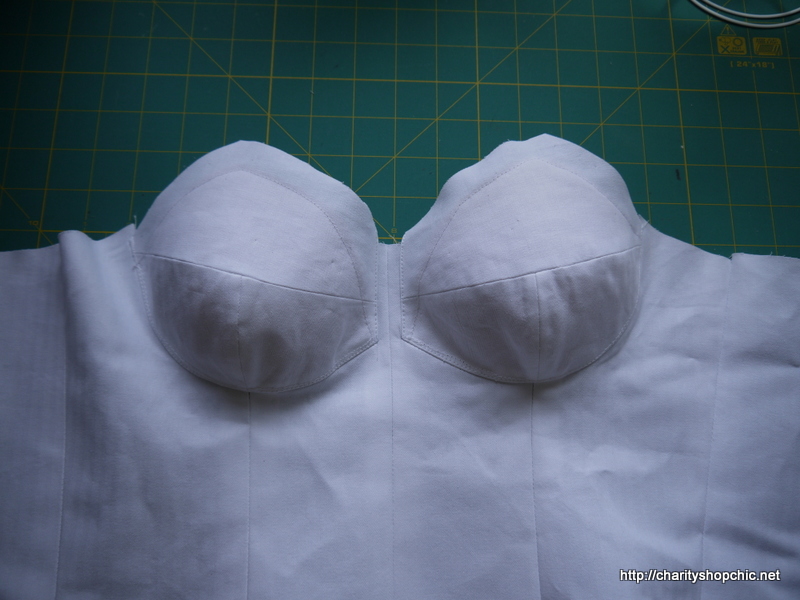
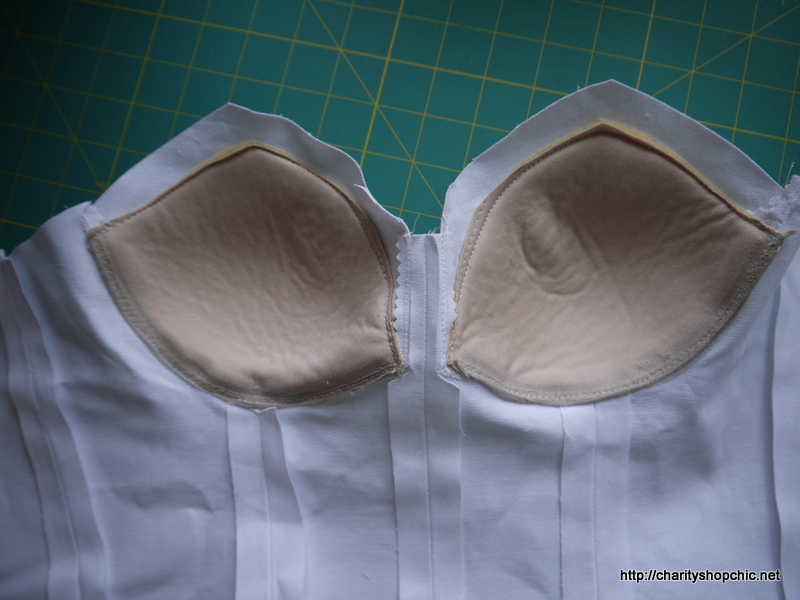
I cut some foam cups from an old bra to add a bit of support and give a nicer shape.
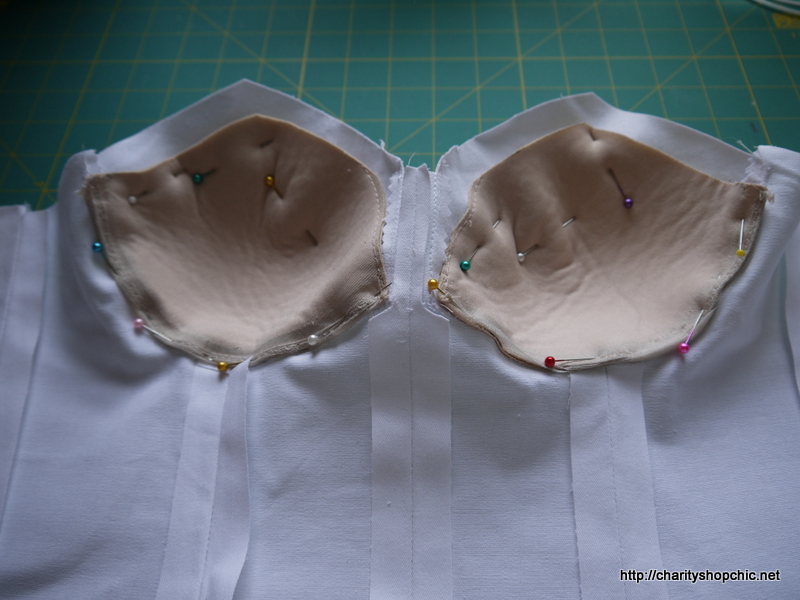
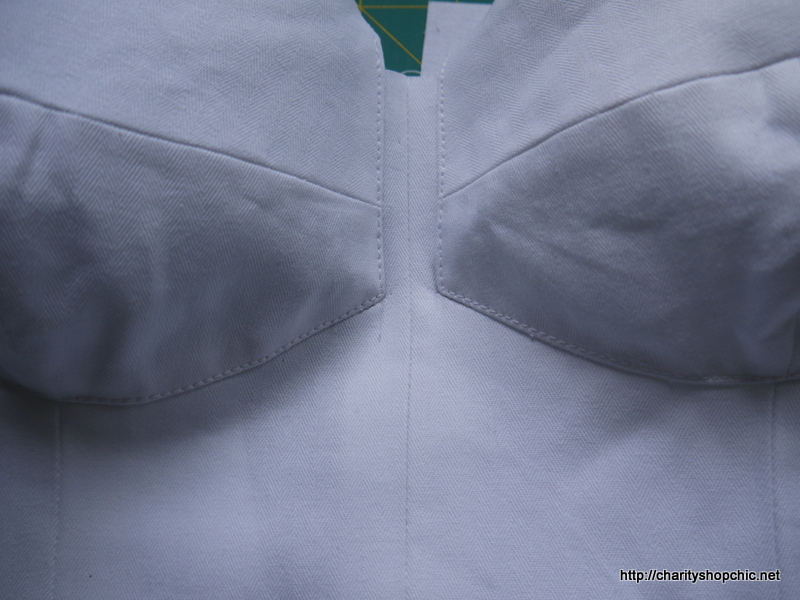
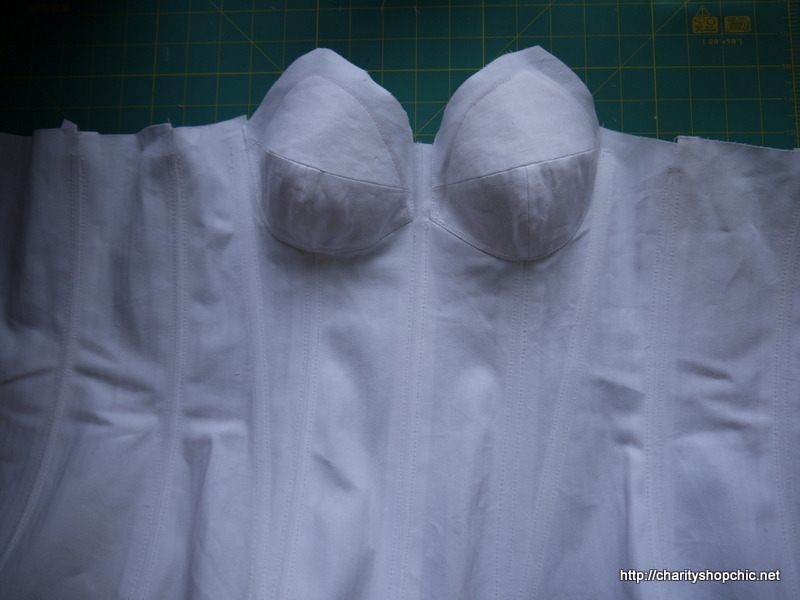
Here’s how it looks with the foam in – not much different.
I used the same cotton covered plastic boning I put into the underskirt. I added it on every seamline and in some other places too, just to be sure.

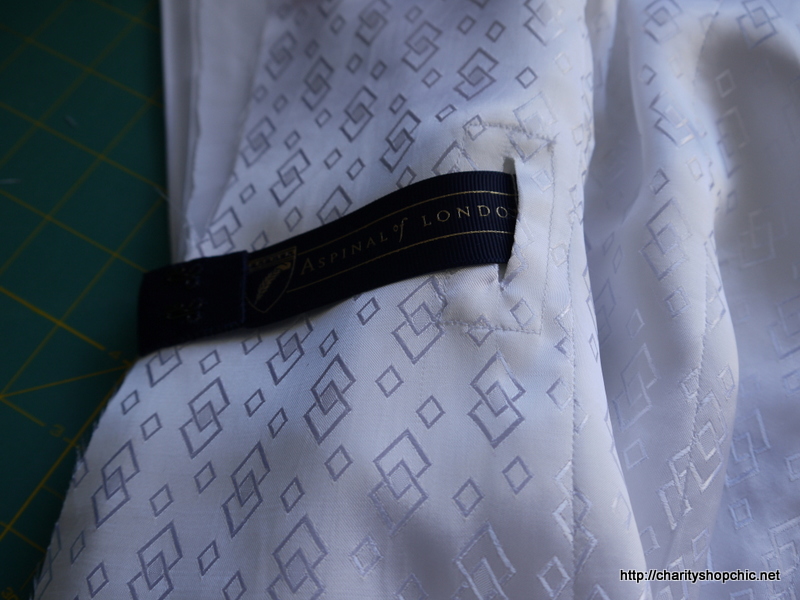
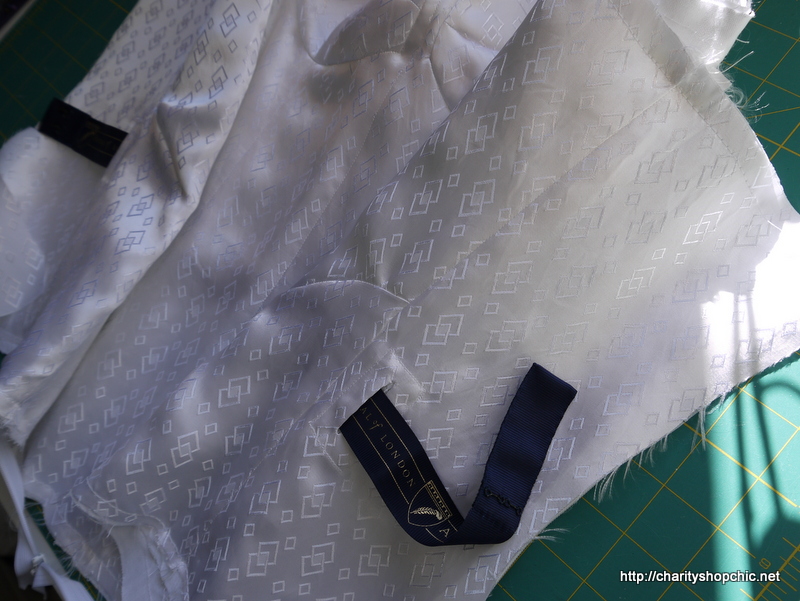
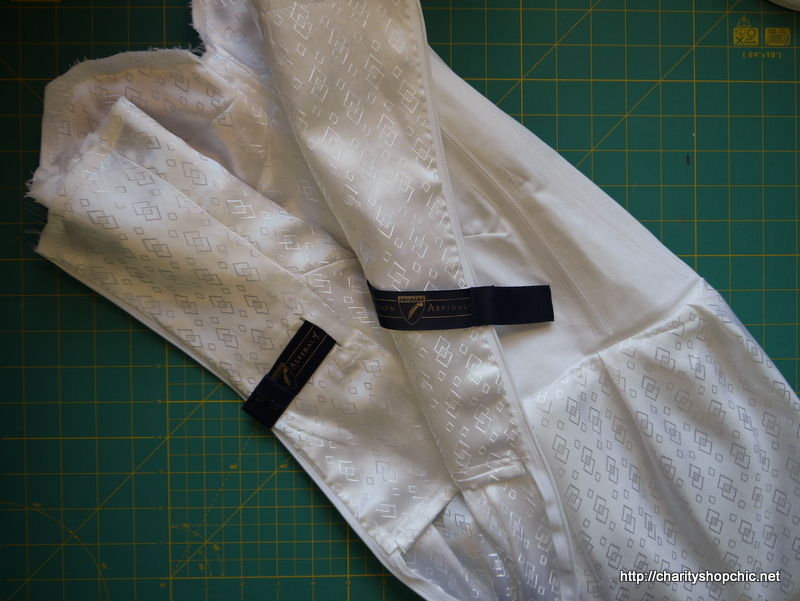
For a waist stay, I used some navy ribbon that came on a Christmas present from my (now) mother in law. It also functions as my ‘something blue’!

The waist stay is sewn to the shell of the corselette at several points around the waist line, leaving the ends free.
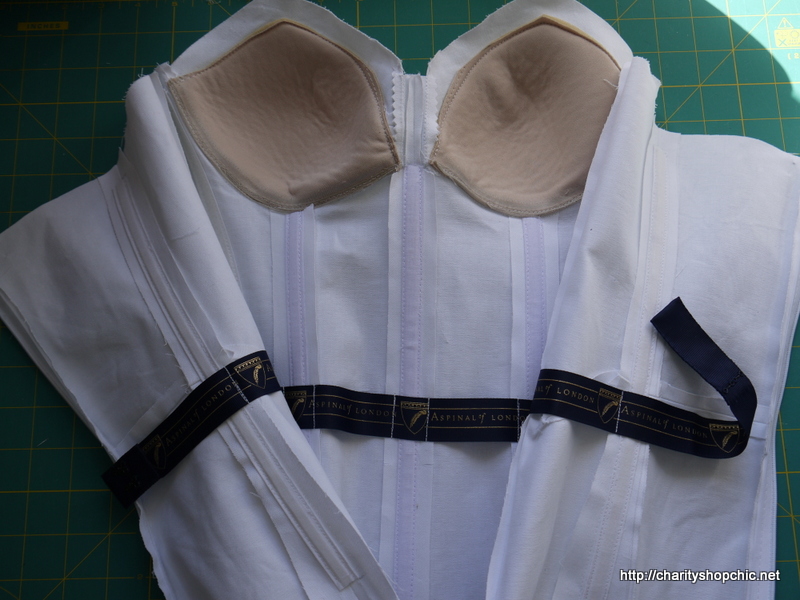
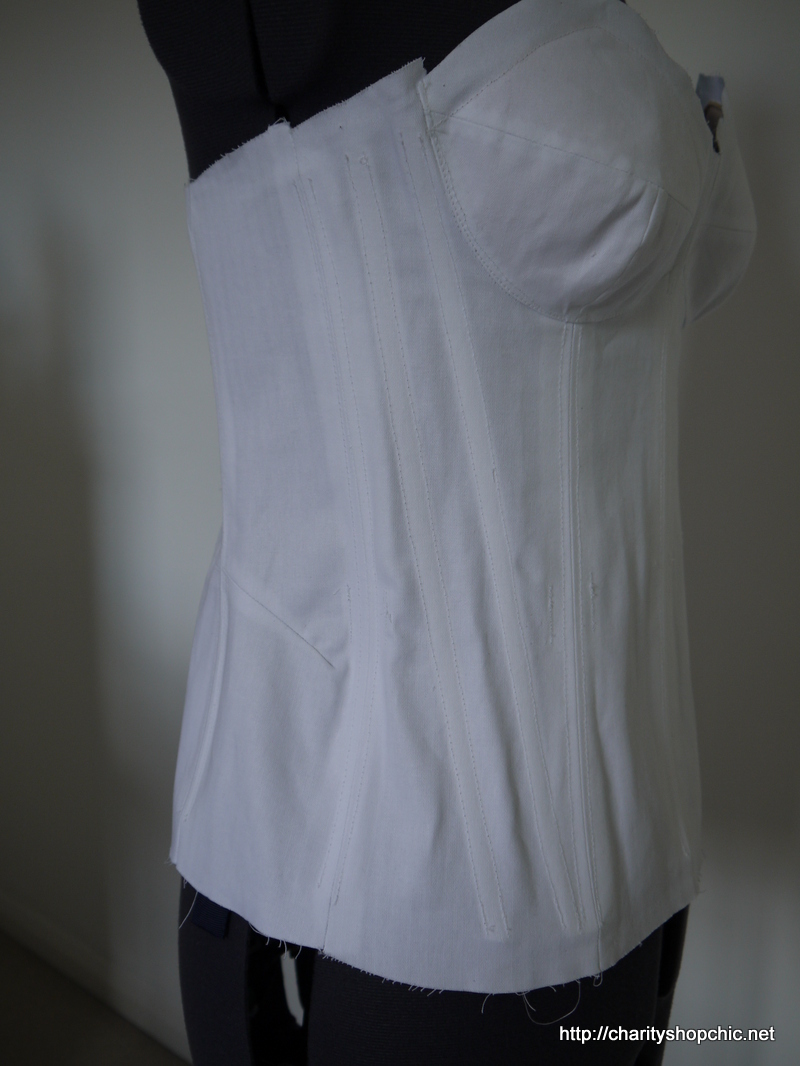
Here’s how it looked at this point.
You can see I took a wedge out of the back and side pieces after deciding a sway back adjustment was necessary after all for it to fit snugly. Nothing fancy – I just pinched out the excess and sewed it!

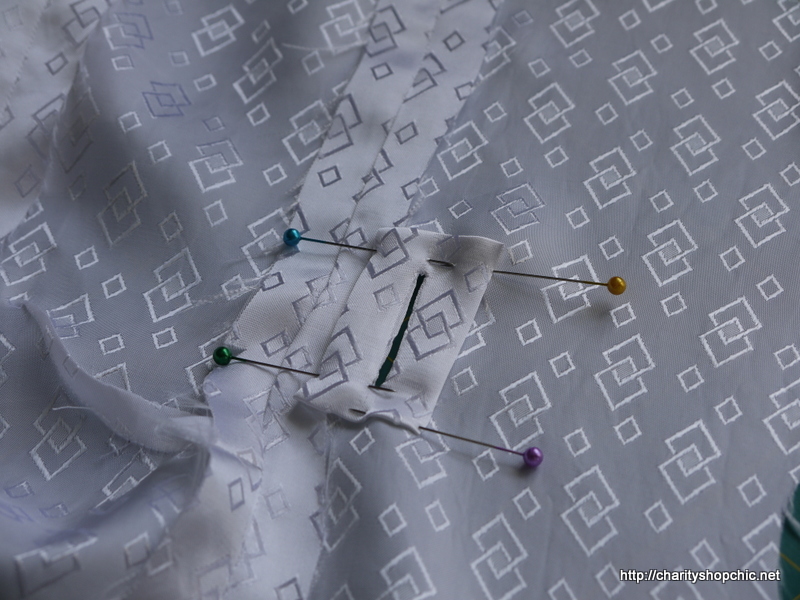
The corselette is lined with a special silky poly lining that I had bought for stash but had loads of. The trouble is, the stay has to be on the inside of the lining, but it has to attach to the outer layer of the corselette for strength. I passed it through the lining with a technique I ‘borrowed’ again from Laura Mae – it’s like a bound buttonhole facing.
Cut a scrap of lining and sew the shape of the hole you want.
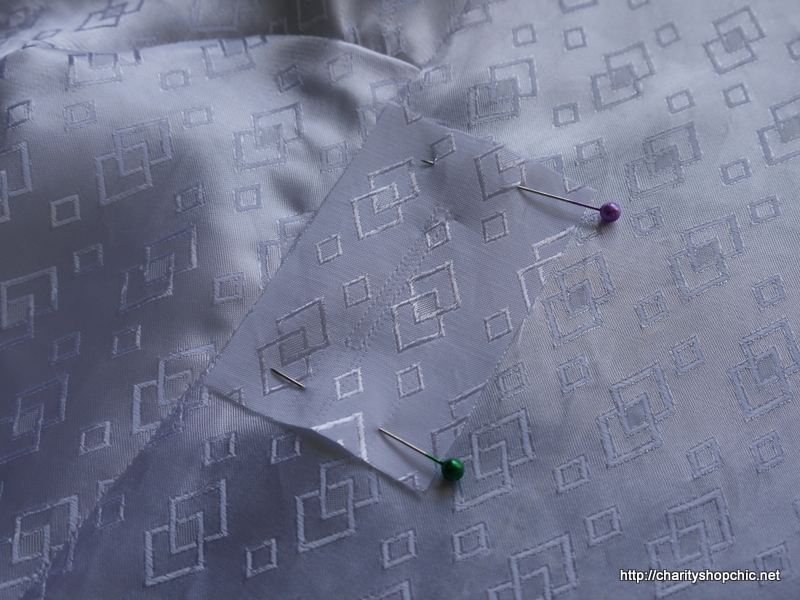
Cut a slit inside the sewed lines, and cut all the way to each corner.
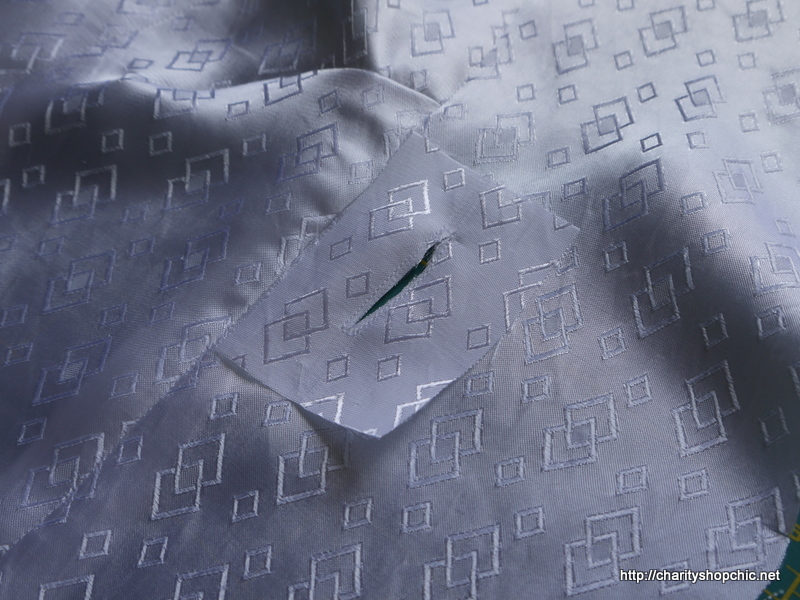
Flip the scrap through to the lining wrong side and press.

I actually topstitched my lining scrap down to stop it working its way back through the hole, but that’s optional.
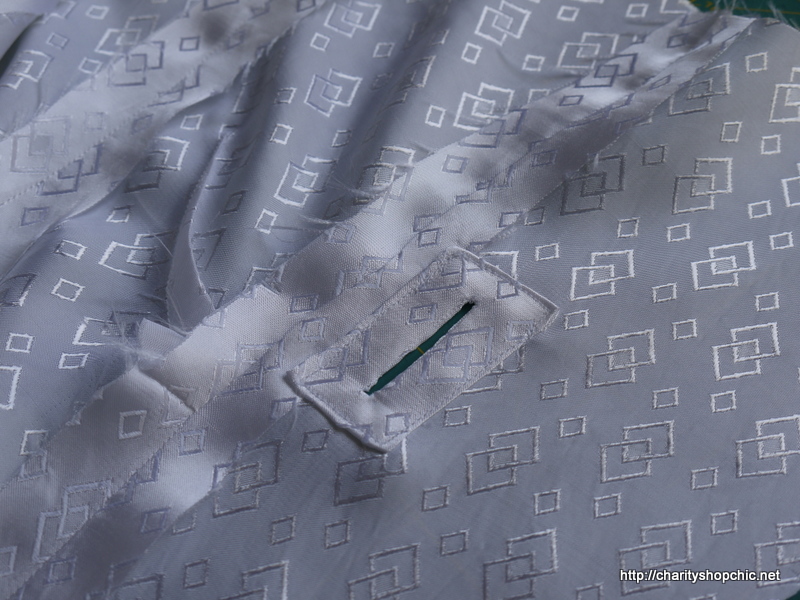
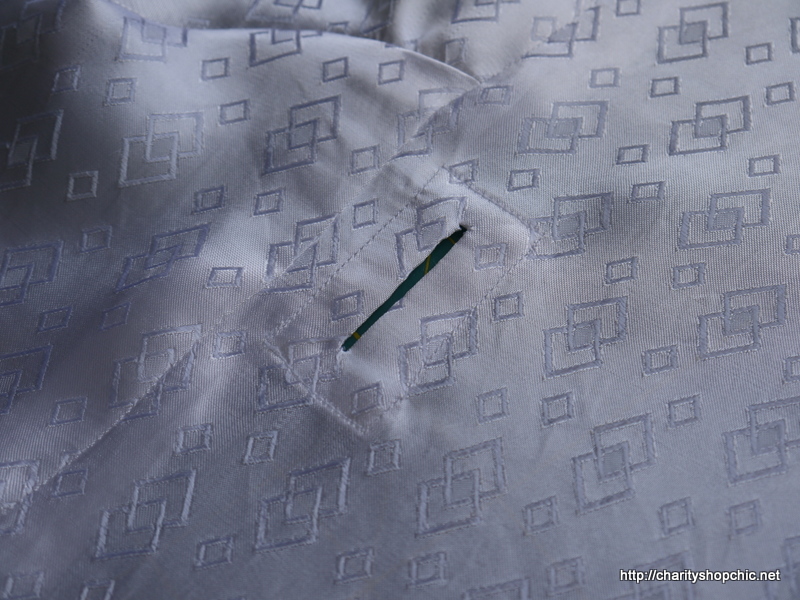
And from the right side – so neat!

The next step was to baste the lining to the top and bottom edges of the corselette all the way around.

I also hand sewed it to the zip tape. I bound the lower edge of the corselette with binding made from the lining which finished it off nicely. As an after thought, I added a small skirt made out of the lining fabric, just so that there was something under the expansive underskirt. It’s just a gathered rectangle.
Stand by for post 4, which is about the skirt lining, coming shortly!

Oh my goodness,that is truly amazing! I am loving this so far, trouble is, I am ITCHING to see the finished product now!!!!
P.S. I have a favour to ask- I’ve entered Lady Vintage’s competition to style one of their dresses and send in a photo and if you liked my picture best out of the entries, I’d love it if you felt able to vote for me by liking my picture! Cheeky, I know, but I really want to win- never won anything like that before and I’d the support of my lovely blog friends. I’m the first one wearing the pink floral dress if you felt able to ‘like’ it for me on Facebook before the end of the 1st December? Here’s the link: https://www.facebook.com/media/set/?set=a.864013323713000.1073741877.144939495620390&type=1&l=8c4891a181
Hi Kezzie, I voted, but I fear it was too late! Good luck in the competition.
Wow! This truly is a labour of love. Amazing construction, and I love the addition of the “something blue”!
Ha, thanks! It just had to be done :)
You are so bloody clever! Just beautiful work, especially the little hole to pass the wasit stay through – just lovely. I have a question though, whats the difference between a corselette and a corset?
Thanks very much :) I totally stole the hole idea from Laura Mae – her work is really wonderful.
Regarding corsets, my understanding is that a corset is a separate item (can be worn under any dress) and a corselette is part of a dress (attached or not, it’s sewn specifically for the lines of that dress).
Love reading this at this time – I am in the stage of drafting and fitting my corselette for my wedding dress. I keep postponing it but this has inspired me to make a start. Doesn’t look too frightening after all!
You can do it! The hardest part is making a start…
This is amazing! So much work! Thanks for sharing!
You’re welcome – thanks for reading!
I admire your attention to detail. I made my (first) wedding dress in an evening! This is such fascinating stuff and it’s lovely to see the dress emerging.
There are a lot of details in this thing, for something with such classic and clean lines! So glad you’re not too bored reading about every single seam… there is loads more to come!
I’m really enjoying these posts – I have the Bridal Couture book and am amazed that it hasn’t been reprinted, it’s is the best resource I’ve ever found for bridal sewing. I made my own wedding dress(and a few others) and always referred to it.
Yup, it’s a great book, so that surprised me too. Thanks for reading!
Sally I am enjoying these posts so much! You’ve done such an amazing job
Thanks! Glad you’re not bored yet as there is a lot more to come!
What lovely work sally! Cant wait to read more!
Thanks Jo! Glad you’re enjoying it. There is loads more to come so stay tuned.
Well I suppose I had really been hoping for a wedding dress made out of old men’s t-shirts but I can see you have moved on from that. Your posts are such good quality and always a pleasure to read.
Ha, now that would have been a challenge! Don’t worry, there are plenty more refashion posts coming up when this series is done. Thanks for reading and I’m glad you’re enjoying it.
Very nice work! I love the pulled through button hole. Looking forward to seeing the next step!
Stay tuned, it’s coming soon!
This is amazing! And very posh ribbon for the waist stay!
Thanks JaneyB, the ribbon was from a gift wrapped present! So I suppose part of the dress is ‘refashioned’ after all ;-)