
Red Carpet Copycat: Olivia Munn in Peter Pilotto
Greetings, refashioners! Another installment of the never-ending series ‘Red Carpet Copycat’ today.


This is Olivia Munn wearing Peter Pilotto at the Courage in Journalism Awards 2012. The dress originally retailed for USD $1845.
I’m making my version out of… this:
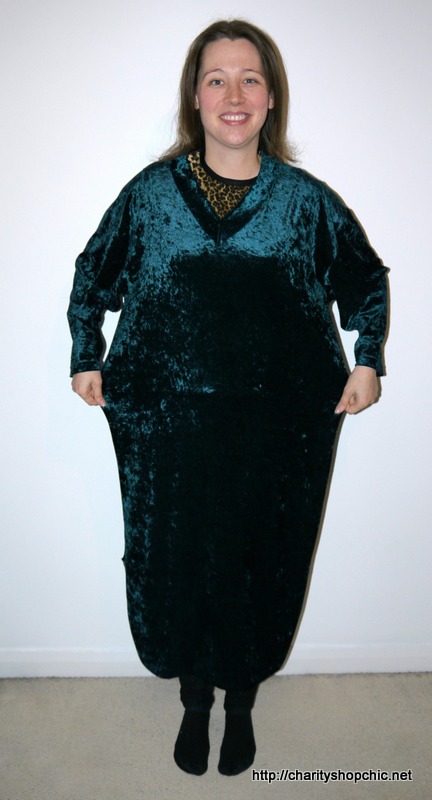
Yes, it’s horrible, isn’t it?
This is a kind of house-dress made out of teal/green velour. There are variations in the nap to give it a slight crushed velvet thing going on – not quite the same as Olivia’s textured velvet look, but it will do.
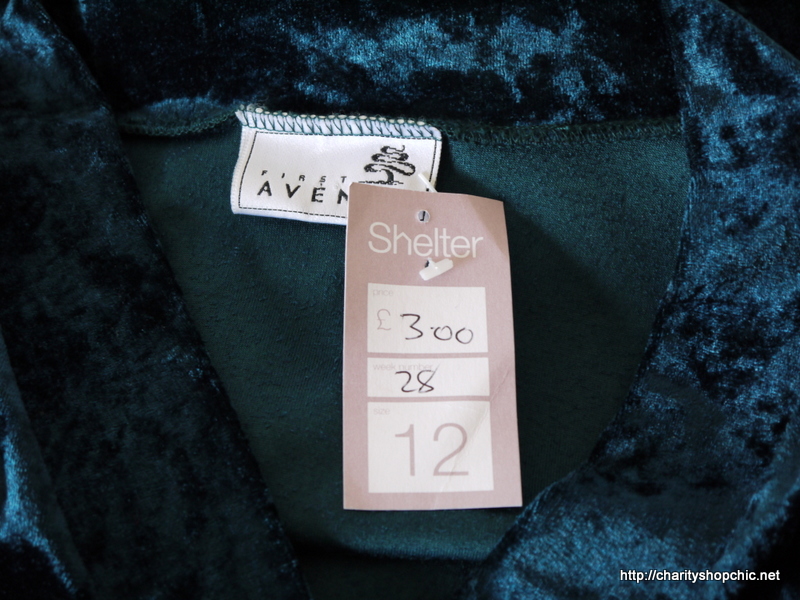
I bought it in the Shelter shop in Bolton and I paid £3.
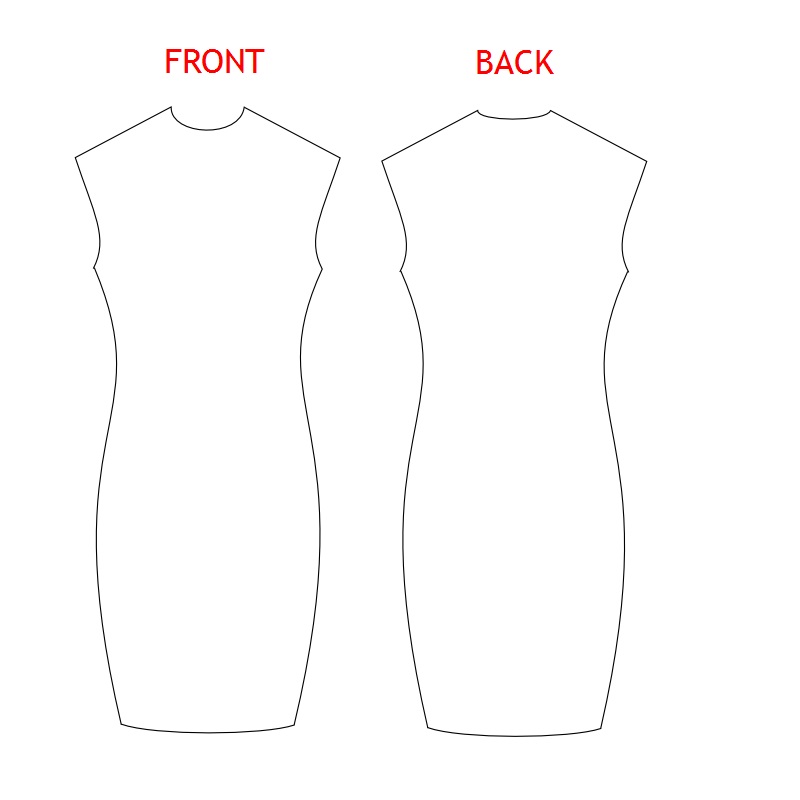
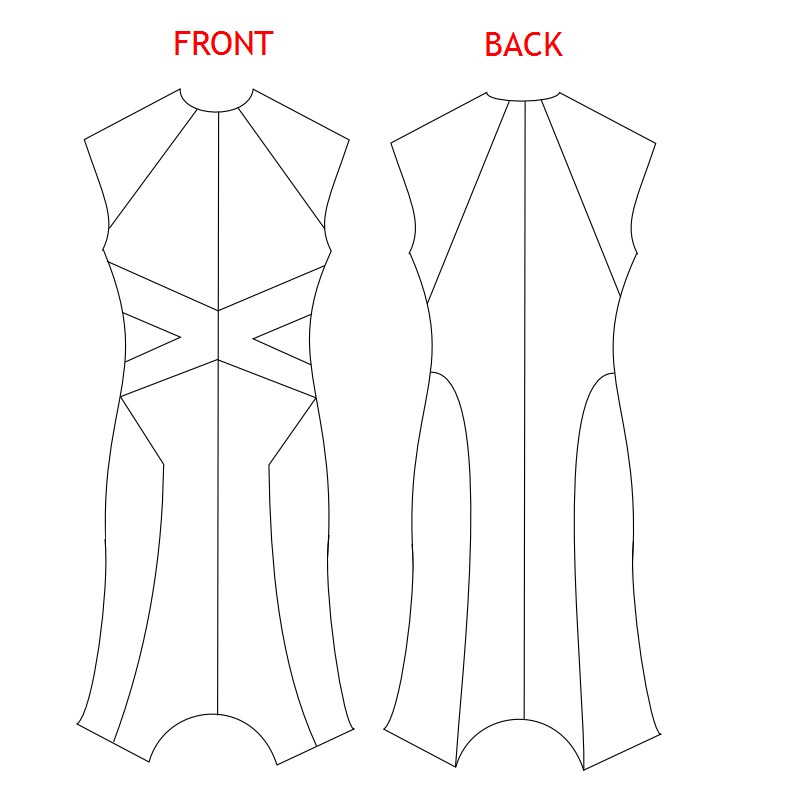
First thing to do was to draft a pattern for this stretchy knit Peter Pilotto-inspired dress. I started with my trusty jersey block:
Then I drew on the style lines. This was pretty easy actually:
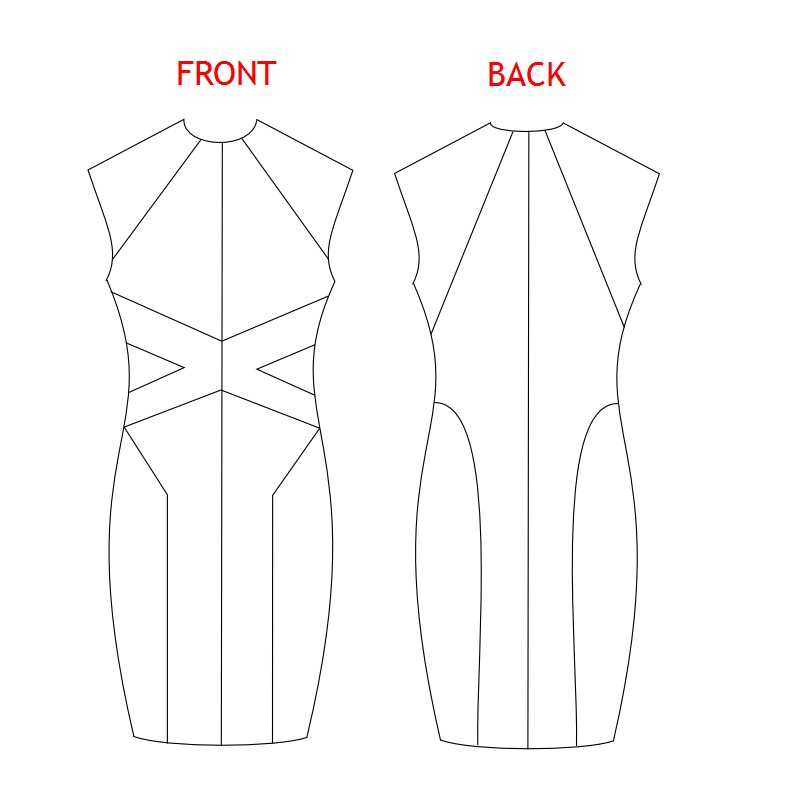
The dress has seams at centre front and centre back as well as both sides. The front side parts at the waist (in between the bars of the X, left and right) were added onto the back sections so there isn’t a side seam at waist level. The back style lines meet the relevant front lines at the side seams.
The penultimate step was to approximate the hem – you can see below what I did. It’s only a rough approximation – I haven’t quite got it spot on. I just drew the hemline I wanted and extended the style lines down. I didn’t bother with the sleeves.
The final step in drafting this was to cut all the pieces apart and laboriously add the relevant seam allowances.
For the stripy sections, after many, many weeks searching for the right quantity of stripy jersey fabric (it needed to be a lot for the diagonal stripes after all), I gave in and bought some stripy jersey in a reasonably complementary colour. The stripes are around 1.5cm.

Cutting into the green velvet wasn’t really a big deal. I just cut around my paper pieces carefully; there was quite a lot left over.
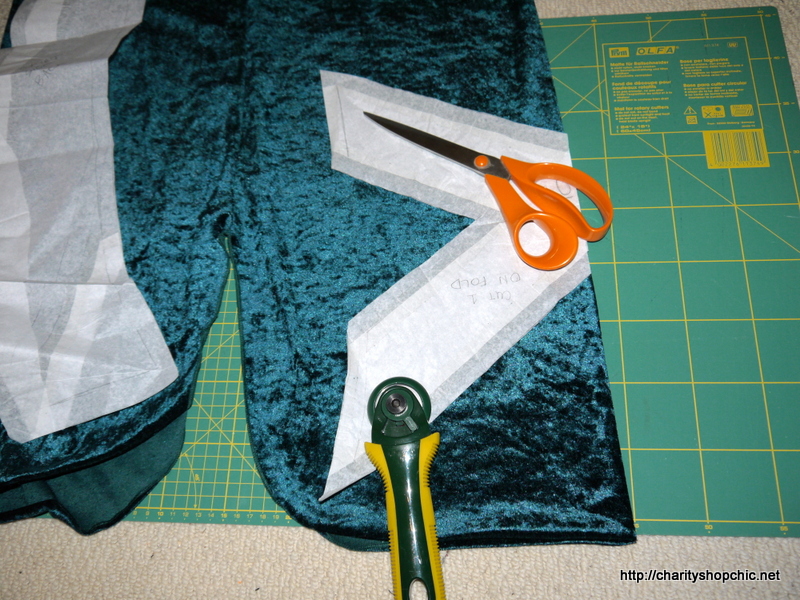
Cutting the stripy sections was really, really hard by comparison. The stripes are directional – they have to form the required V shape in the middle. I used my patternmaster (it has a set square) to align the centre back (straight edge) of the pattern piece at 45 degrees to the stripes. I had to cut each piece out twice as they are not symmetrical (stripes have to go in the other direction).

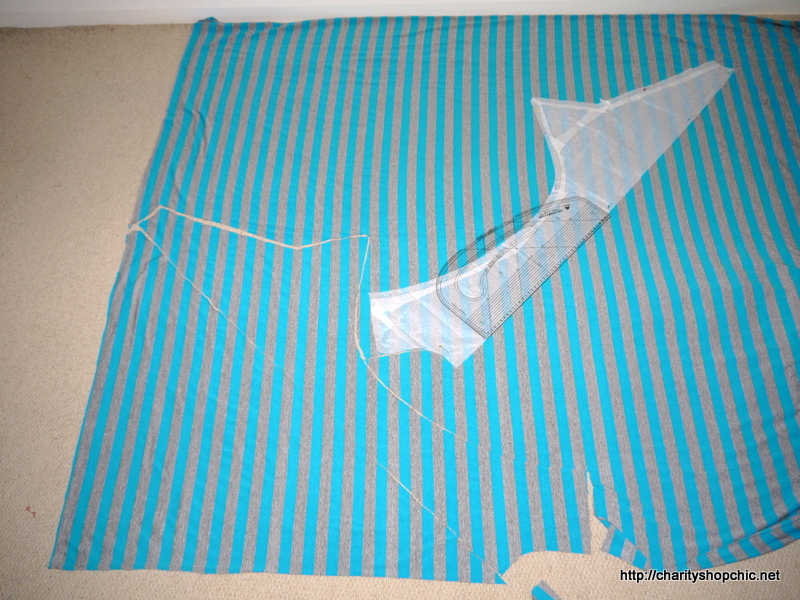
Now, I thought I had laid out my material very carefully without stretching it on the floor, but either it’s stretched, or the stripes are really badly printed. Either way I was left with this mess:

Not good! I’m ashamed to say that I just cut the two ends level – since the stripes matched and all – and it was the longer piece that was wrong.

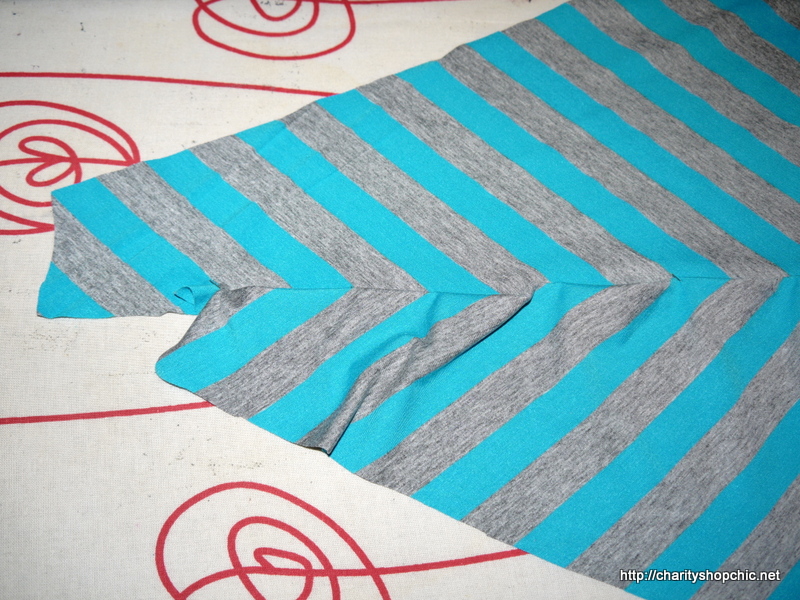
For the other pieces I used the first piece that had already been cut, to make sure the stripes matched up, by laying it on the fabric right side down (above).
Here’s the sum total of my pieces.
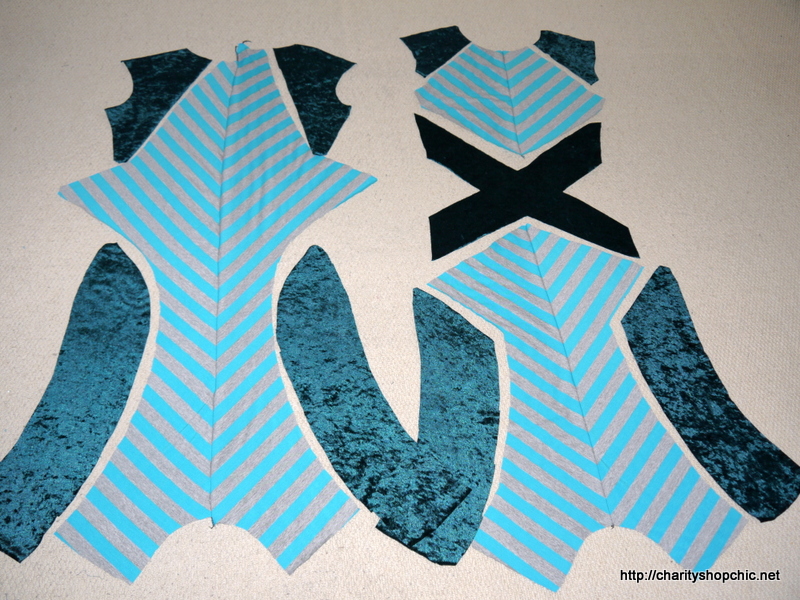
There isn’t really much to note on the construction of this one, I just overlocked the pieces together with the stripes matching where necessary. I left the neck and armholes unhemmed – I liked the slight overhang of the velvet shoulder piece at the armscye too much to cut it off. I trimmed the hem with scissors where necessary to even it up.
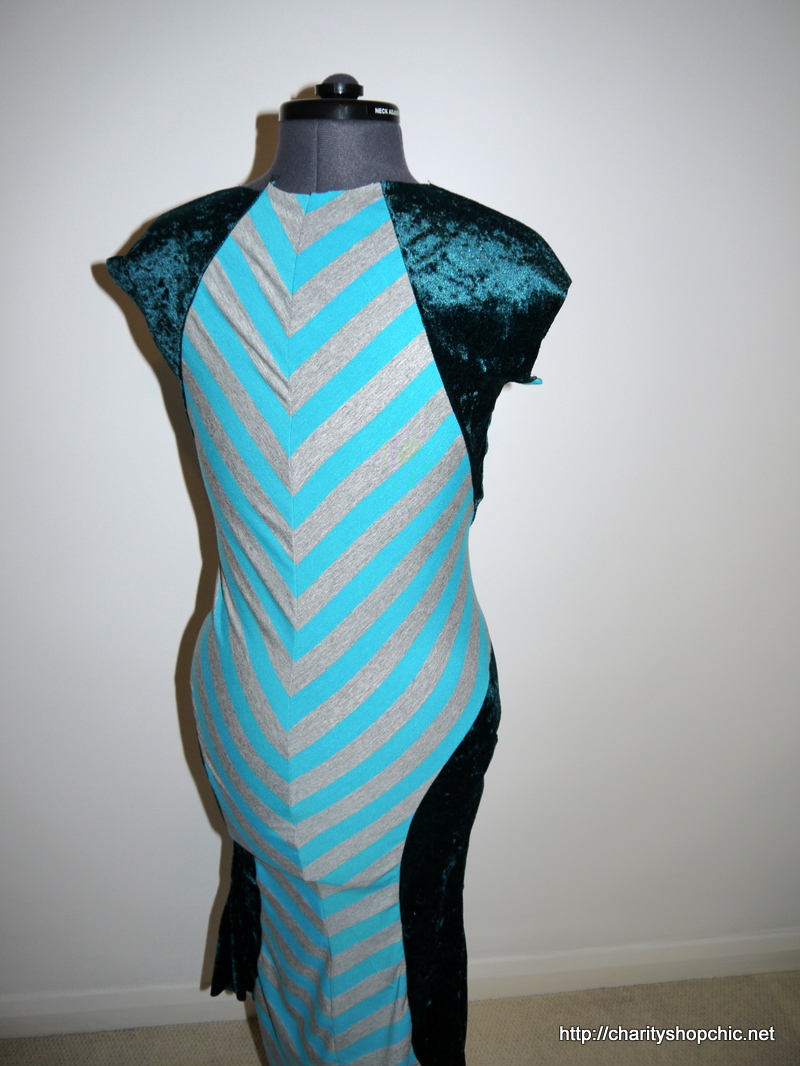
It looks terrible on the dressform, but you get the idea. Part of the problem is the stripy jersey is cut on the bias, which is doing weird things to the direction of stretch. But where does one buy jersey printed with 45-degree stripes?!

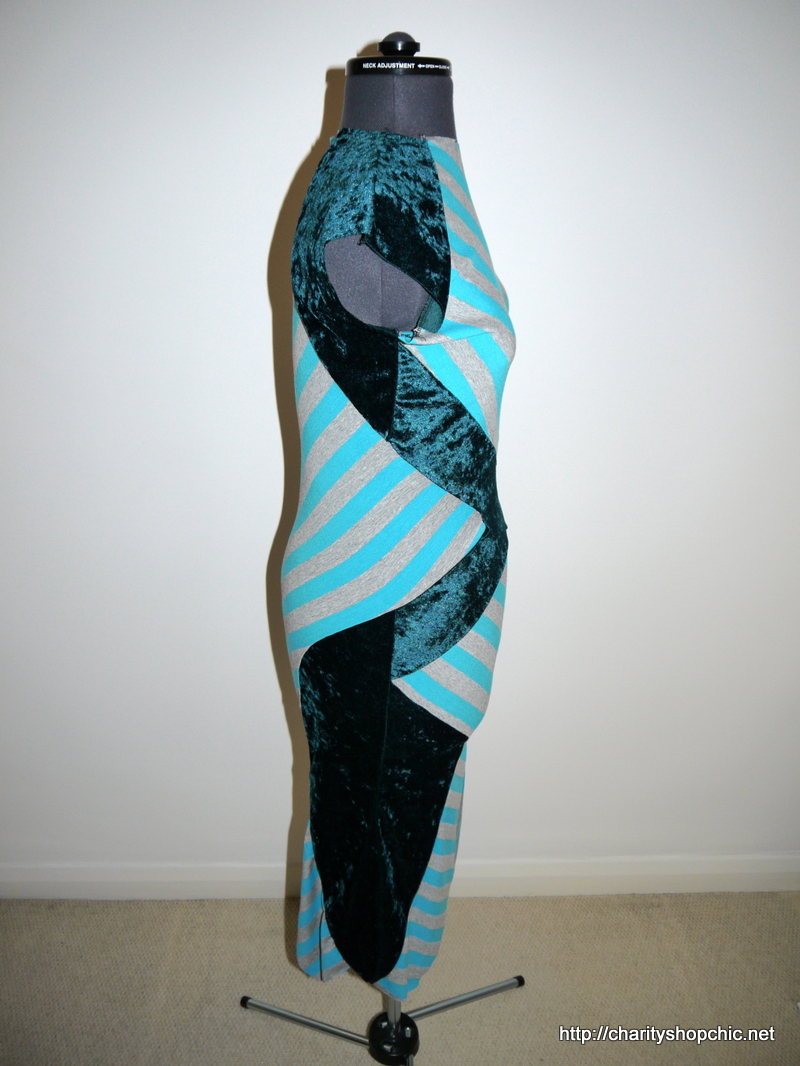
You can see looking at the side view below that I made a mistake with my drafting – at the front, below the X, the stripy section shouldn’t meet the side seam at a point. The velvet section below should extend all the way up to the X (compare with side pic of Olivia above) but I don’t think it’s a catastrophe.
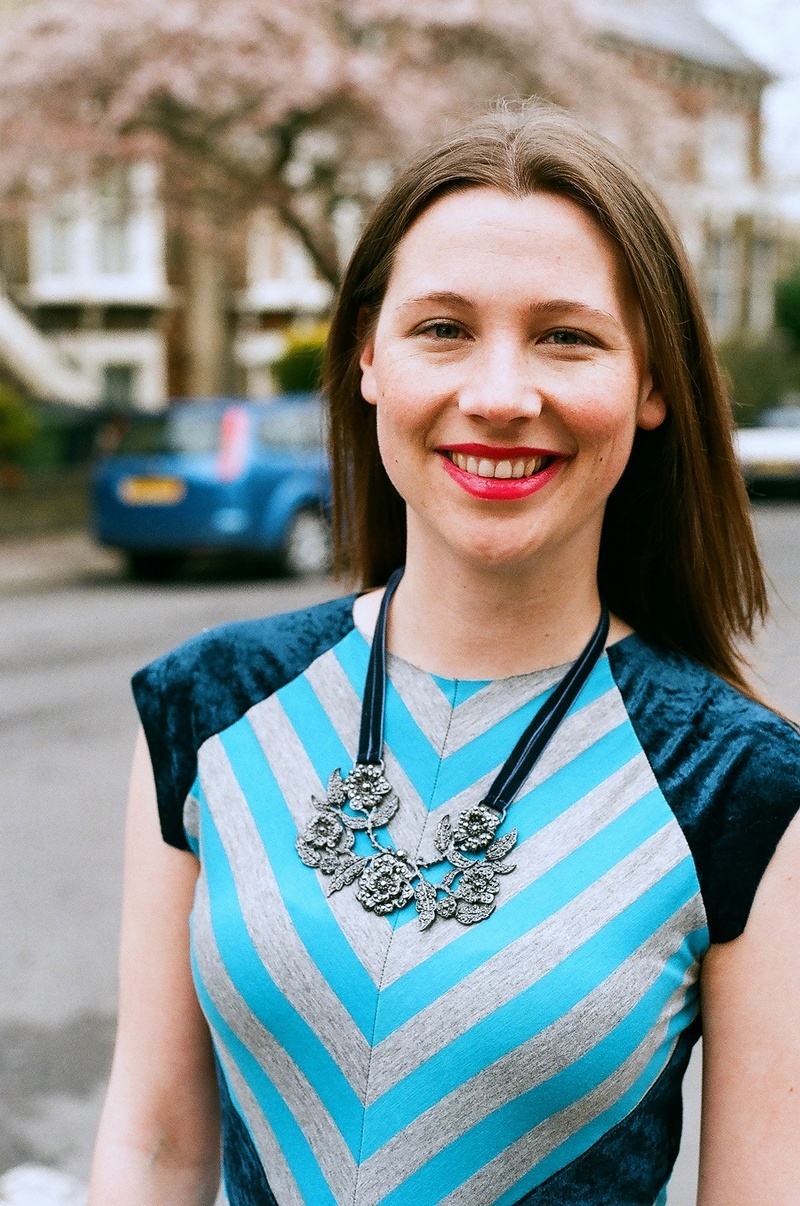
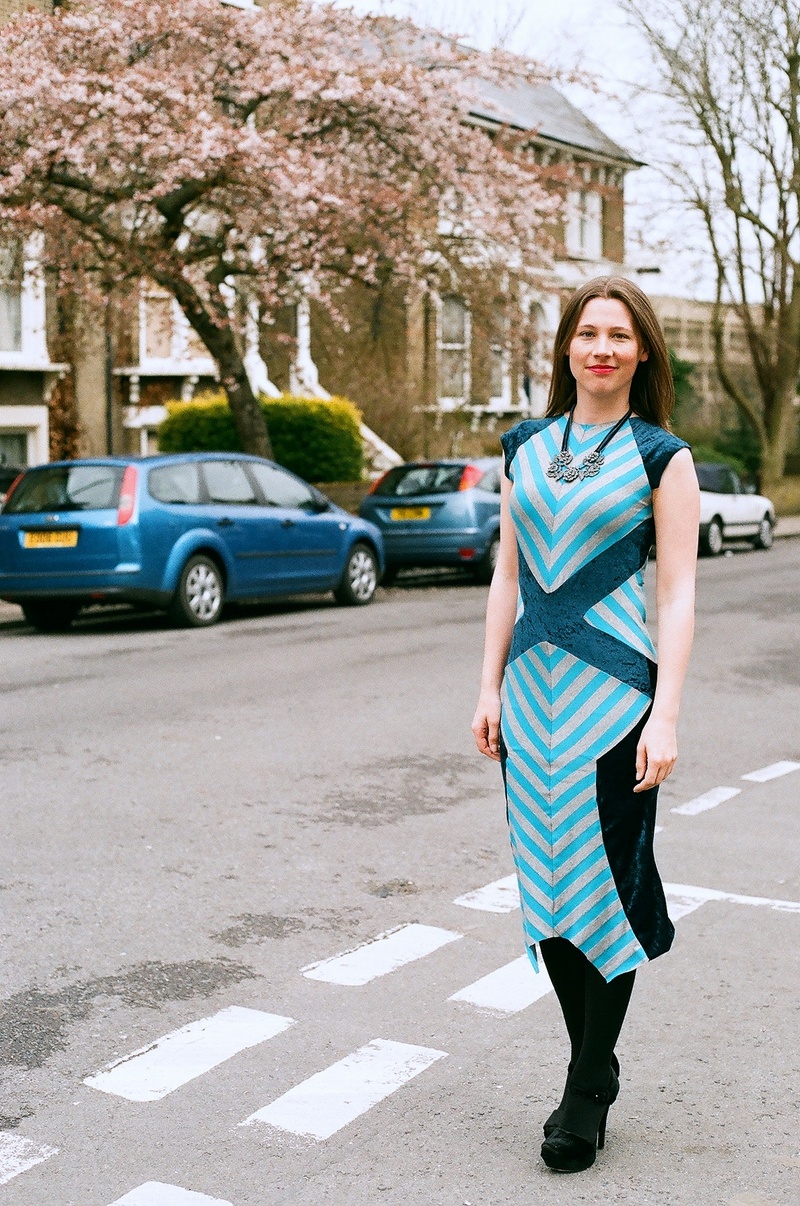
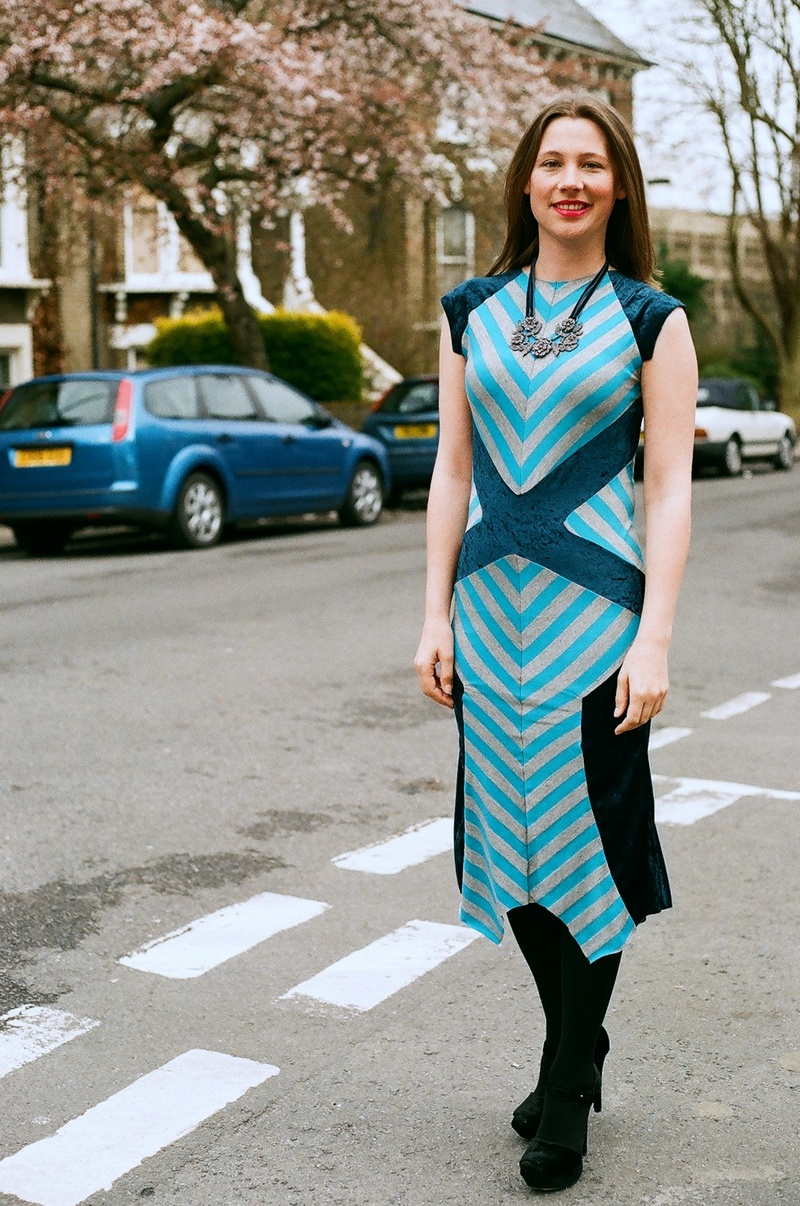
I’m reasonably happy with the finished dress – it is certainly a lot of fun to wear. I’ve worn it with black tights and black (textured!) velvet platforms.


Wow! That’s dedication! I love how it turned out. I don’t know if I would have your patience though! You are very talented!
~Jen :)
I actually like your version better, I think it’s more flattering (especially in the bust) than the model’s. And I like your colors better.
I think I prefer my colour combination too, on balance!
Thank you, yes it was a little time consuming but ultimately a really fun project and I love the result!
Now, that’s a winner!
Thank you Judy :)
This was certainly an interesting refashion! When you describe it, it sounds very simple.
Thanks for reading Juli, actually this remake was quite simple. No complex patterns here, just a lot of pieces.
When I saw the fabrics you were using prior to finishing the dress I was thinking no way that is going to work. I was shocked by the finished product! It looks great! What a surprising refashion. I love it!! Great job.
Thank you Erinn, glad I was able to win you over with this. Sometimes even the most un-preposessing of fabrics can produce a ‘wow’ result!
It looks so much better on you than on the dress form. When I saw it on the form, I wasn’t convinced, but it looks great on! Awesome job as usual.
Thank you, yeah it looks awful on the dressform and at this point I was considering binning it, so glad I didn’t!
Think your version is far more flattering. Would hate to have paid full price and finish up looking dumpy with no waist.
Haha, thanks Sheila – I like the original but my version has a certain something!
Wow! I need to pass out at how well this came out! Looks gorgeous and you executed it perfectly! Question: Did you use Adobe Illustrator to make up your pattern? Or a specific fashion design software?
Thanks so much! I used a pencil and tissue paper (and some glue) to draft my pattern. You can see some of my paper pieces above. I just made a quick sketch on the computer for you to see how the style lines worked.
love it! I honestly didn’t think it would look as good as it does, great work :)
Thank you Sarah! Thanks for reading!
fab! i also thought the material combo wouldnt work but its great you are super talented and it looks amazing on!
Thank you very much Haley :) Stop by again soon as I have another couple of great pieces coming up!
Way to go ! So cute. You do have a lot of patience to pull that off.
Thanks Mary, yes it took a little time but it was worth persevering.
Looks much better on you then the form!!:) good job
Yeah thank God! Thanks for reading.
You are my hero! I’m seriously in awe of your pattern drafting skills. Nice job!
Beth
Thanks Beth, actually this one was easier than it looked!
Wow, I seriously thought this was a disaster in the making! I’m so glad you could see the bigger pictures because it looks fabulous on!
Ye of little faith! Thanks for the comment.
You never fail to amaze me. Where/how did you learn??!!
What a great refashion! Also, noticed that a few of your charity pieces have come from Bolton – are you local to the north west?
http://Www.mancunianvintage.com
Thanks for the supportive comment – I am self-taught. I am based in London these days but do get up to the North West occasionally. Bolton is full of charity shops so it’s a great place to visit ;)
Self-taught? Blimey! I’m in Wigan, so next time you’re in the North West give me a bell and I can join you on your charity shop-hunting trail :)
Will do! :)
Just found your blog (behind much, why yes, I am ;) And I am IN LOVE with this! You are amazing … cannot wait to read more!
Haha thanks for the kind comment, Cassie. I have loads more projects like this either already blogged about or coming soon – enjoy!
The dress, as ever, looks fantastic. Congratulations. :)
Thank you Kim!
The neon-like blue makes the dress look magnetizing. You are a great inspiration, please stop by my blog http://etheea.wordpress.com/ it features unexpensive refashions for beginners , and every opinion is valued!
Thanks for stopping by!
I love it; you are so ingenious.
Thank you so much! :)
I think Marilyn had the perfect word: ingenious! And that necklace sets it off beautifully.
Thank you Jenny, the necklace has blue velvet ribbon so I thought it co-ordinated nicely!
Your skill is amazing! You lined up the stripes perfectly! Love the velvet material.
Thank you! The stripes were a bit of a hassle but it was essential to match them perfectly or the effect would have been lost. Thanks for commenting!
I can imagine it would of been time consuming and frustrating. But your effort was worth it!
:)
woooooh! amazing! Maravilloso!
Thank you :)
AMAZING!!! Totally, completely awesome!!
Thank you so much! :)
Fantastic job! You have a great sense of style and a real eye for fashion.
Thanks Christiana for the kind comment :)
Meh, who cares what it looks like on the dress form – looks fantastic on you! Most of my stuff looks wonky on the dress form too.
You’re right, it really doesn’t matter – since my dressform is adjustable it is rather an odd shape! Thanks for the kind comment.
Hilarious picture in the giant velour tent… very glam pictures of the finished refashion. Looks awesome.
I know right!!!! Truly one of the most hideous ‘before’ pictures I’ve ever taken. I think the transformation was pretty dramatic!
I am in awe of your talent – it looks fantastic!
Aw, thank you so much! So kind of you.
Holy moly, you are awesome!!!!!
Thank you Tamara, you’re too kind :)