Embellishment: Crochet Trim
Greetings, Refashioners! Long time no see. I have a few posts to share that I’m finally getting around to, starting with several on the theme of embellishment. This one is from earlier this year.
I was heading out on a holiday-season holiday to a hot place, but digging out my summer wardrobe in winter felt a bit strange. To spruce it up a bit, I wanted to add an off-the-shoulder top of the type that was really fashionable this summer. You know the ones. They were everywhere! This is a very straightforward idea that I’ve been thinking about for a while. If you’ve got an old summer shirt in your wardrobe that could do with a bit of TLC, this could be just the ticket.
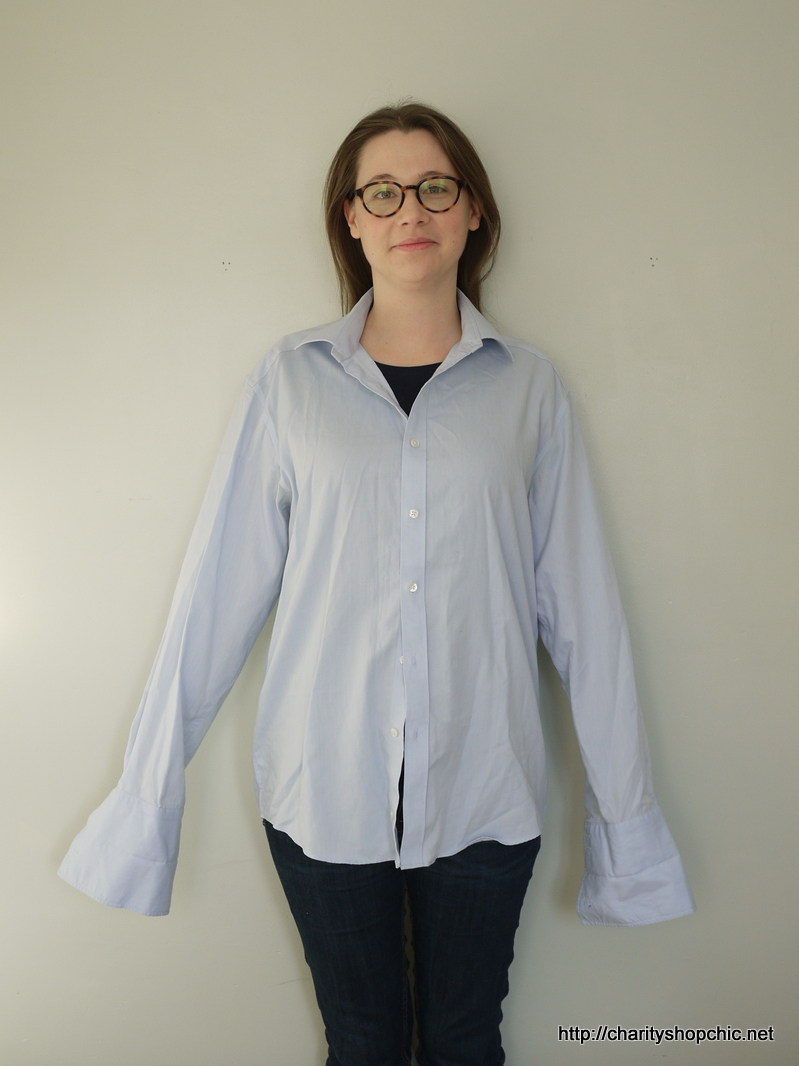
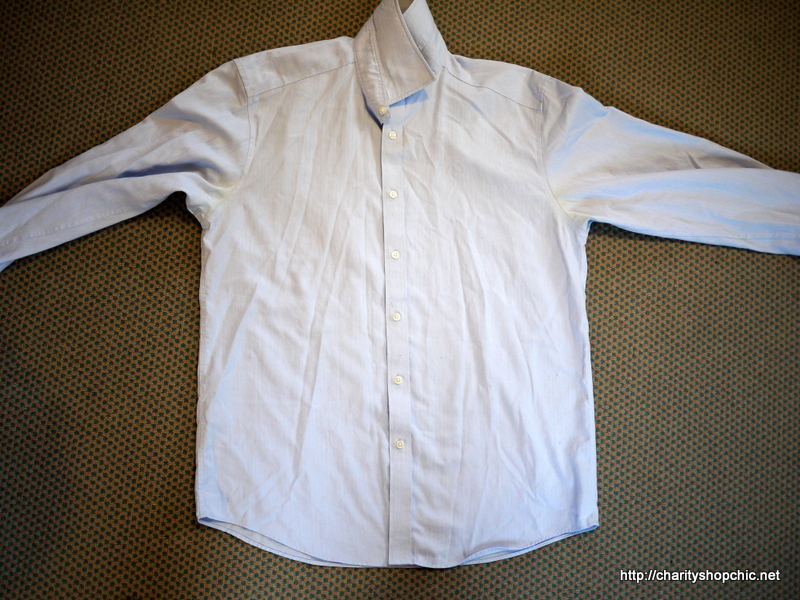
I started with an old shirt belonging to Mr CSC (with his permission, of course!).
I cut the shirt into sections as you can see in the picture below. I cut the sleeves from the body, leaving the flat felled portion on the shirt. I also cut across the chest below the yoke.
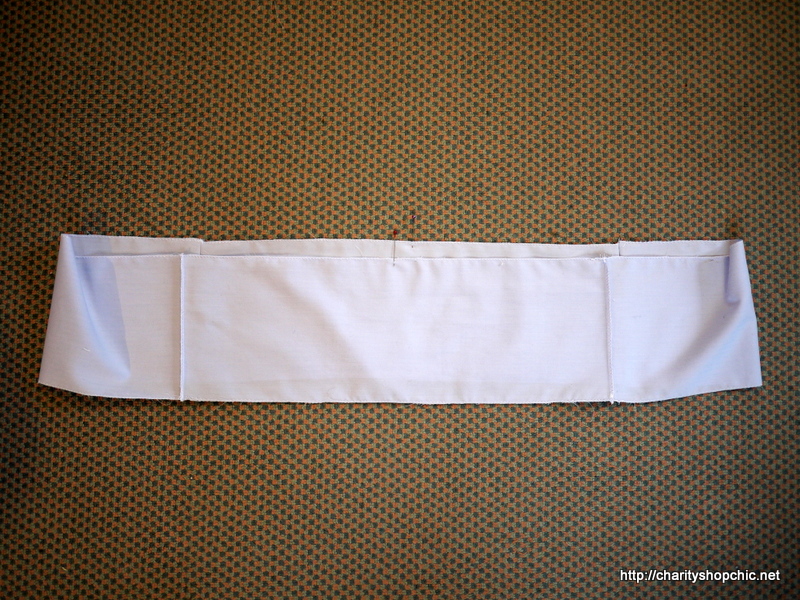
I dissected the sleeves, removing the cuffs.
I wanted two rectangles from each, as big as possible. Here’s what I ended up with (I had to unpick the placket to get the most material out of it).
I finished the top edge of the body, sewing the button plackets together along the top edge. The button placket will become the centre back of the new top.
I didn’t finish the armholes as they were fairly secure and won’t be seen in the final blouse. I know, I’m lazy! I could have removed the remains of the seam and zig zagged it or something.
From the sleeve-rectangles, I made a tube, again finishing the edges with a zig zag stitch. I made sure to make it symmetrical.
I pinned the right side of the tube to the right side of the shirt and sewed it on.
Here’s how it looks flipped over to the right side.
I folded down the top edge of the ‘sleeves’ by the same amount to make a small hem at the top edge.
Then I added the elastic. I cut a long-ish piece, after measuring it around my shoulders to get the right length. You’ll want to stretch it a bit while you do this, especially if (like mine) your shirt material is relatively heavy, or it won’t stay up when worn.
On the body section, I sewed a seam about a centimetre from the top edge to make a channel and fed the elastic through. Then I joined the two ends of the elastic. I pinned opposite ends of the loop to the outermost shoulder points and then pinned it at the junction of the ‘sleeve’ and the body, allowing a reasonable amount of stretch (so there was more material than elastic). The elastic runs inside the folded over hem. To finish it, I zig zagged over while stretching it, and I think it looks about right.
To finish the free edge of the ruffle I made a crochet trim (crochet being my new obsession).
This one is from “Edgings” Book 182, published by Clark’s Mercerised Crochet Cotton in 1942, my favourite crochet book amongst a small cache I found in a charity shop a few years back. I’ve only just begun to work through these and I sense there are many more gems in it.
Here’s my trim, a bit wonky but I am a beginner. And a gentle press worked wonders.
It was easy enough to pin on and hand sew it over the zig zagged hem edge.
Here’s how it looks on! It was a very windy day off the coast of Barbuda, but you get the idea. And it stayed ‘up’ despite the breeze.
A little blurred (I think my photographer may have been slightly drunk).
The colour of the water against the pale sand was inspiring.
I do feel a little like a pillowcase in it, but it’s great for avoiding tan lines…


CUTE!!!!!
THANKS!!! ;-)
Love the crochet edging. It makes it look so feminine.
Thanks Pam, so glad you like it!
Reblogged this on vintagethrifter51.com and commented:
Your top came out so great!! I love that you crocheted the lace trim yourself, you did an amazing job. I don’t think it looks like a pillow case, I think it is a lovely fresh summer top with that beautiful detail of the lace. Well done! Cheers, Michele
Thanks, Michele! I’m quite happy with how it came out!
Brilliant! Rather jealous of your crochet, if you are a beginner, you are picking it up quickly!
Thanks Claire, it’s really quite straightforward, much easier than knitting. Like most things, the key is practice!
You are such an inspiration, although I am a little past this look! I am also learning to crochet and have been collecting vintage books, but my efforts have been very “iffy”!
Haha, thanks Sue, you are too kind! I must say it took me a few hours to get the hang of it. I have found that using finer yarns and smaller hooks gives me the ‘lace’ look I want.
This is genuinely fab hunny, I always like when your posts pop up randomly in my emails. You inspire me :)
Aww, thank you so much, Kanika! I’m so happy you’re enjoying reading.
I love this one! I never would have believed such a pretty blouse could be made from an old button down! The crochet embellishment is just icing on the cake. So pretty!
Thanks TaraLee, I think it would work even better with a thinner shirt for a proper summer look!
That is so clever. I wish I could wear strapless tops, but I’ve yet to find strapless bra that does try to sit around my bellybutton.
I hear you macstabby, I hear you. I do like them for holidays as bikini straps showing (rather than bra) is somehow more acceptable!
So love it!!! And am really inspired by the crochet trim too. Fab. As always 😀
Thanks, Winnie! I am getting into crochet – never thought I would say that – it is quite theraputic!
Its gorgeous, that crochet must have taken a bit… the hook is tiny. brilliant job, very inspiratonal
Hi Eimear, thanks for commenting. I found that a smaller hook and finer yarns gave me the ‘lace’ look I wanted – though the process isn’t exactly easy on the eyes.
Classic and well done! I’m always happy when I get an email notice of a new post from you. And it looks like you’re having so much fun:). Good for you!
Thank you so much! I’m so glad you’re enjoying reading. I’m certainly enjoying life at the moment!
so nice ! it’s like tou are a little girl ! CUTE !
Haha, thanks! It’s a bit more ‘cute’ than I normally wear, but it’s good for holidays!
My goodness, that is amazing. Congratulations.
Thanks Kim!
Very cute! Just last week I cut the puffy sleeves off of the blouse of a white square dancing costume, resulting in the sister to your top! Great minds! :o)
Great minds think alike :) Thanks for reading, JJ!
A great idea beautifully executed! You got me thinking about what I can add lace to.
Thank you! I like the idea of adding lace to all manner of hems, sleeves, necklines… I love it!
You are so fab at this. That is all. :-)
Ha, thanks Lulu!
Stunning! And what a gorgeous photo shoot! 🌞🌞🌞
Thank you – it’s a gorgeous place, wish I was there right now!
This is so cute!!!
Thanks, Kate!
That is so pretty! I found your post via Closet Case Files. So glad I did!
Thanks Lisa, glad you liked it!
Ah what a cute holiday look you gorgeous girl! Your patience to try out new things and all that hand sewing/crochet/embroidery amazes me
Haha, thanks! I’ve found crochet and embroidery to be really relaxing – you should try it!