
Shades of Grey


Today we are starting with this very thick grey wool skirt from the Mind shop in Whitby. I paid £4.50. The wool is so thick it’s almost coat weight. The skirt is pleated into deep knife pleats which are sewn shut for the first 15cm or so. The whole effect is rather kilt-like.
It may be a stretch of the imagination, but… for inspiration I am using this rather lovely Louis Vuitton Fall 2013 dress as worn by Victoria Beckham on the cover of Australian Vogue (September 2013 issue). I love this because (a) it’s lace and I love lace, and (b) it’s plaid, and I love plaid. It’s clearly part of the slip dress/nightie trend that’s a throwback from the 90s grunge era, but smarter.

I had the idea to use the grey wool skirt for this look because I wanted to see how the thick wool contrasted with the delicate lace. But it took me a lot of work to realise that vision…
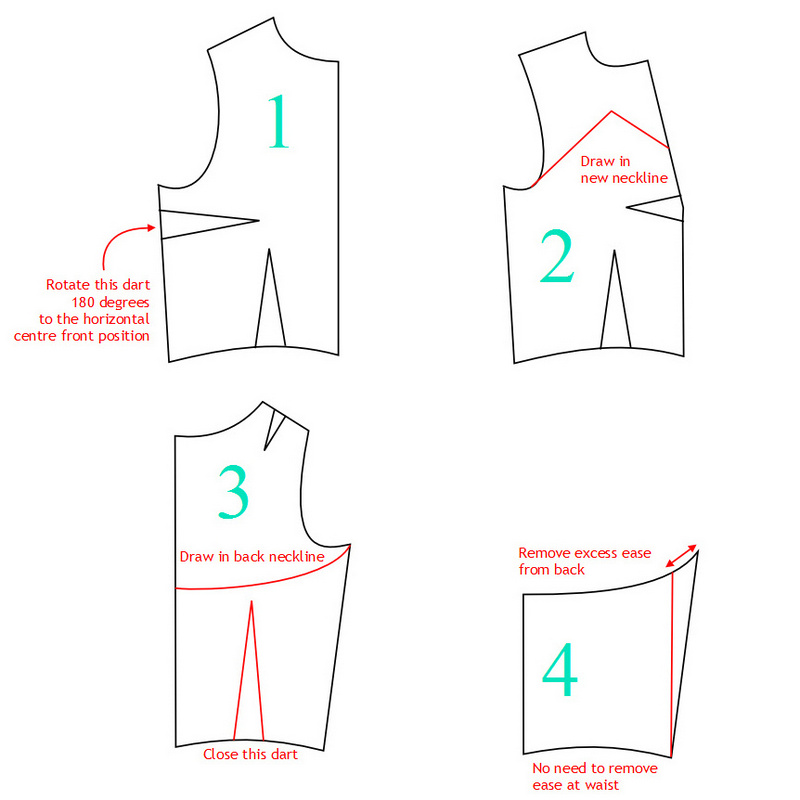
First off, I drafted a quick pattern from my bodice block that I thought would sort of resemble the inspiration picture and show off the stripes of the material at the same time. The steps are as follows:
1. FRONT – rotate bust dart 180 degrees so it’s in the middle of the centre front, in a horizontal position.
2. FRONT – draw in new neckline in a V-shape.
3. BACK – draw in back neckline. Close the back waist dart.
4. BACK – adjust to fit. On mine, it was gaping open at the back so I took some ease off the back neckline. Waist was perfect already (see toile photos below).
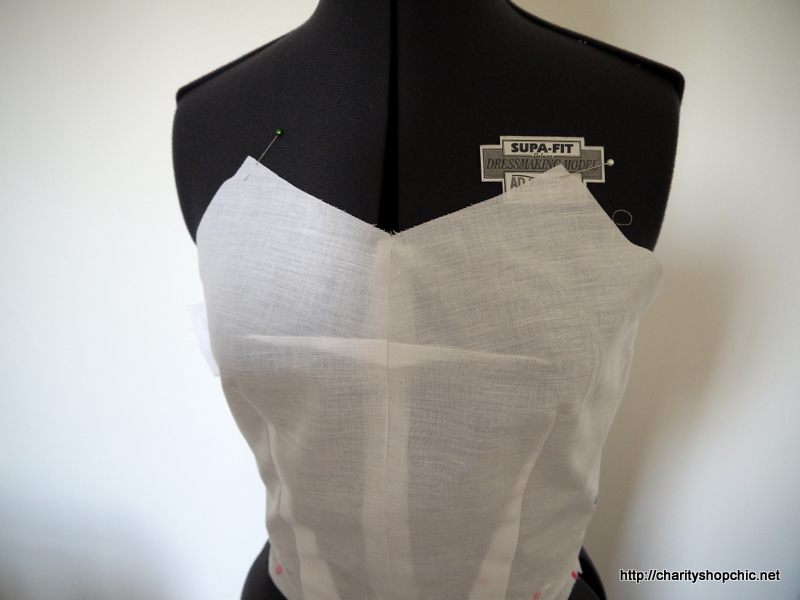
Here’s the front toile, pretty good:
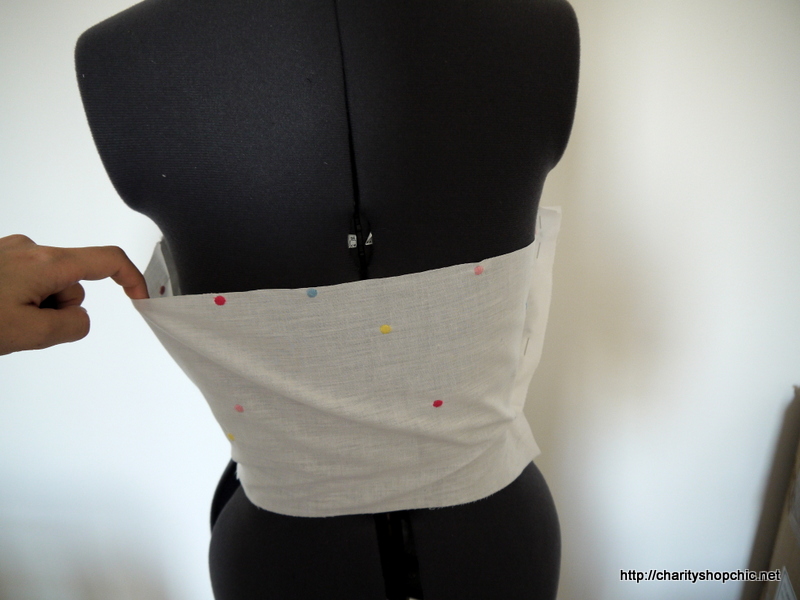
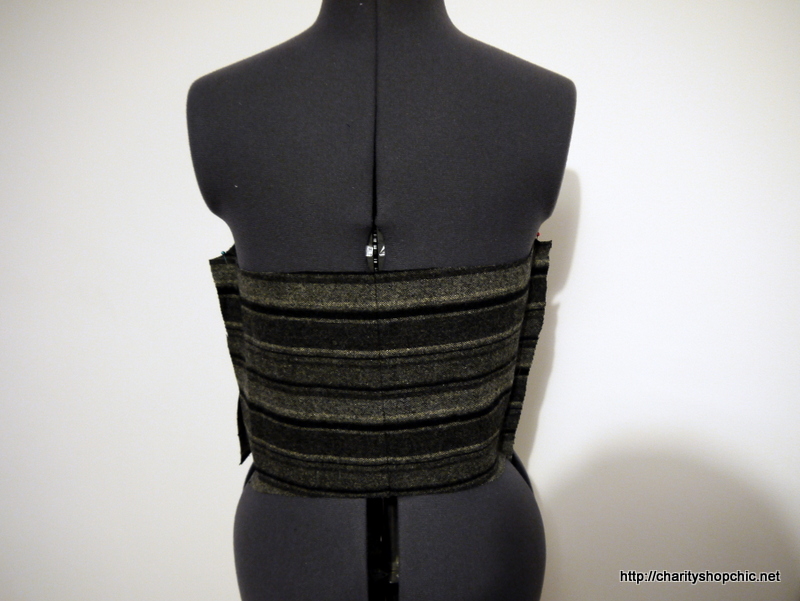
Here is the back toile showing the amount of ease that I had to take out.
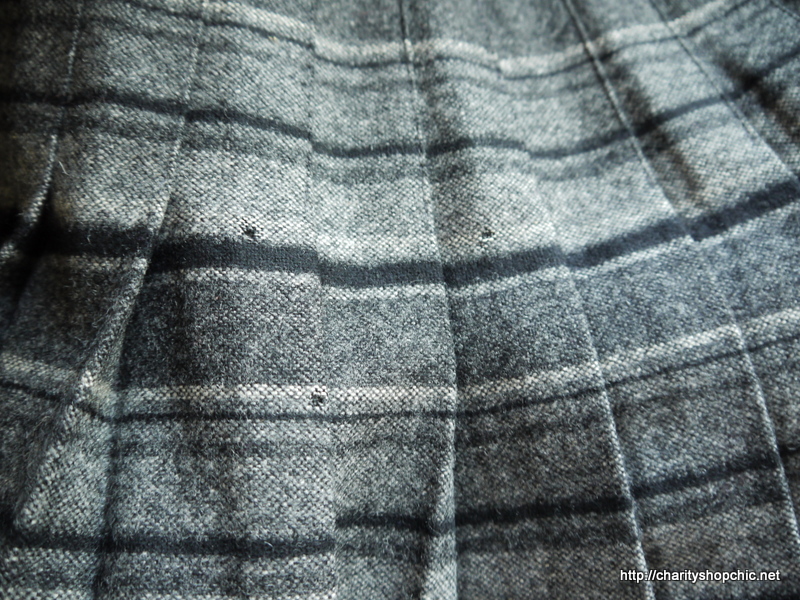
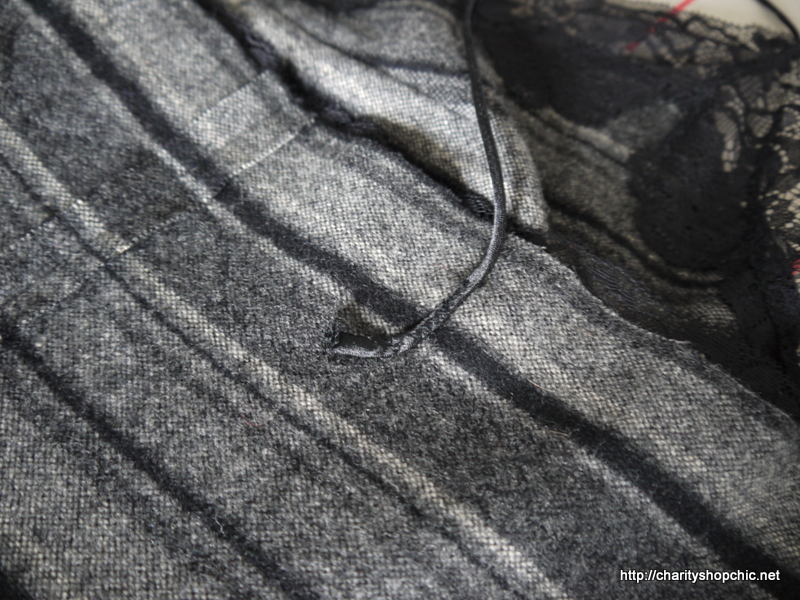
Now, I should have looked at this skirt more carefully in the shop because when I went to start working with it I found it full of rather suspicious looking holes.
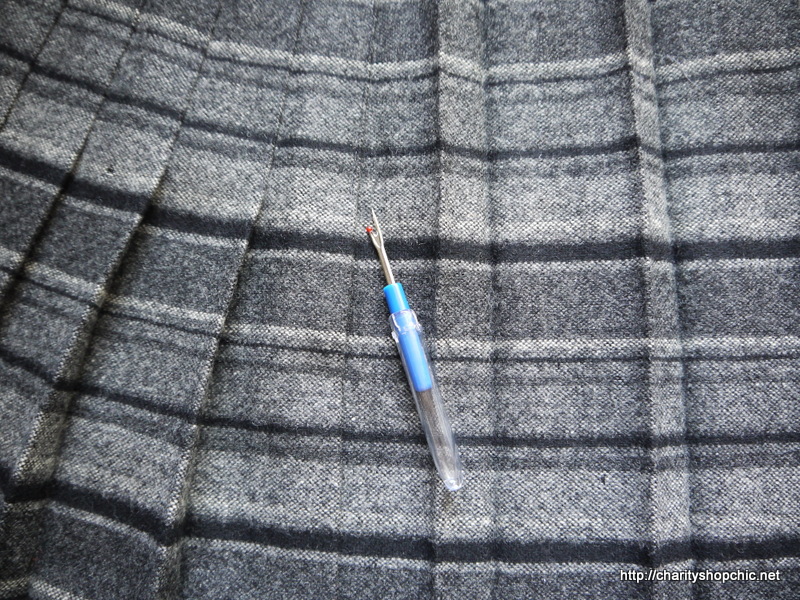
I cut off the waistband and took out the pleats quickly using a seam ripper.
I then put the skirt into a carrier bag in the freezer for a few days to kill any moths or moth eggs that may have been there, then machine washed it on the wool setting (on my machine this is 40 degrees). I am reasonably confident that these two actions got rid of any creatures living in this skirt.
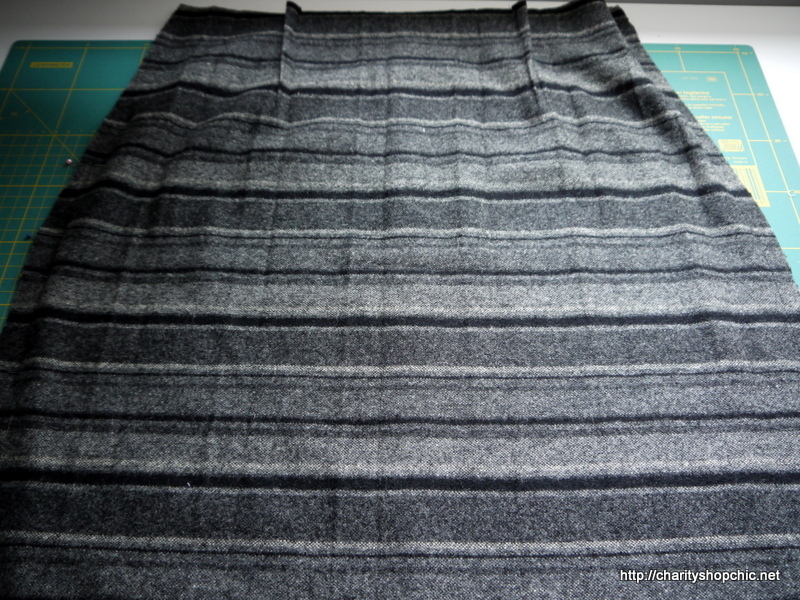
While wet, I hung the material to drip dry with the pleats horizontal to try and encourage the pleats to flatten. When it was almost dry, I pressed the heck out of it with a large amount of steam. The pleats are still slightly visible unfortunately… not quite ideal but it works.
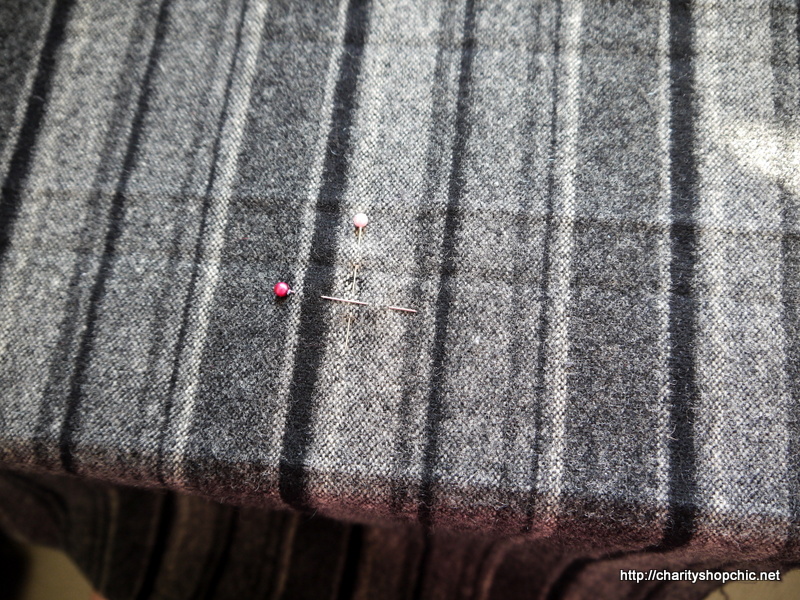
I marked all the holes with pins to make them easier to avoid when cutting, holding the material up to the light to spot them easily.
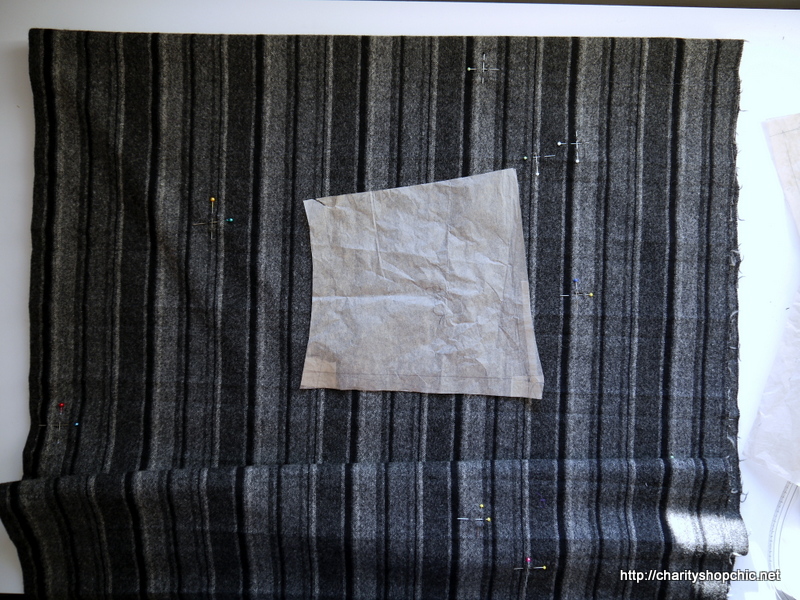
When I’d finished, it was like a minefield. I had to place my pattern pieces carefully, avoiding any pins. The back was supposed to be cut on the fold but it ended up being two pieces with a seam down the centre back, as there wasn’t quite enough non-holy material to go around.
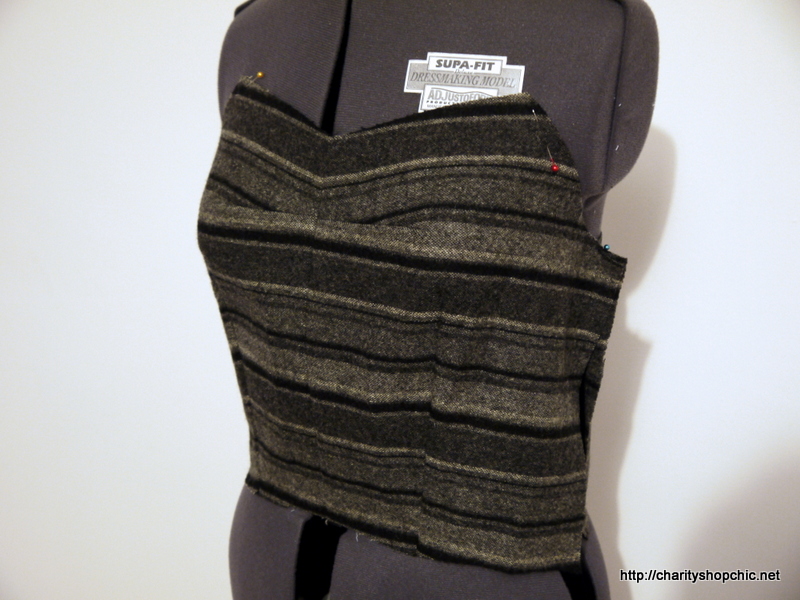
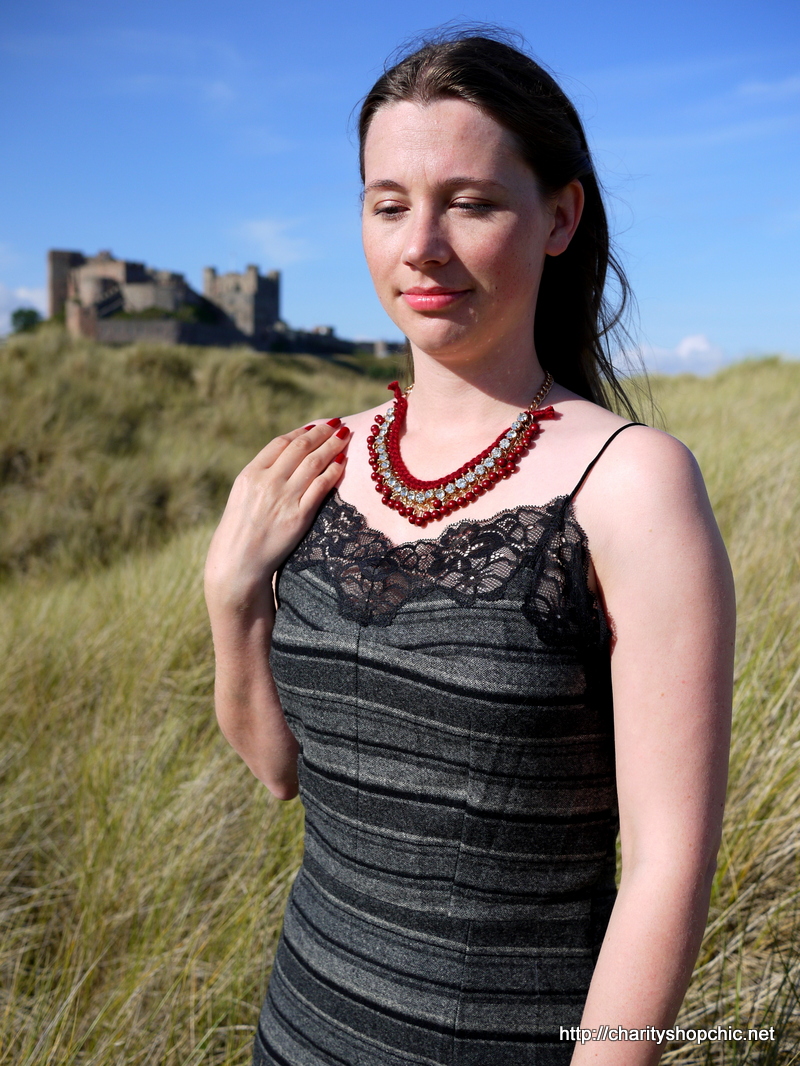
Here are some in-progress shots of the bodice. Note the pleasing effect of the stripes below the V-neck as they are almost parallel with the neckline before heading into the dart!

Stripe matching at the side… not at all bad…

Stripe matching at the back… perfect!
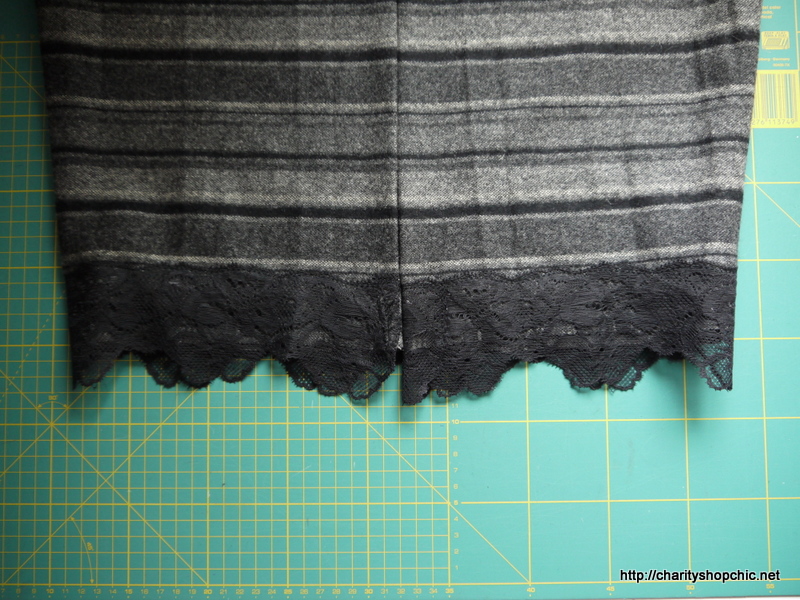
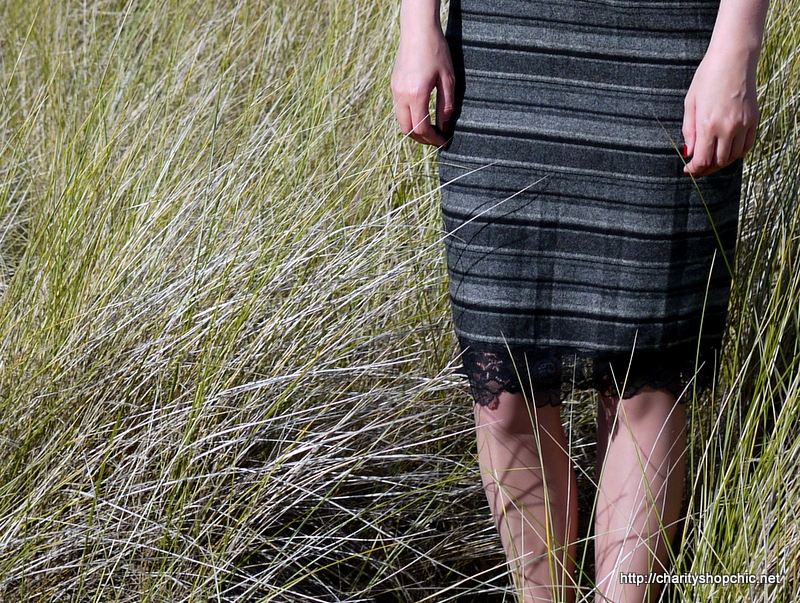
The skirt was a simple pencil skirt but I gave it a lot of taper towards the hem for a really pegged in look. To aid walking I left a slit up the back. This was originally going to be a vent, but the material was so thick that a slit looked better.

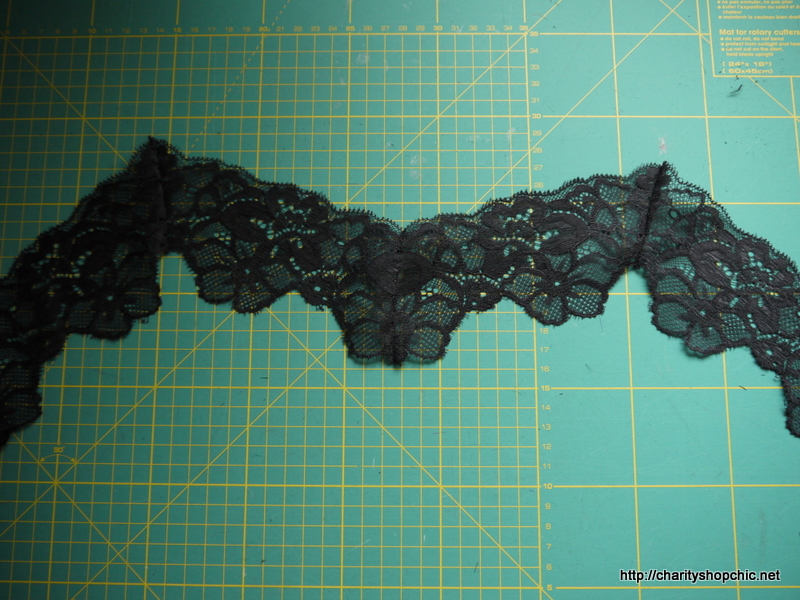
I had an offcut of black lace, about 2 metres, from an old project. I had already cut it roughly in half lengthways, around the flowers, where I had used the opposite scalloped edge on the old project. It was perfect.
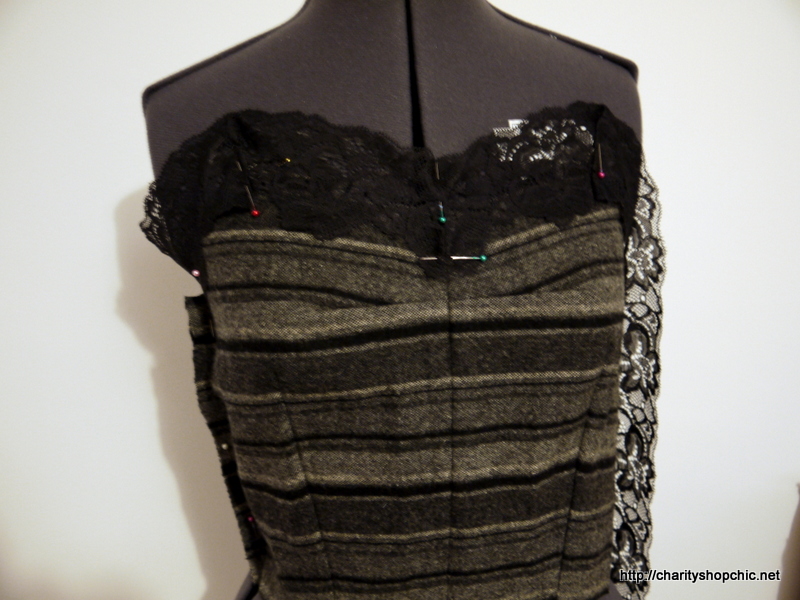
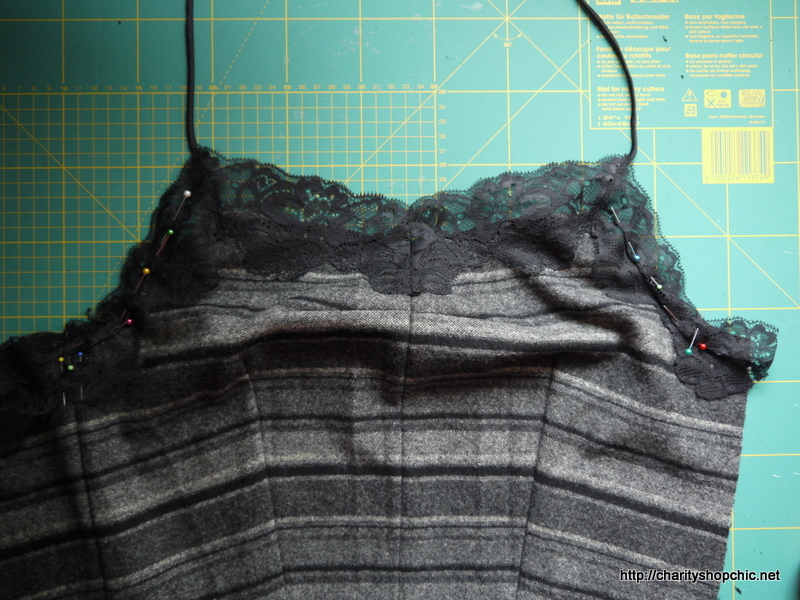
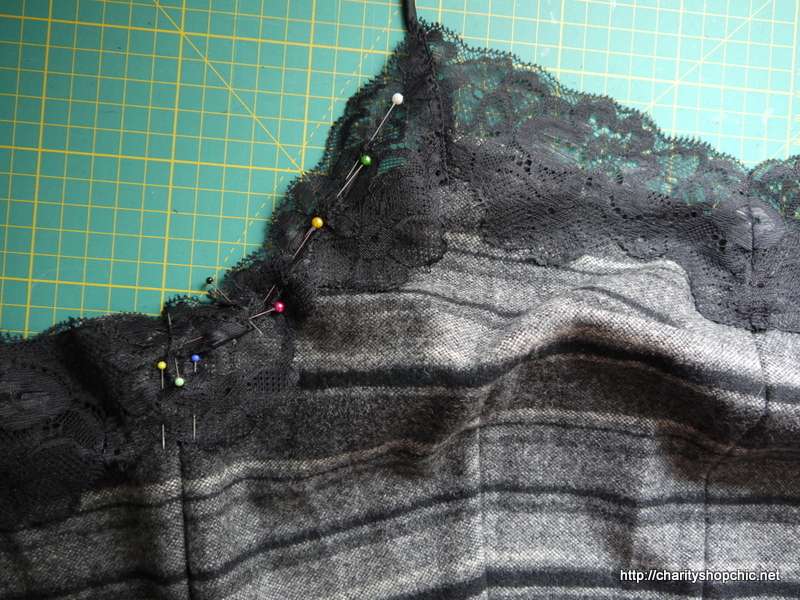
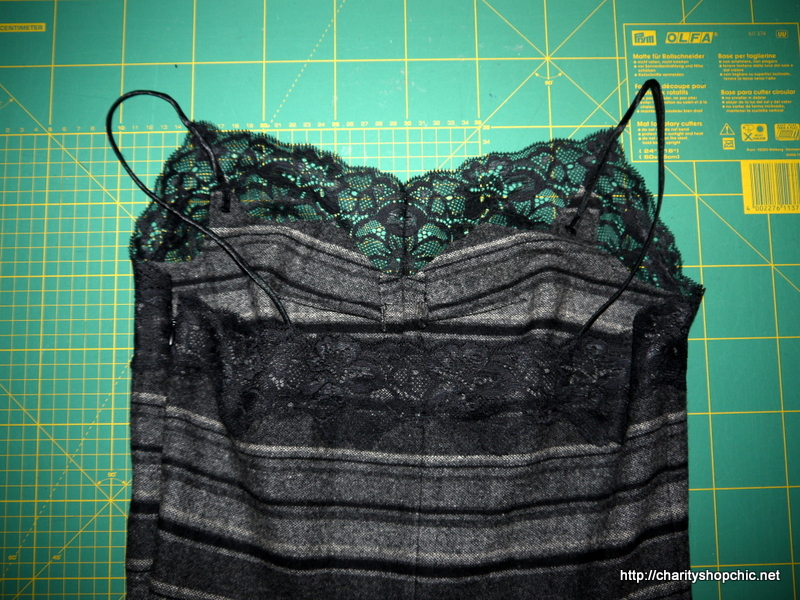
Pinning this to the bodice, the top is starting to take shape – I made sure to pin the centre front at the peak of a scallop (on the edge where the lace joins the dress) and the top points of the V in a ditch, to emphasise the V-shape.
Here’s how the trim looked before I sewed it on.
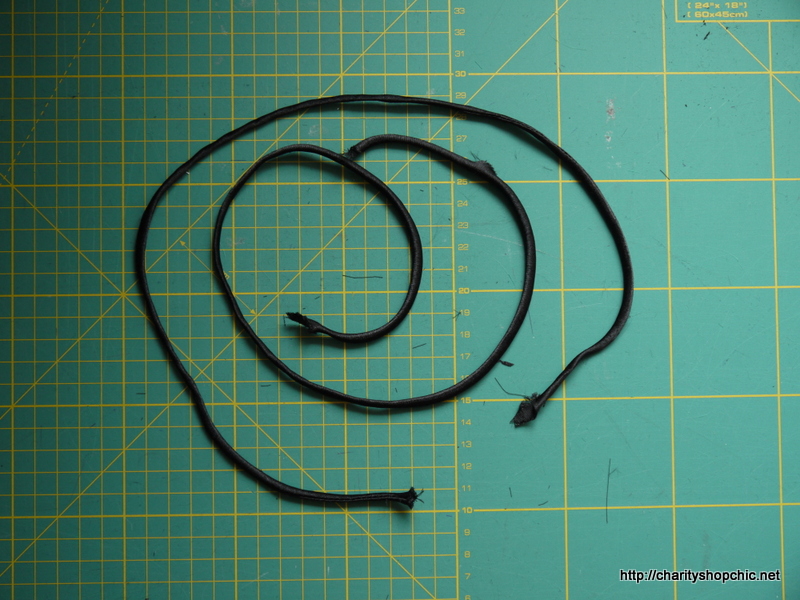
I made rouleau spaghetti straps!!! This was a first for me and I loved it. I used a very helpful PDF tutorial which you can find here.
I used some black poly satin lining fabric from stash. Full disclosure: I was going to line the entire dress with it, but in the end I liked that the wool had a bit of stretch which the lining didn’t, so I scrapped that idea.
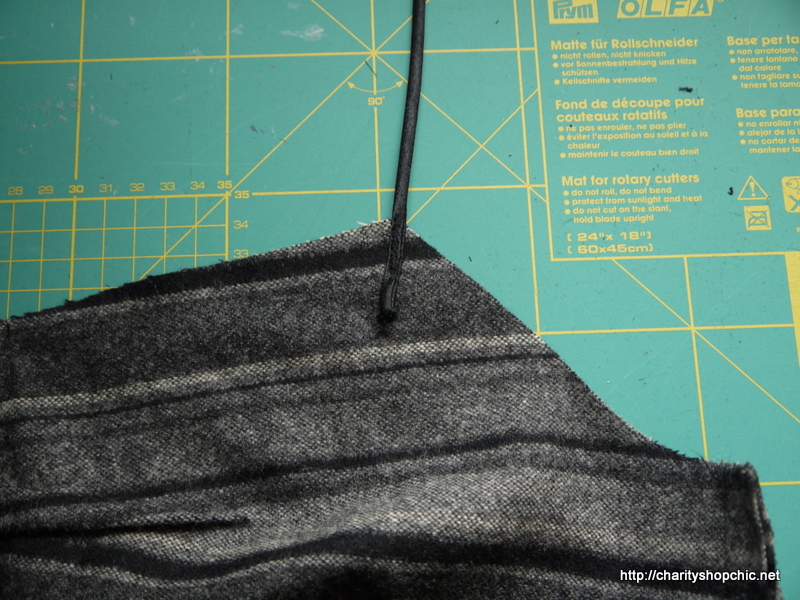
The rouleau straps were attached securely with some small zig zags, front and back.
Applying the lace was easy enough using the same technique I used on the red skirt from a few weeks ago. I appliqued it on using a small zig zag, all the way around. After trying it on, the armholes were too high, so I made two small fisheye darts in the trim above the left and right armscyes. This meant I could keep the top and bottom edges of the lace.
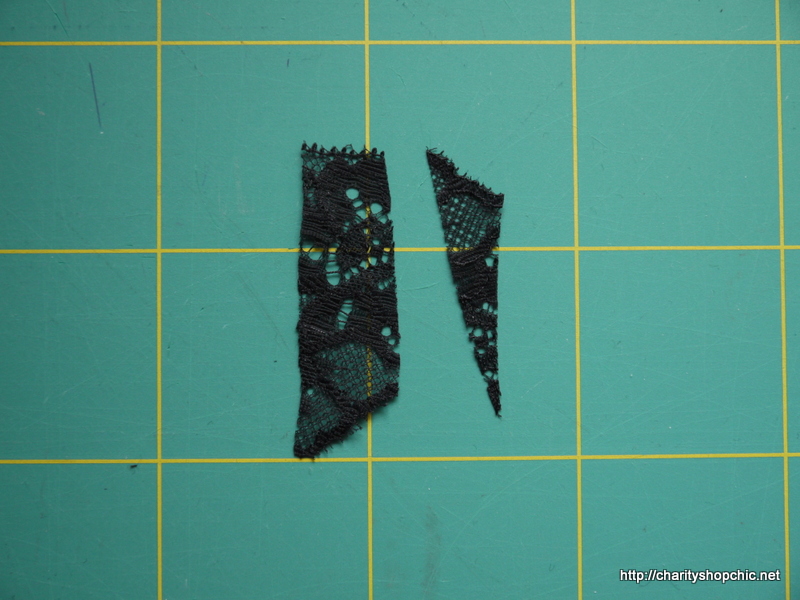
A small section of the lace had to be pieced at the back slit, but this was easy enough with the small zig zag.
This is all the lace that was left over – about 1 cm!
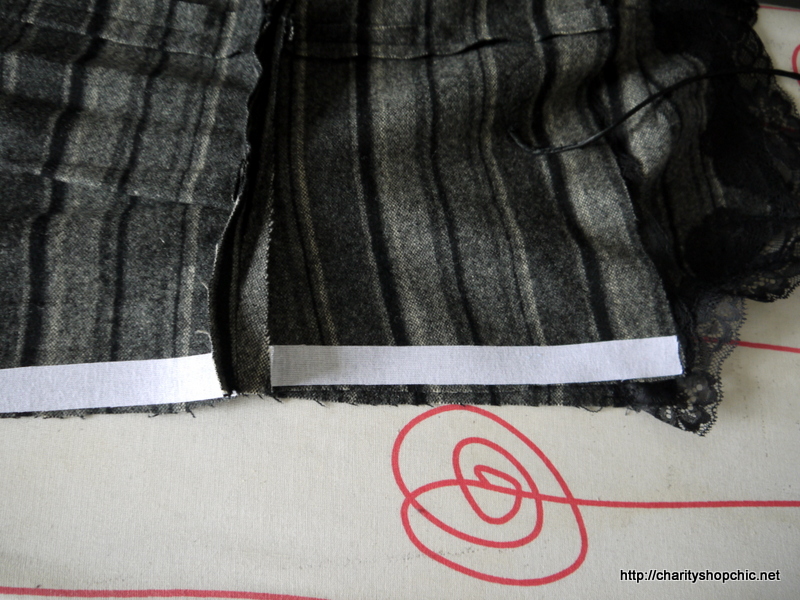
To install the side zip, I interfaced both sides of the seam, which I’m really glad I did. The zip went in relatively easily.
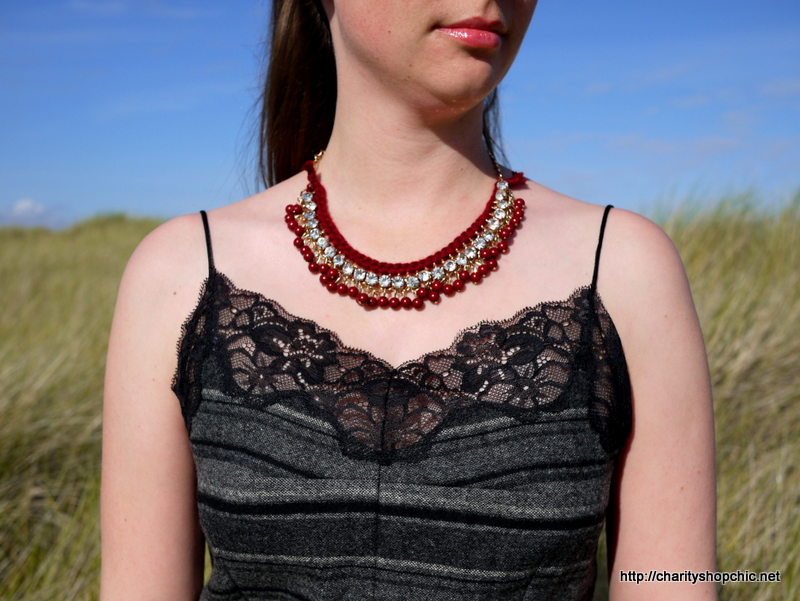
After that I very carefully went around the front neckline trimming the grey fabric just outside the zig zags. I had to be careful to cut around the areas that I’d sewn my straps to. I ended up leaving the back neckline intact for modesty purposes… the front looked great though!
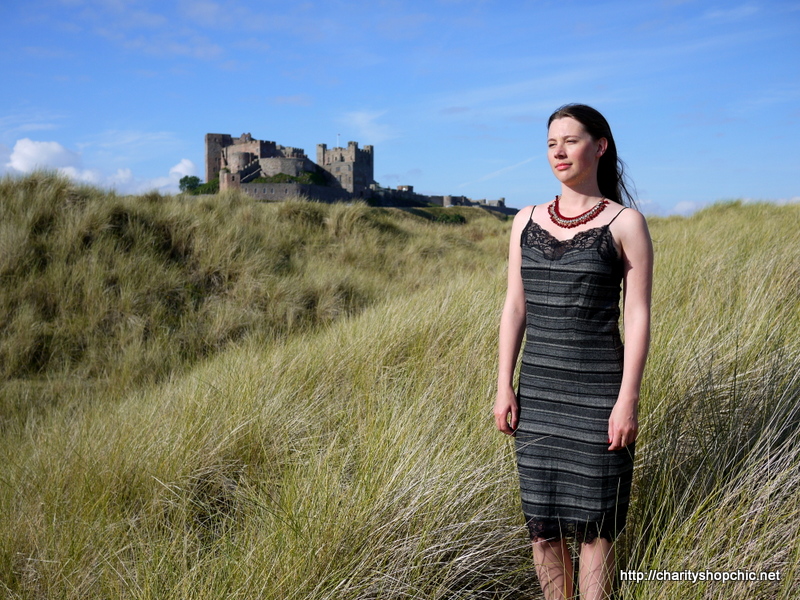
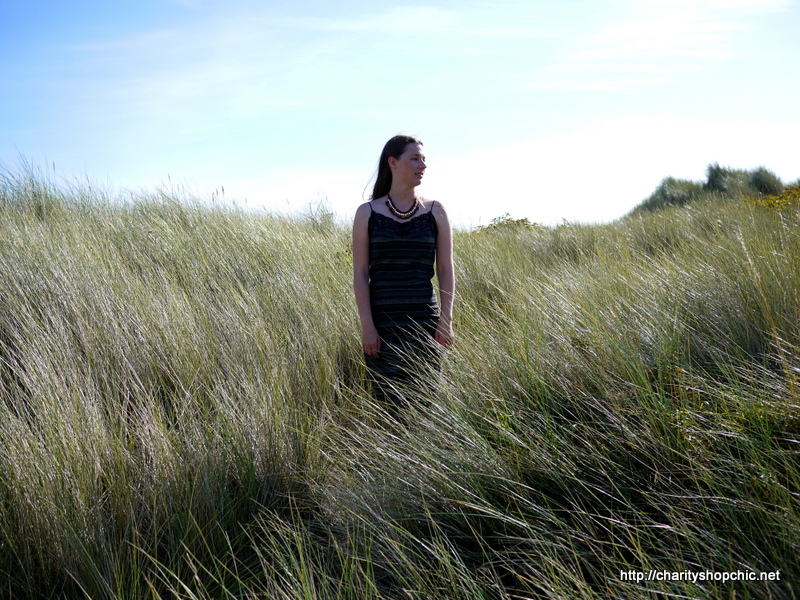
I was delighted with this dress when I first tried it on, so much so that I have worn it to work events (under a black jacket) and to meet up with Jane and Marie (and Kathryn and Nicole) on a rainy day in London. I don’t think the pleats are terribly noticeable, but I am going to attack them again with my new water reservoir iron and see if I can really get rid of them.
We chose Bamburgh Castle as a backdrop to show off this dress. Here are a bazillion pictures taken on the sand dunes at this stunning location.


Wow awesome job Sally! Who would have thought that big old skirt could become something so glam and chic! I have a skirt like this that I inherited from Mike’s Nan…I want to shorten it but those pleats scare me.
Thank you lovely! The pleats are pretty fierce but it’s worth attacking them if you like the material.
You are so talented and have such an eye for these things. Well done! Another amazing piece.
You’re so kind – thank you!
Oh wow! I am so full of admiration. I would never see a moth eaten skirt and envisage something so elegant and glamorous emerging from it. Fabulous pattern matching too!
Really glad you liked it! I am pleased with the pattern matching actually :)
Wonderful! I like your work.
Mema
Thank you so much Mema!
How gorgeous is your new dress! You’re super talented!
Jen xx
Thank you very much!
Amazing job and amazing vision to see that dress in that skirt!
Thanks so much for reading, Jenni!
Wow! Really amazing transformation you have made with that skirt! It looks great!
Hi Sine, thank you for the comment!
wow – another amazing one sally! you did a fantastic job!
Thank you so much Jo :)
This looks great. I just love the way you apply lace and the effect it gives.
I’ll try to remember the freezer tip for the moths and eggs.
Hi Helen, the lace is an easy technique, you should try it! Thanks for stopping by.
Another awesome post from you! It’s incredible how you are able to see what is hidden in old clothes. What a wonderful talent!
Thank you so much Maria, I’m so glad that you’re enjoying reading.
Your pattern making skills are awesome. I love the horizontal bust dart. What a gorgeous dress.
Thank you! I think the horizontal dart shows off the stripes :)
This turned out fabulously! I love the stripes and lace combo!
Thanks, Carissa! :)
As always, in awe.
You’re too kind, Heather :)
Wow! You’ve done a fantastic job as usual! :)
Thank you very much! Glad you like it.
Charming! I so enjoy all of the treasures you share so graciously. You give me courage to carry on with my sewing which I am finding again after decades!
Hi Brenda, I am so happy that you’ve been inspired to get back into sewing. Thanks for reading!
I’ve read that for getting out a crease or removing pleats use a combination of vinegar and water to dampen your fabric then press. I hope this works for you. The dress looks fabulous.
Great idea, I will try it! Thanks Connie.
wow! what an amazing job you have done,the skirt looked quite bulky and downright yuk , but hey what anwell done x outfit!
Thank you for your comment, Tracy!
SWIT SWOOO! This is a great remake. The old lady in me says I hope you didn’t catch a chill! Very clever though. Bravo
HA, thanks Amy! Actually the pictures were taken a few weeks ago and we were very lucky with the weather :)
It’s so lovely. I like the shape of the bodice – especially the centre front darts, which I haven’t seen before.
Thank you! The centre front darts are a bit unusual, but it’s a perfectly easy pattern manipulation.
This is so awesome! Thanks for the idea. You look gorgeous as always.
Thank you so much Nicky! :)
Duuuuude! Had I known this dress’ back-story when we met I would have appreciated it (and probably stroked it) even more! You’re unbelievably talented missus and I love the on-location shoots!
Dude, I know!!! Thanks for being so complimentary about the dress. We had a lot of fun with those pictures so I’m glad you like them.
This was an amazing upcycle!!!! I am in awe. :)
Thank you for reading! :)
It looks absolutely lovely! I really love the little bit of lace against the striped wool; so unexpected and too too cool :)
Thanks Carolyn, I am combining thick wool, delicate lace and stripes… luckily it worked! :)
wow! It’s so elegant!
Thank you so much Erin!
I want a dress just like this…only I’d wear it with black lace tights and some awesome boots. So nice!
Yep, it would be very easy to style this for cooler weather. (spoiler alert) I will be doing that shortly!
This is really cool :) You seem to have such an amazing patience! Not giving up when finding moth holes etc. If you ever make a sewing tutorial for us noobs I would love to know more about the process of making a toile.
Yes I was determined to make this one work! A toile (muslin) is just the same pattern made up in some scrap fabric so that you can check whether it will fit before cutting into the final fabric. It isn’t really necessary for n00bs as people usually stick with simpler, less fitted shapes that are more forgiving on fit, and cheaper fabrics to start with!
You are surely flying over Hogwarts!
If you want to believe this is Hogwars, Mary… I’m not going to stop you :)
Wow! Possibly your most amazing transformation? Hard to say, they’re all so creative, but this is pretty astounding!
Hi Elise, this one is a personal favourite, so I’m glad you like it!
You are a genius!! I love reading your blog, its so inspirational and your refashions are always so chic and polished looking, definitely not homemade. At the minute I can sew straight line (well straightish), someday I hope I can turn out something half as good! Julie
Hi Julie, thank you so much for the kind words. Keep persevering with the sewing, practice makes perfect! Thanks for reading.
Great Job as always Sally! Well Done!
Thanks, Mary! :)
Lovely refashion. And a stunning location for a shoot. I love the Northumberland coast and an do glad I live close to these amazing places
You’re lucky, Claire… I wish I lived a bit closer! Thanks for commenting.
I never would have thought to make a dress out of a pleated skirt! Incredible!
Hi Carlee, glad you liked it, this one was a lot of work! :)
I love, love, love this! Great work at being so determined to make it happen too! I love that this is so wearable, a lot of the little slips with lace I’ve seen I like the idea of but couldn’t see myself wearing out of the house as it’s just so like underwear. But this being in wool and more robust completely changes my mind
Thank you Fiona :) I was so determined to make this work and so happy to have succeeded! You should totally do a project with lace. I think it works well when you add lace to a contrasting fabric like wool. I have a few more lace items I want to do before the end of the year!
good job! very nice really, but I also wanted to see the back
Hi Kathleen, the back doesn’t have many interesting features, I will include more pictures next time!
Very cute; I really like the contrast of plaid and lace. Thanks for including your alteration steps and illustrations – that is a tremendous help when reading the written instructions. And I love the horizontal bust dart! I didn’t know that could be done – it makes for a very interesting detail.
Hi Jenny, thanks for the kind comments. I am glad you find the diagrams useful! The horizontal bust dart is unusual but perfectly possible – you just don’t see it very often, but of course the darts can be freely rotated to any position you like. Pointing downwards towards the centre front (in a V shape) is more common.
Wow, you are super-talented. It also made me very happy, after having lived away from home for 6 years, to see the village where I grew up in your piccies! Can’t wait to see the next project.
Thank you for commenting, Andi! You got to grow up in such a beautiful place!
Love, love, love. Great combo of sexy and sensible.
Thanks Naomi, it’s very warm/practical too!
So, so, so, cute!!!! I love that sparkly sweatshirt in the before shot too! Rock it out, sister!! xo Marisa
Thanks so much, Marisa! :)
Wowsers what a transf
Ooops sorry hit enter to soon hehe!!
What a transformation!! I love it! I found you trough Sew Dixie Lou, have read this post so far and I can see I will be a fan! Looking forward to going through all your posts!!
Haha no problem!! Glad you liked this dress, it’s one of my favourites and is getting a lot of wear now the weather is cooler!
Thank y
Truly amazing….
Thank you :)
well, well, well! i see the inspiration for your cosmopolitan pattern! and i now have a much clearer understanding of how the t-shaped darts work :) this and the martini are the two patterns that i have my eye on right now. but i would need to do an FBA. are they conducive? do you think you might create FBA tutorials for these two at some point?
living in hope, and loving these patterns :)
Hi, you’re absolutely right, the Cosmopolitan pattern is based on this project :-) I would say both the dresses are definitely conducive to an FBA, though I am not an FBA expert (ahem). I plan to post some tutorials on this sort of thing going forward on my blog over at the new website, so you should sign up to follow that, if you haven’t already! Thanks for commenting!
i shall do that straightaway! i am looking forward to the tutes :)
Coming soon! ;-)