
True Blue
Today, I’m starting with this rather plain pale blue gingham shirt, which I picked up in Age UK in Orpington for £3.49.

I thought it was something of a bargain, given its excellent condition, complete lack of wear and stains, and decent fit.

It’s 100% cotton and feels lovely.

(Image Source)
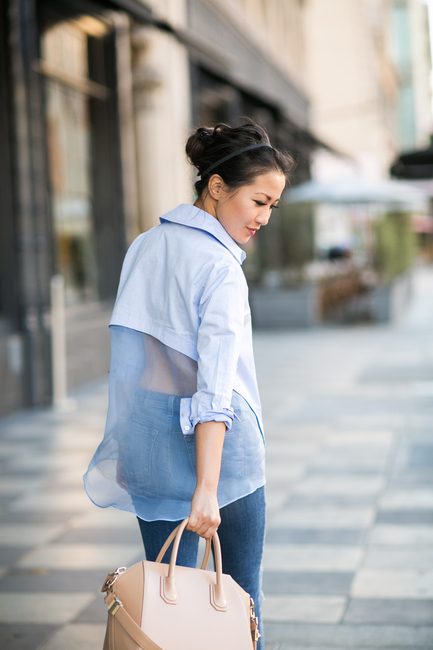
The inspiration for this shirt is taken directly from the above picture on Wendy’s Lookbook (a fashion blog that I follow). Wendy’s shirt is by Marissa Webb (sadly can’t find it online) and I’m quite taken with it. My shirt is getting a similar organza back section as Wendy’s, using some scraps of blue poly organza that I had left over from this Burberry skirt refashion a while back.
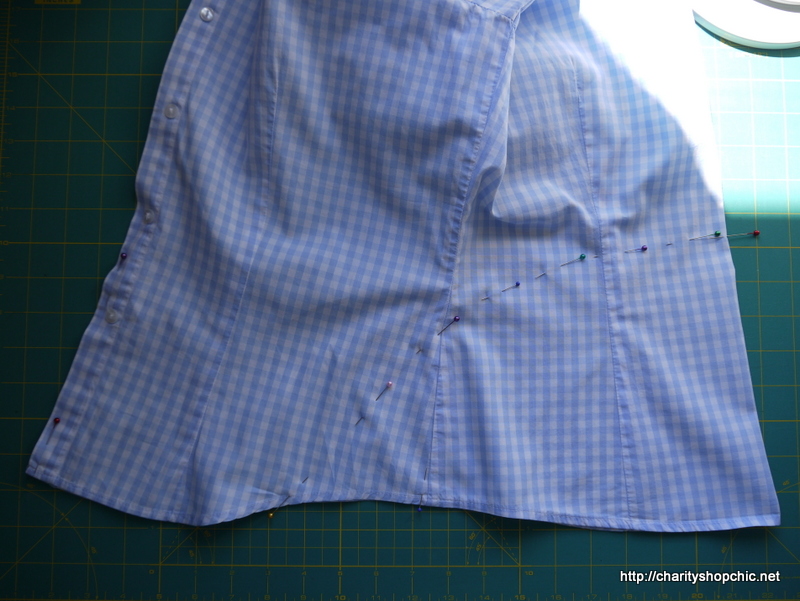
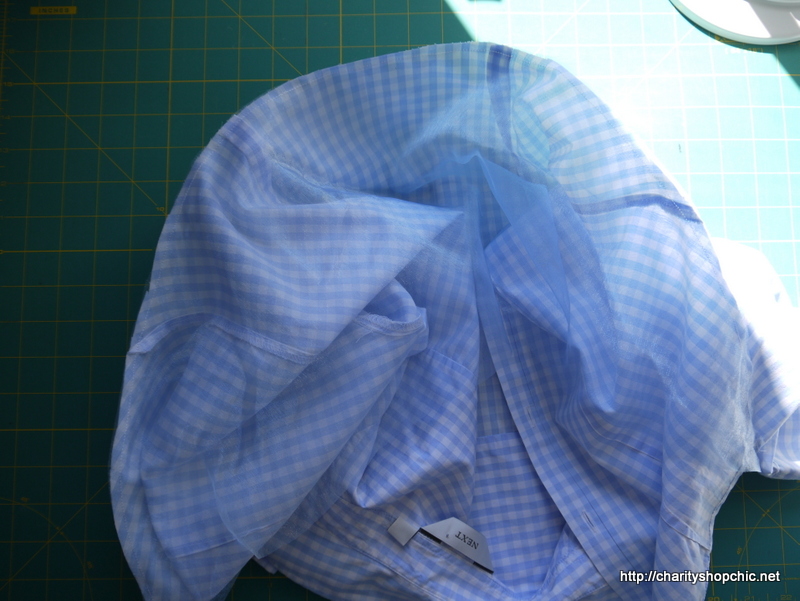
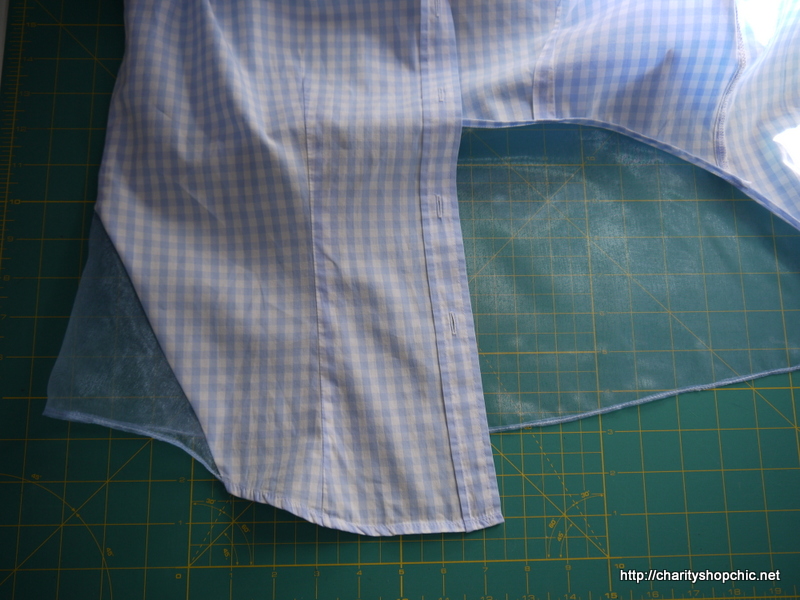
I measured on my body how high I wanted the organza section to hit, placing the seam at a rather modest 22cm from the hem. I then popped a few pins in to get the lines right. You can see that I’ve folded my shirt down the centre back to get it symmetrical.
I cut 1cm below the intended seam line to leave a small seam allowance.
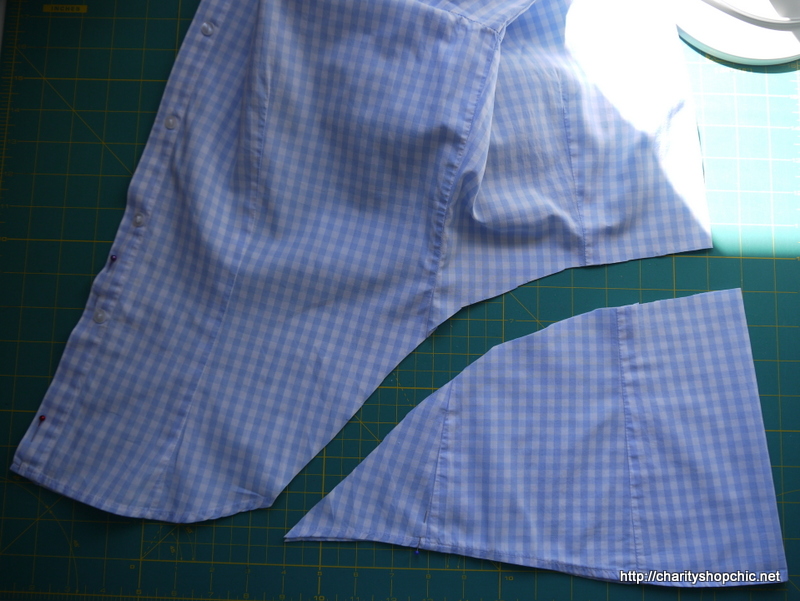
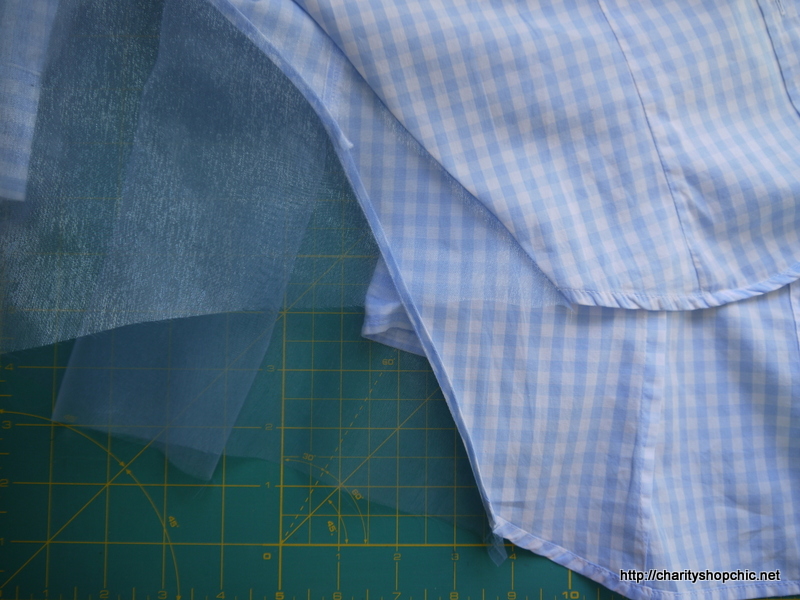
Then I used the part I cut off as a template for cutting a piece of organza. Note that despite the seams and darts in this piece, it lies 99% flat. So I just cut one flat piece of organza on the fold.
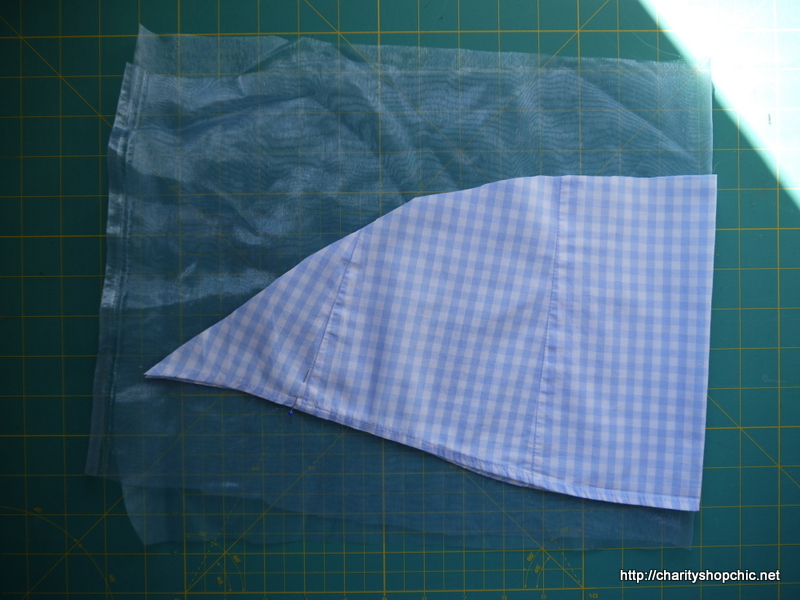
I left 2cm at the top edge (to account for the original piece having been cut 1cm inside the intended seam line, plus 1cm seam allowance on the organza side), and left a 1cm hem.

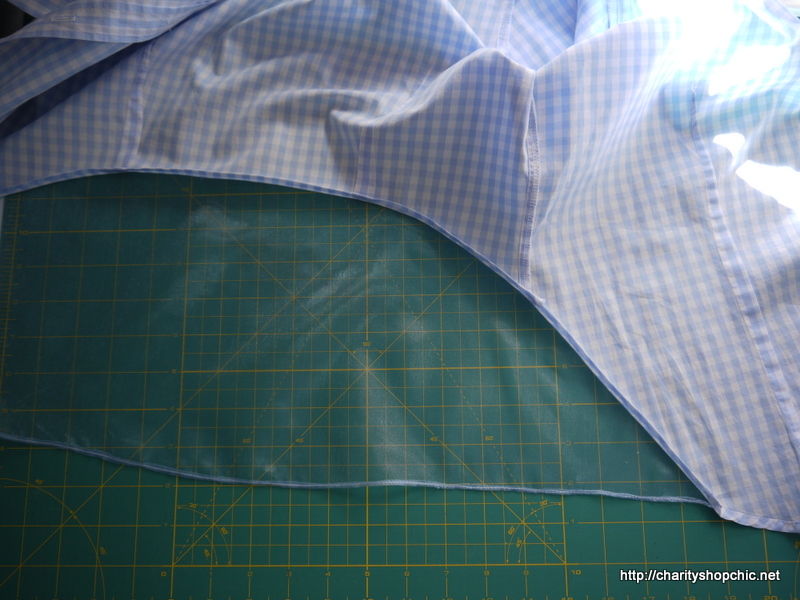
Then I pinned the WRONG sides together in order to make a French seam between the pieces. I wanted a French seam because (1) the organza frays like anything, and (2) the seam may be visible from the outside of the shirt as the organza is transparent.

As per normal with a French seam, the first step is to sew at half the seam allowance, so 5mm in this case, wrong sides together.
Then trim half of what’s sticking out away – this was 2.5mm which turned out to be tiny.
Then you press the seam back on itself, and sew again at half the original seam allowance with right sides together. Here’s how it looked at this point.
Then, I made a machine rolled hem on the organza part, which I mis-calculated. I sewed my first line of basting stitches where I wanted the final hem to be, when it should have been 2mm or so below that. Classic mistake.

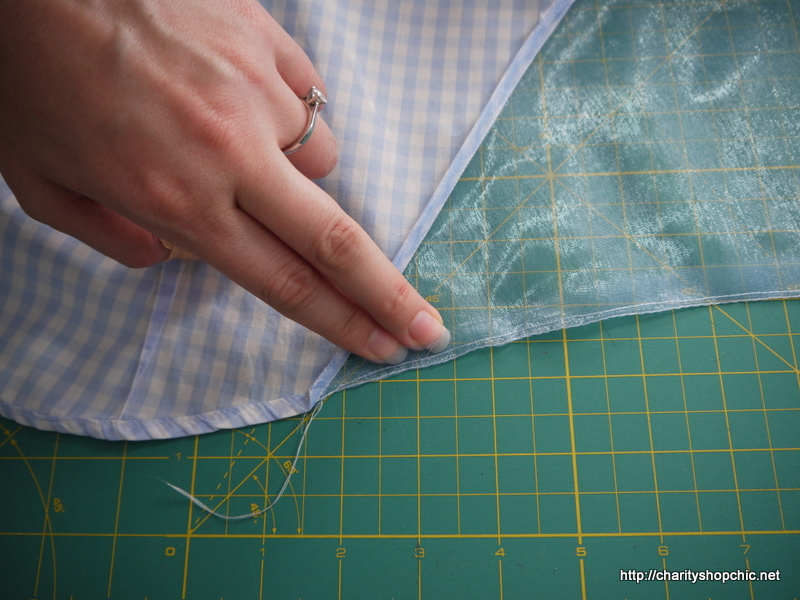
To make the hem, you press the excess up exactly on the row of basting stitches, then stitch very close to the edge, which I am trying to show in the image below.
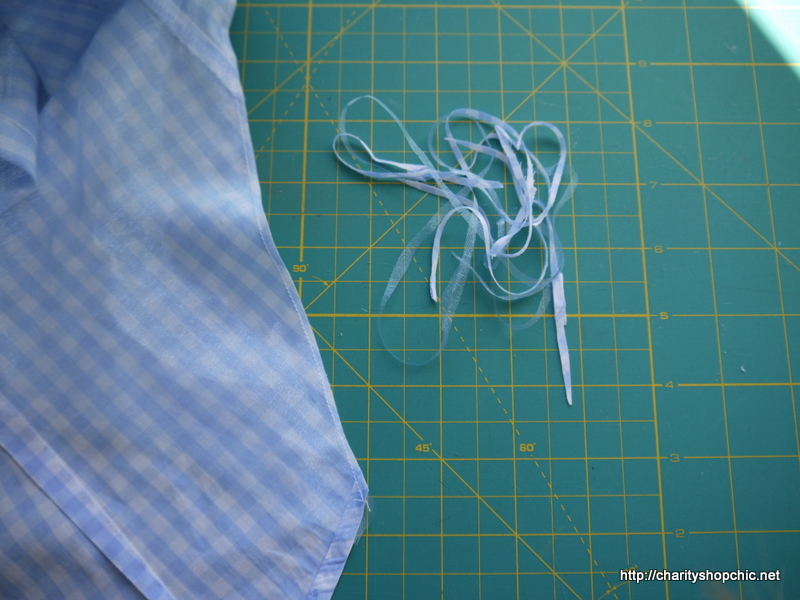
Then, you trim it very close to the stitches, and remove the basting stitches.

Then you fold the tiny hem up again and stitch once more. You can see that mine is too short – I wanted it to exactly meet the shirt hem and it doesn’t.
Here it is from the inside.
I was going to cut the cuffs off and shorten the sleeves but they had a nice rouleau loop button fastening detail which I liked, so I left them.

I was glad about the decision to French seam, because the inside IS visible from the back.

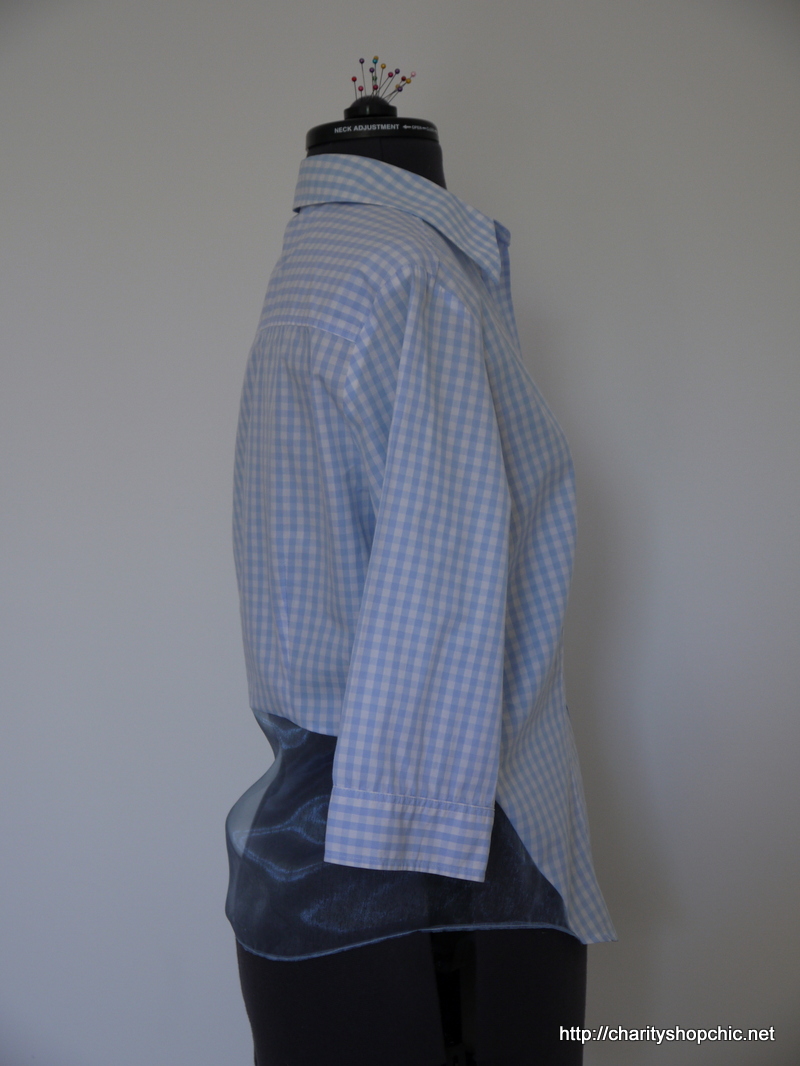
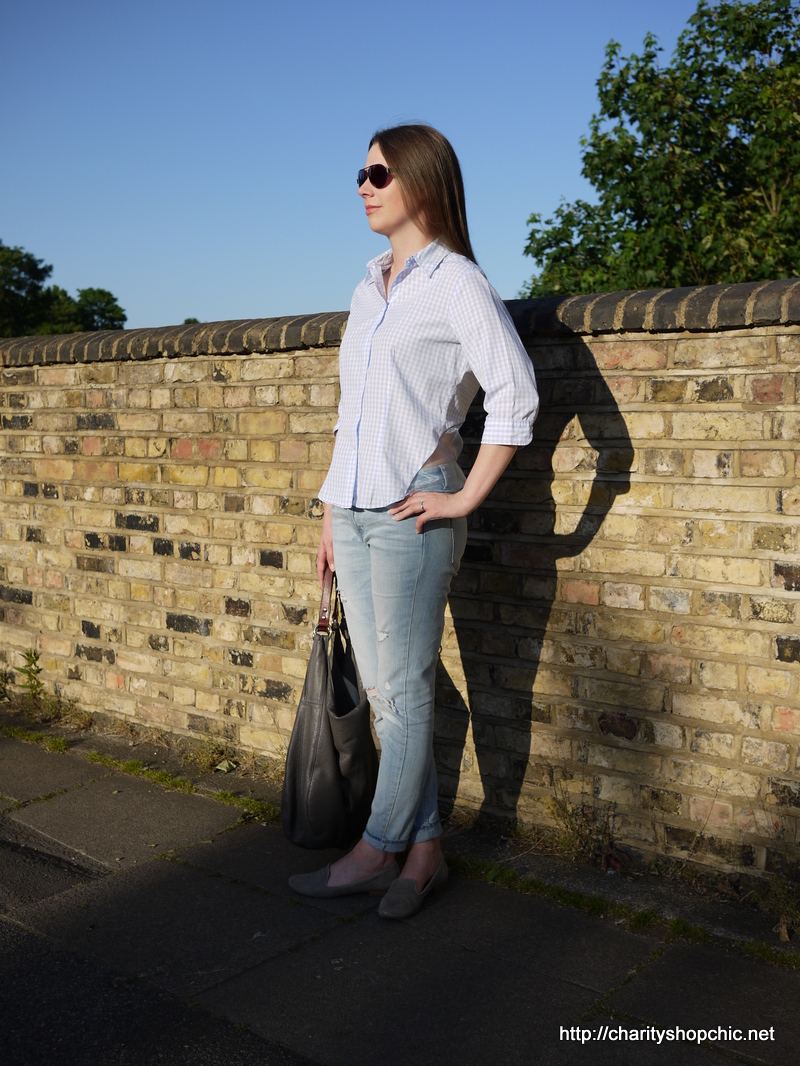
Overall, I loved wearing this shirt, despite its non-flush hem. My shirt isn’t the same shape as Wendy’s, and hers is a bit oversized too, so mine looks different. But I’m happy enough with the execution of the concept.


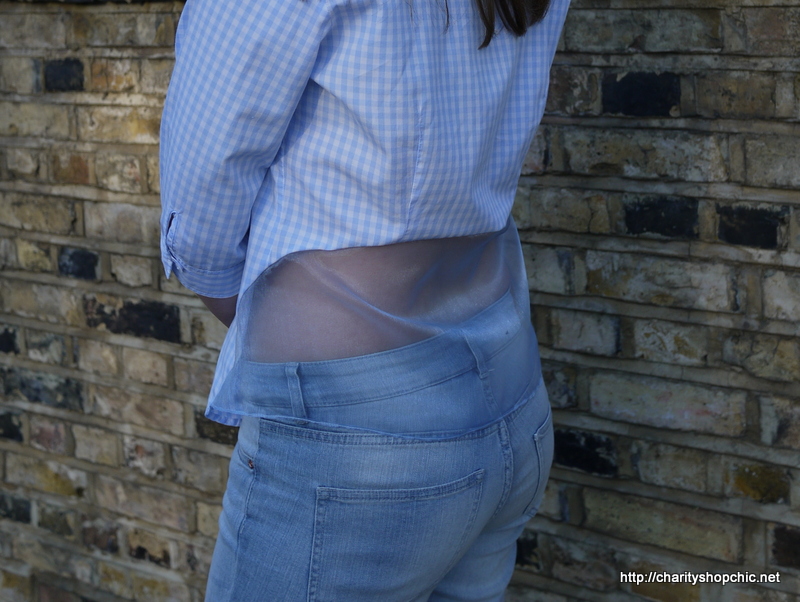
Ripped jeans are a totally new style direction for me, but I’m enjoying it so far!
Here’s the back. Looking at this picture I think I will have another go at pressing the curved seam with a hotter iron (possibly I was too cautious with heat on the poly organza).


Ooh that looks lovely!
Thanks! I’m rather pleased with it :)
Wow, this is so lovely Sally. I love your shirt refashions (and all your other refashions, come to think of it), and this one’s a beauty.
Thanks for your support, Sue! Glad you liked it! I have a couple more shirts in the works here!
I have a magnificent silk shirt that I bought in Paris in the ’80s (think wide shoulders and wide body) that I should do something with, but (a) don’t know where to start, and (b) am too scared to cut into it! I shall watch all your remakes with longing.
Why does it need cutting up? The ‘oversized’ look is very French. Just roll up the sleeves and wear with a fitted skirt or trousers. You could even belt it if necessary.
Righto, I might try that! It does swamp me a bit, but I shall make something splendid to go with it and see if I can pull it off.
If in doubt, the solution is always ‘make more clothes’ ;-)
I love this. It really shows how you can take a regular shirt and turn it into something extraordinary. I’m so glad to see that you’re back as I’ve missed your refashions!
Thanks so much! I’m happy that you liked it, and yes, I’m glad to be back!
excellent !!
Thanks! :)
Looks very much like the original. Really nice refashion. Xx
Thanks very much! It’s not a dead ringer for the original but if I do this again, I’ll maybe start with a men’s shirt.
Sighhhh, gorgeous work again, Sally. I don’t even want to think about how that top would look on someone my age and size because, trust me, a see through section on the back of my top would be only marginally less traumatic than a see through section on the front. ;) Once again, excellent work and thanks for sharing.
Thank you, Kim :) you could use something less transparent like lace (or even, something not at all transparent) if you wanted to make it more modest.
I really enjoy your blog and am happy to see your recent updates:-) It’s a very cool blouse! I love the styling too.
Thank you so much for the supportive comment, tomatoesandjasmine! I’m happy to be posting again.
Very cute.
Thank you! :)
I love to see the steps you take to upfashion things. It’s really inspired me to have a go. Thank you for detailing the little slip-ups,no-one would never notice, but it means we can avoid doing the same-or in my case doing the same but saying -it’s ok Sally did that too!
Haha yes, you can learn from my mistakes!
Thanks for commenting, I’m glad you are finding it inspiring.
Brilliant idea! The shirt, although pretty and a great buy, needed something to make it stand out, it does now! Love those button loops by the way, glad you kept them!
Yeah I was going to cut them off but I’m glad I didn’t! Thanks for the kind comment, Claire.
Hi sally, laceys mum here, your so clever i love your ideas, good to see you x
Hi Janice, thank you! Good to hear from you. Hope you are keeping well.
New to your blog but totally obsessed with back reading your makes so I am aware of the Burberry skirt. I am linking you in a post tomorrow inspired by you (am I sounding too much like a fan!) so you must check my refashion out on Friday. That is one cheeky little shirt. Go easy on the iron… Jo x
http://joeveryday19@blogspot.co.uk
Hi Jo, thanks, I’ll check it out! Yep, the poly organza doesn’t press well but I’m considering a row of topstitching to hold the seam flat.
Nice to see you are back and refashioning in unexpected ways.
Re your cardigan button dilemma; I’ve got a vintage beaded cardigan with a ribbon edge. the buttons are fastened with narrow fabric loops sandwiched between the bias strip and the garment, no need for button holes! All you need to do is master the rouleaux loop technique.
Thanks Holly, it’s good to be back!
Thanks for the idea on the rouleaux loops – a great idea. I’ll definitely do that next time!
I love the way you make charity shop items your own- unique and clever- recycled and upcycled!x
Thank you Kezzie, I’m glad you’re enjoying reading!
Very clever! I haven’t seen that style before.
Thanks, Linda! I thought it was a bit ‘different’…
The uneven hem really doesn’t jump out. I’d say it’s pretty hard to notice without you pointing it out. I love how the organza makes such a classic top exciting! And it is PERFECT with the ripped jeans!
JJ
http://www.dressupnotdown.blogspot.com
Hmm, I’m glad if you think it isn’t too noticeable. A bit of a rookie error, but then, I am a bit out of practice!
I’m kind of loving the whole ripped jeans thing, a totally new look for me, so I think you’ll be seeing them more…
Thanks for your support!
I was so happy to check your site and see that you are back! I love this sheer detail too! Can’t wait to see your next creation
Thanks, Stephanie! It’s good to be back :)
This is such an amazing idea :) Love the finished shirt!
Hannah x
Paloma in Disguise
Thanks, Hannah! Glad you liked it.