
Wedding Dress: Part 1 (Inspiration)
Hello Everyone. I want to talk to you about my wedding dress!
As you may or may not have heard, I got married a few months ago, and yes, I made my own dress! It’s been an absolutely epic project taking the best part of 6 months continuous work (free time and weekends only). I want to share the whole process with you in a series of posts, as it’s really too epic for one post alone. I’ll start from the beginning and take you through all the interesting (and the mundane) sewing details over the coming days. Note that this is obviously not a refashion but it’s a personal sewing project that’s been very important to me, so I hope you’ll indulge me. I’m not going to reveal final pictures until the end, so you can enjoy the journey as I did from start to finish in chronological order, I hope that’s not too frustrating.
Where does one start when making a wedding dress? When you’re making your own, you can have literally any shape imaginable. You can use literally any fabric and have as much or as little detail as you like. So narrowing it down was tough. The main criteria for me were that I wanted something that suited my personal style (which I think of as classic, elegant and with a slight ‘fashion’ edge – at least, that’s what I aspire to) as well as a figure flattering shape (which for me means exposed shoulders, fitted waist, not strapless). I briefly considered a fitted skirt before coming to my senses and realising there are hardly any opportunities to wear something ball-gown like, and came up with my design motto, “Go Big Or Go Home”…
I looked at lots of designers, lots of bridal sites and even tried some dresses on to get a feel for the shapes. Here are some of the images I was working from.
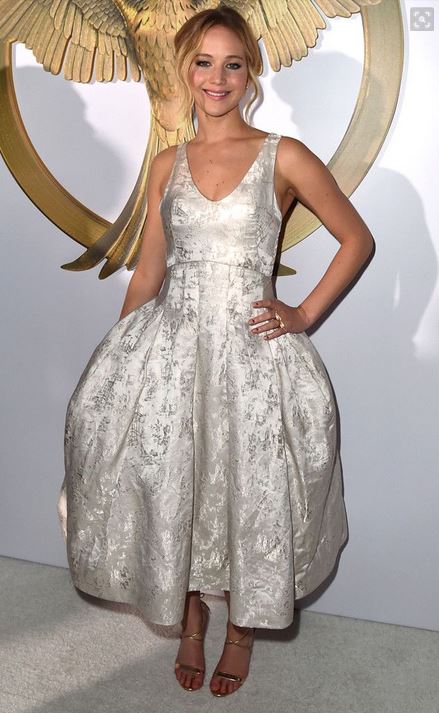
Jennifer Lawrence in Dior.

Lily James in Dior.

Rihanna in Zac Posen.
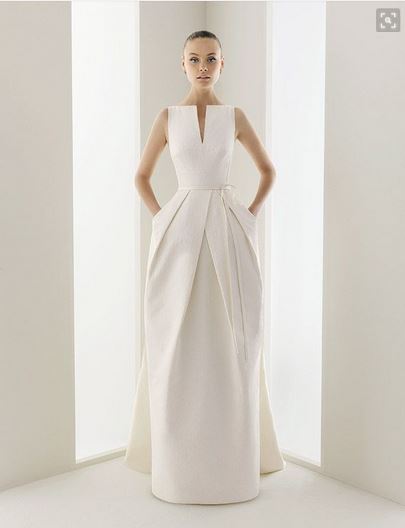
[Unknown designer]

Naomi Campbell in Zac Posen.

Marion Cotillard in Dior. In terms of shape, this is probably the most similar to the final dress.
If you want to see more dress inspiration pictures that I was considering, I made my wedding Pinterest board public, and you can find it here.
Construction-wise, I wanted to build the full couture style corselette, and used the following images as inspiration:

Zac Posen.

Vintage Dior.

Vintage Oscar de la Renta.
Fabric-wise, there was one thing I was sure about, and that’s that I didn’t want lace. In fact, nothing floral. I wanted to keep a ‘fashion’ edge to it rather than making it really romantic. My wedding colours were white, navy and silver (and my wedding motif was a star! – no hearts or flowers), with a vague art deco/1930s feel to the venue/decor. I considered all manner of different fabrics, starting with plain silk taffettas – and I looked at some beautiful ones. I had the idea to cover the bodice in embroidery or goldwork but eventually gave up due to the time it would have taken. I eventually came up with the idea of white and silver metallic brocade as a compromise between embellishment and time pressure. Here are some of the fabrics I considered.

“Metallic Brocade” available at B & J fabrics here.

“Metallic Silk and Cotton Blend Damask” available at B & J fabrics here.

“Cracked Ice on Satin” available at B & J Fabrics here.

“NY Designer Cloque Jacquard – White/Silver” available at Gorgeous Fabrics here (on sale!!).
The bottom one is probably the best, although that’s not what I ended up with (more on that later). In the end I decided I wanted something whiter… like metallic white on white. Let’s just say it was tricky to find.
And finally, after several months of deliberating, I started sketching. (Don’t laugh at my sketches OK; I know they are terrible). You can see the kind of shape I was leaning towards.
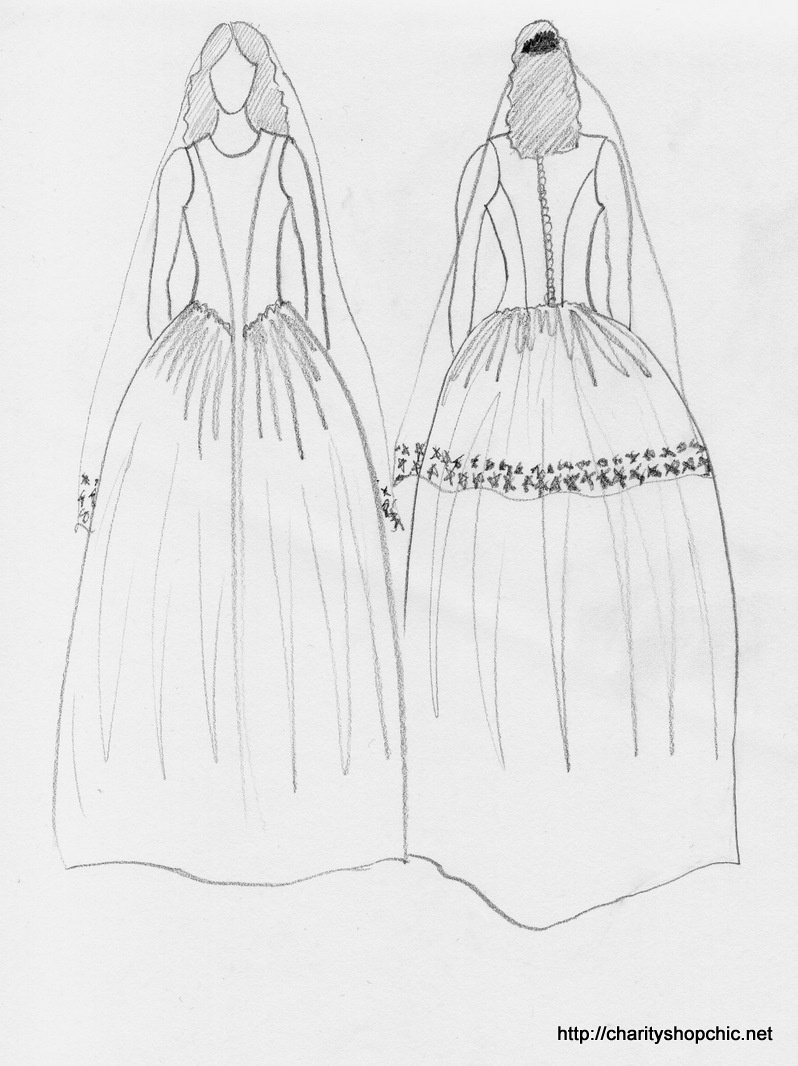
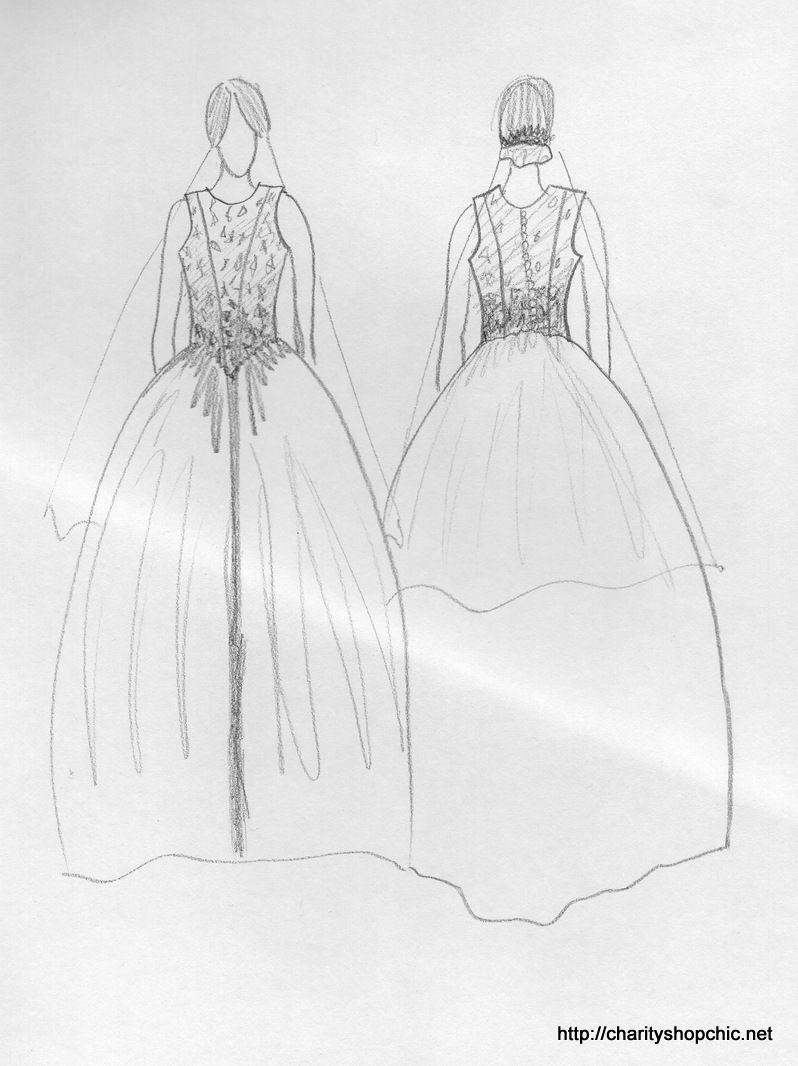

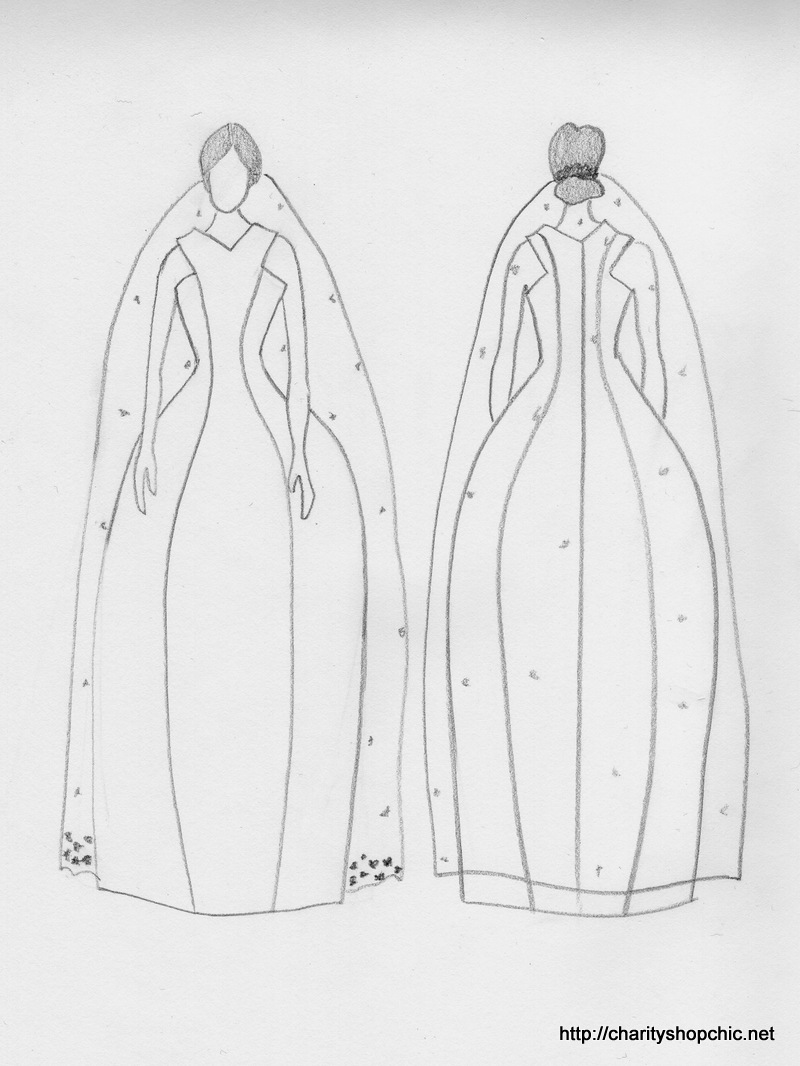
That final picture above is probably the closest to the final shape. Note the cutaway arm holes, the huge bell shaped skirt and the veil with embroidered stars on it. The v-neck and v-armholes are supposed to look like a star shape on the bodice, but it’s quite subtle.
At this point I decided a muslin would be helpful so that’s what I did. Tune in to the next post in this series to see what happened!

AHHHHHHHHHH, I am sooo excited to see the finished product. Your sketches are GOOD!!! What is there to apologise for???Xx
I’m excited too!!! So much to tell you all. I definitely feel like my sketches could be better though… I will practice!
Can’t wait for the next installment!!
It’s up now, Ailsa! Hurry over and read it!
Congratulations! Can’t wait for the next post, too many tantalising glimpses of fabrics and shapes!
Thanks Claire! Haha, I’m keeping you in suspense… the next post has a muslin in it though so you’ll see the shape!
Exciting! Can’t wait to read more – I’m in the middle of making my own tight now :)
Congrats Charlie!! So great that you are making your own dress, I loved doing mine and it’s so satisfying when it’s done and you are wearing it on the day :)
Congratulations! I am amazed at all the planning which was involved and cannot wait to see the next post… I am sure it looks chic and amazing like the other things you made!
Thank you! In the next post you’ll see a muslin of the shape. So excited to show you!
Congratulations Sally and thank you so much for sharing this whole process. It is so interesting and makes your followers feel as though we are along for the ride!
Thanks Sue! I’m glad you’re interested in seeing behind the scenes. There is so much to tell and (spoiler alert) literally hundreds of in-progress photos! I’m sure you’ll be sick of reading about it by post 8….
Sally, this makes me relive the stress of it all! Though it sure looks like a bigger endeavour than mine. I love the fabric options!! and I can’t wait to hear about the construction!
HAHA, oh no! Sorry Alex! It wasn’t stressful as I started so long ago on it. A trillion construction photos are coming up – be careful what you wish for ;-)
Ha ha, I call that wedding dress porn! Bring it on 😬✂️!!
I’m so excited to see the next post, I’m getting married in October and am making my own wedding dress. I’m pretty nervous but also very excited to work on it. This is my biggest project so far. I am always looking forward to your post but especially this one!
Congratulations, Cynthia! It was so important to me to make my own dress – I am glad you have decided to go for it. It’s a lot of fun and so satisfying when it’s done. My advice is to start ASAP so you have enough time just in case anything goes wrong at all – you don’t want to be stressed in the run up to the big day! Good luck with it!
I just pinned that unknown designer dress yesterday. Those pleats are so pretty.
I guess great minds think alike ;-) I think it would be great for a smart city wedding!
Félicitations ! I à si exited tout see net step. …André see your joy and hapinesss.
Oh, thank you! I’m excited to tell you all about it.
Wow. What a feat, can’t wait to see the rest of the posts.
Yup, it’s a big project! There are trillions of pictures coming so stay tuned…
Im so excitied to see it! And your sketches are so not terrible!
Thanks Jo, I’m excited to show it to you! I SO need to practice my sketches though… seeing them in high res scans like this, I’m like ‘why didn’t I sharpen my pencil’?!!
Ooh looking forward to the next instalment!
I’m so excited about the next post – it’s about the muslin – and it’s up now!!
Wow, exciting project. Can’t wait to see the next post. By the way, you’re more of an artist than me!
You are too kind! Thank you for reading!
You’ve got us all hooked already! Looking forward to the next instalment.
Haha, I’m keeping you in suspense! Excited to show you the next part though!
OH the suspense!!!!! This is too much fun!!!!!!!!
JJ
http://www.dressupnotdown.blogspot.com
HAHA the next part is coming very soon ;-)
Congratulations!!! Please post soon. Excited to see more!!!
Thank you! I’m so excited to show you the next part of the process – post is up now!
I love the fabrics you have shown here. Did you only look at US suppliers? If you are in the UK?
I was originally looking at bridal silk taffettas and there are lots of of UK suppliers online for those. When I decided to go for something fancier – metallic cloque jacqard – it was harder to find that online. I was looking around on Pinterest and googling it and this is just what came up that I liked, I wanted to show you the pictures I used for inspiration purposes. I actually did end up getting my final fabric from a shop in Soho (London) in the end (spoiler! It’s not one of those pictured here).
So nice to be able to see it all from beginning to end… Congratulations!
Thanks, Linda! Glad you are enjoying reading.
How lovely to lead us through your journey from inspiration onwards. I’m so excited to see all the stages, thank you!!
You’re welcome! And thanks for reading :)