
Made in Egypt

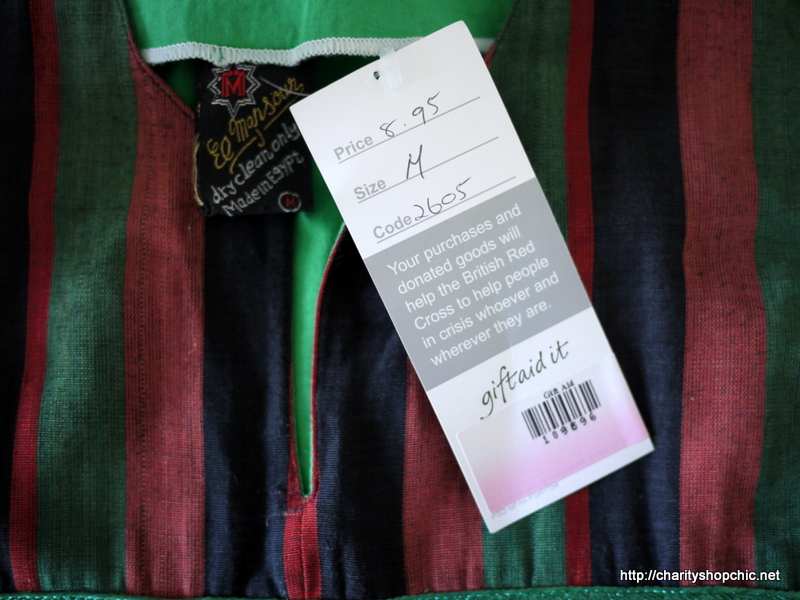
Check out this enormous robe I bought in the British Red Cross shop in Lewisham! I believe this to be a men’s garment, mainly because of the length, but I could be wrong. It has kimono sleeves and a slit at the neckline, with no fastenings at all.
The label says “El Mansour – dry clean only – Made in Egypt – M”

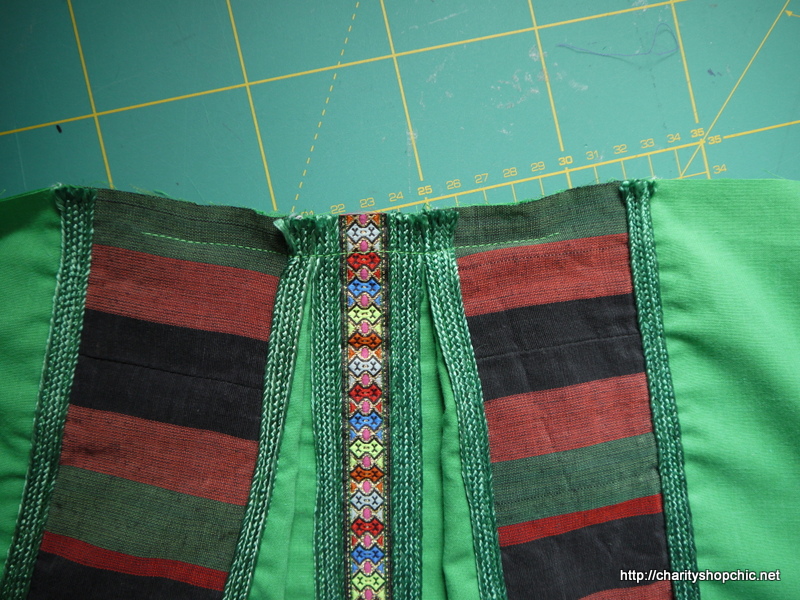
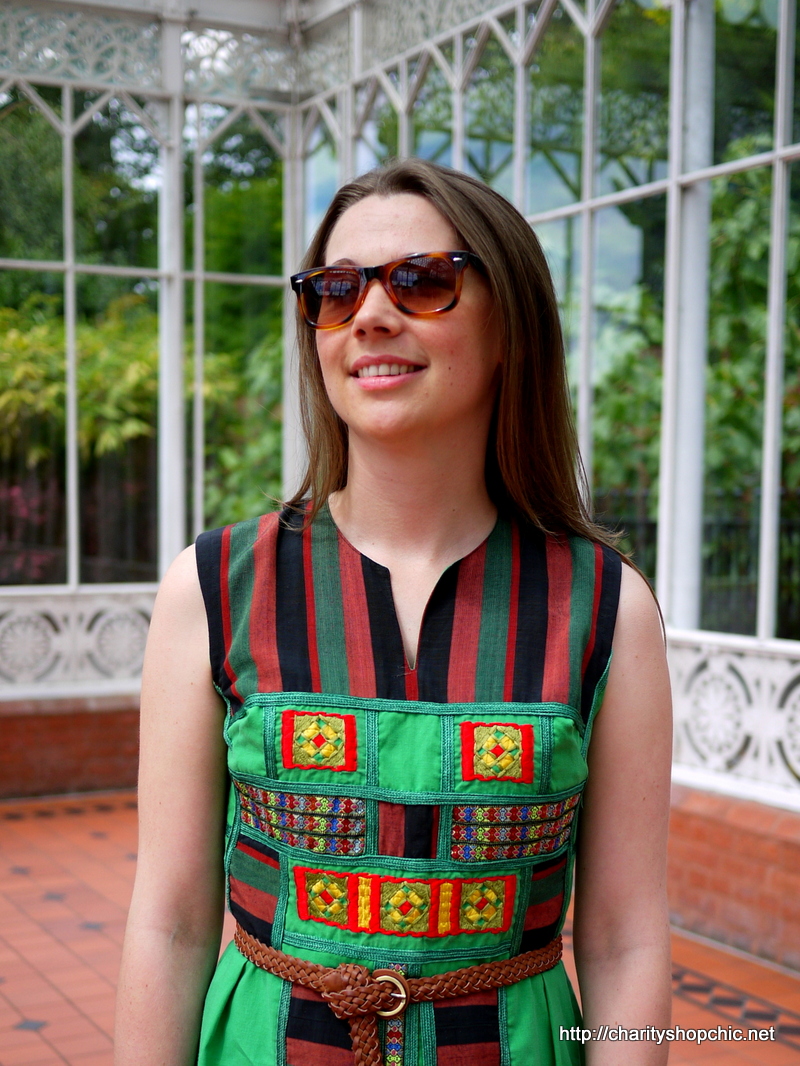
What drew me to this garment was the combination of embroidery and applique on the front. It’s very nice and an unusual combination of colours.

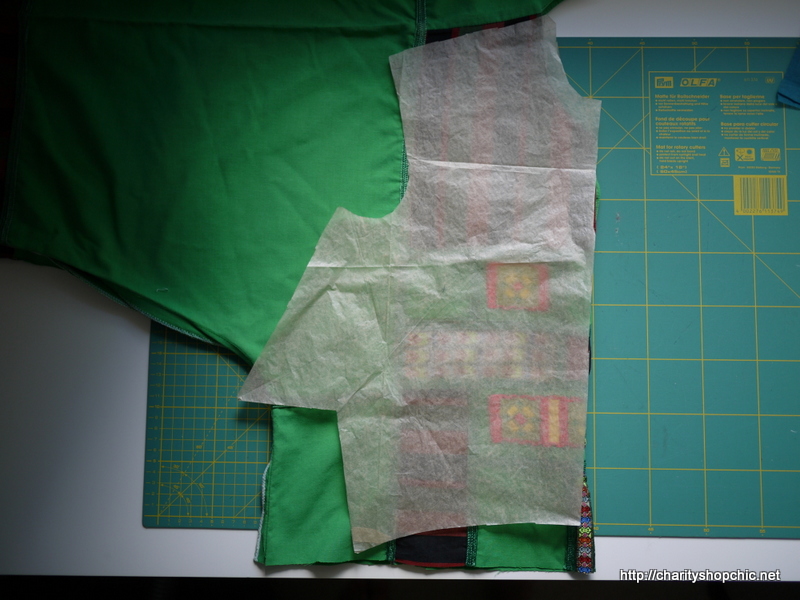
I am intending to turn this into a summer dress, so I drew out a pattern using my blocks. I rotated the front darts into one big dart, placed roughly where a french dart would be (left paper piece below). For the back shoulder dart I rotated it into the armhole as I was planning to leave the shoulder seams intact (back is the piece on the right). I have laid them out like this so that I could check that I was cutting the robe with enough length for both the front and back. I had to take a deep breath to cut the robe across the middle!

I cut up the side seams and folded the garment in half from left to right (down the centre front/centre back).
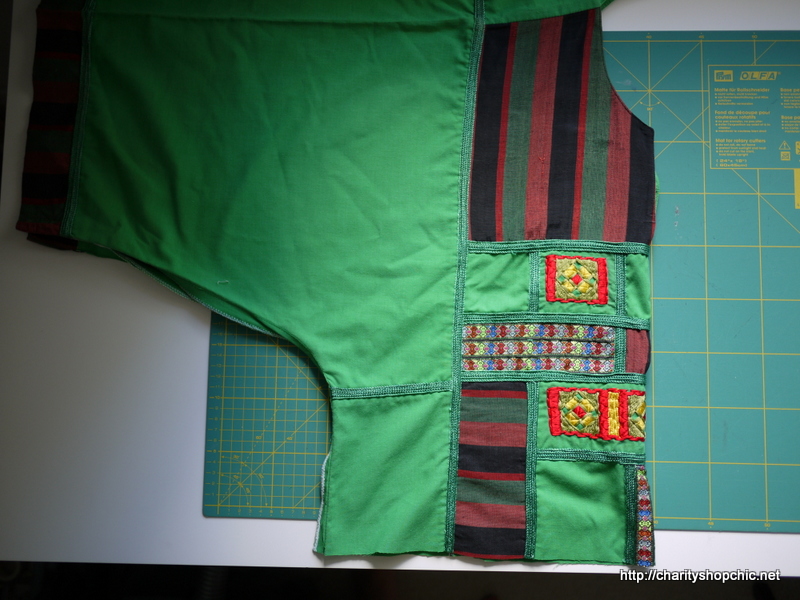
There was easily enough for the front, though the dart was hanging off a bit. Not a problem with careful notching.
I cut my front and back and sewed the darts, except the back shoulder dart. I wanted to make sure that it was in the right place so I waited until I could try it on to double check them.
I decided to cut a bit off the shoulders which unfortunately meant removing some of the trim.
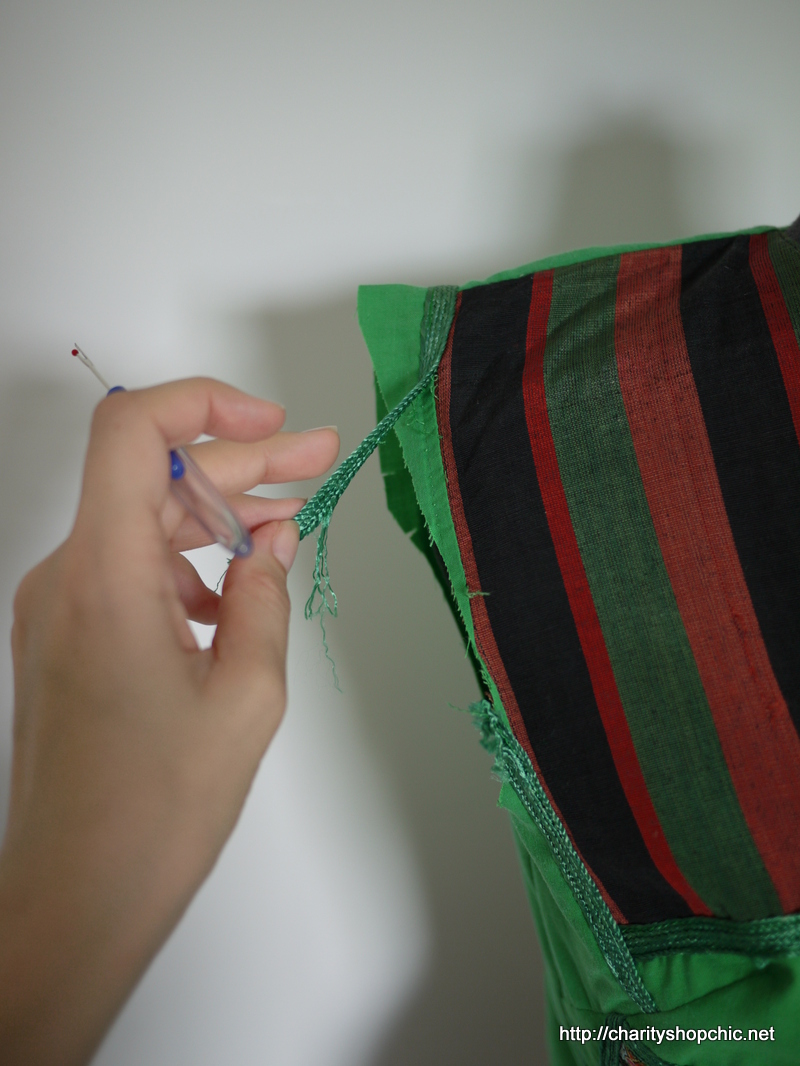
I ended up finishing the shoulders where the green section met the brown and black bit. Once I had the armholes defined and darts sewn, I felt more comfortable placing the small darts in the back armscye.

I finished the armholes with some bias tape cut from the original sleeves, folded to the wrong side and stitched down.
Now – the skirt. I cut the required length from the bottom of the robe; there were no slits. At the front, I made a two pleats facing each other, bringing the trim to meet its neighbours.
I then made a similar pair of pleats at the back. I took up the rest of the fullness with four pleats – placed at front left and right in the middle of the brown and black parts of the bodice, and back left and right to match some existing seam lines.
Sewn together, this is how it looks:
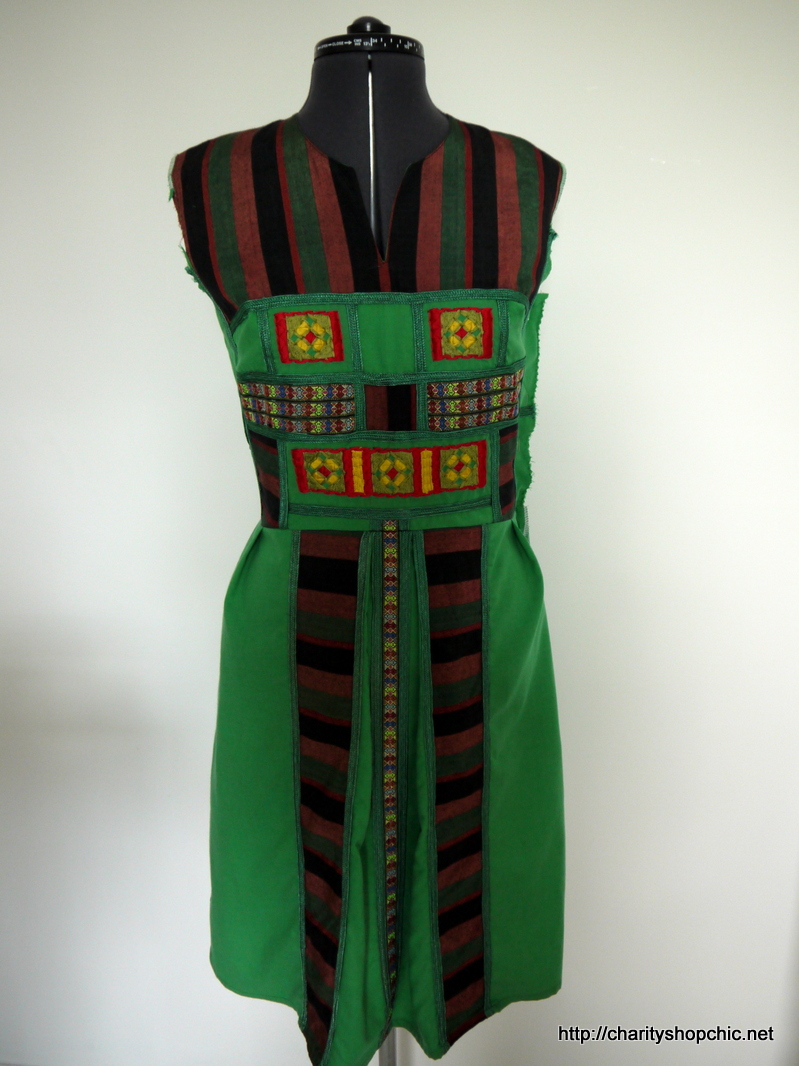
The last step was to add an invisible zip at the side.
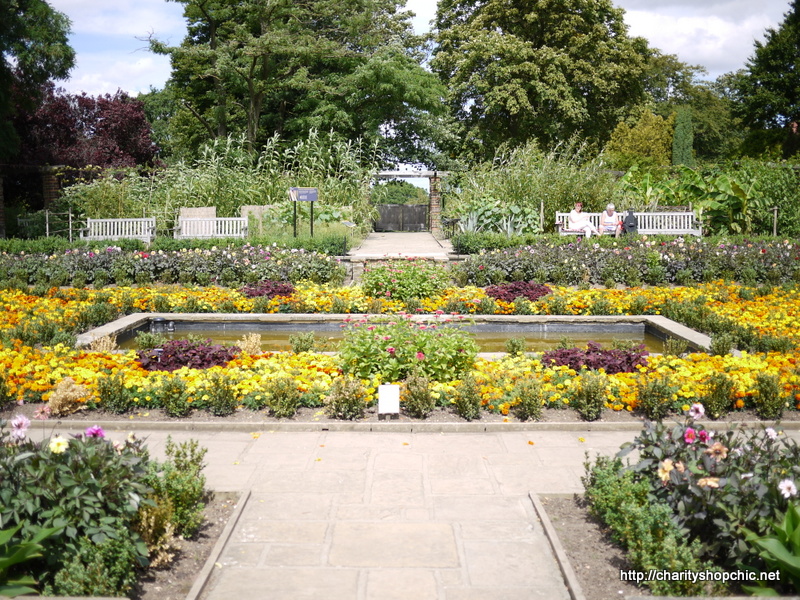
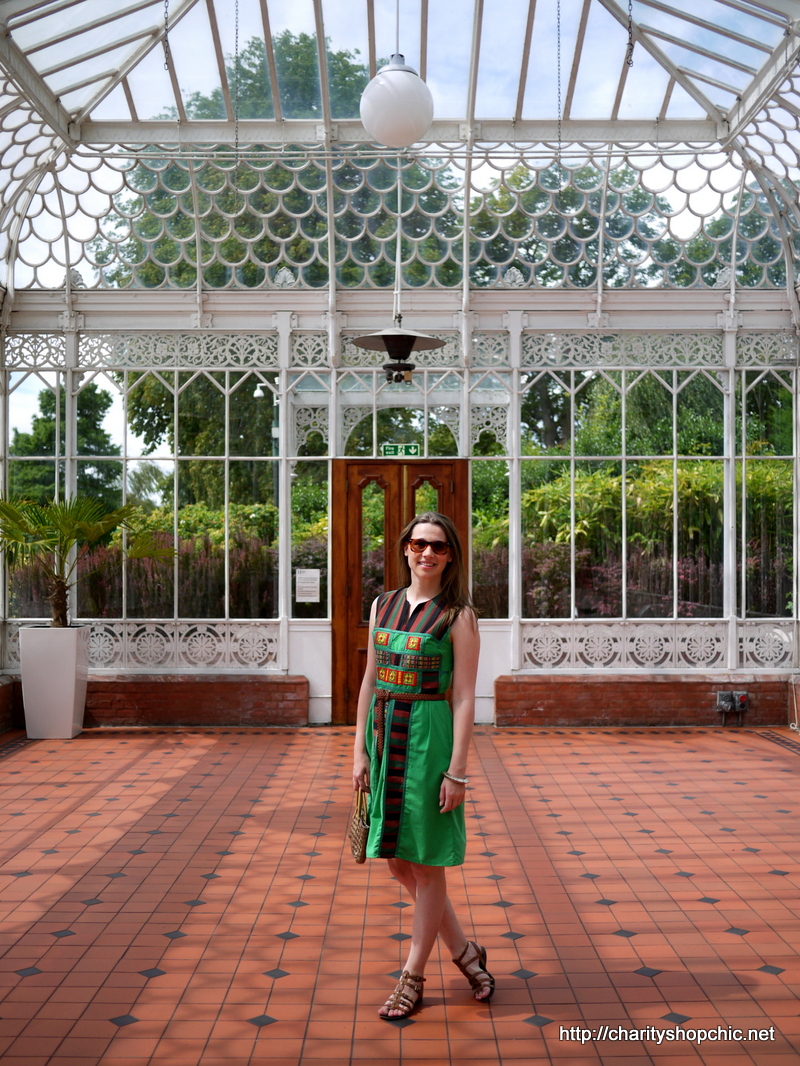
I wore this with a brown belt and sandals as you can see below. These pictures were taken at the Horniman Museum in South London.


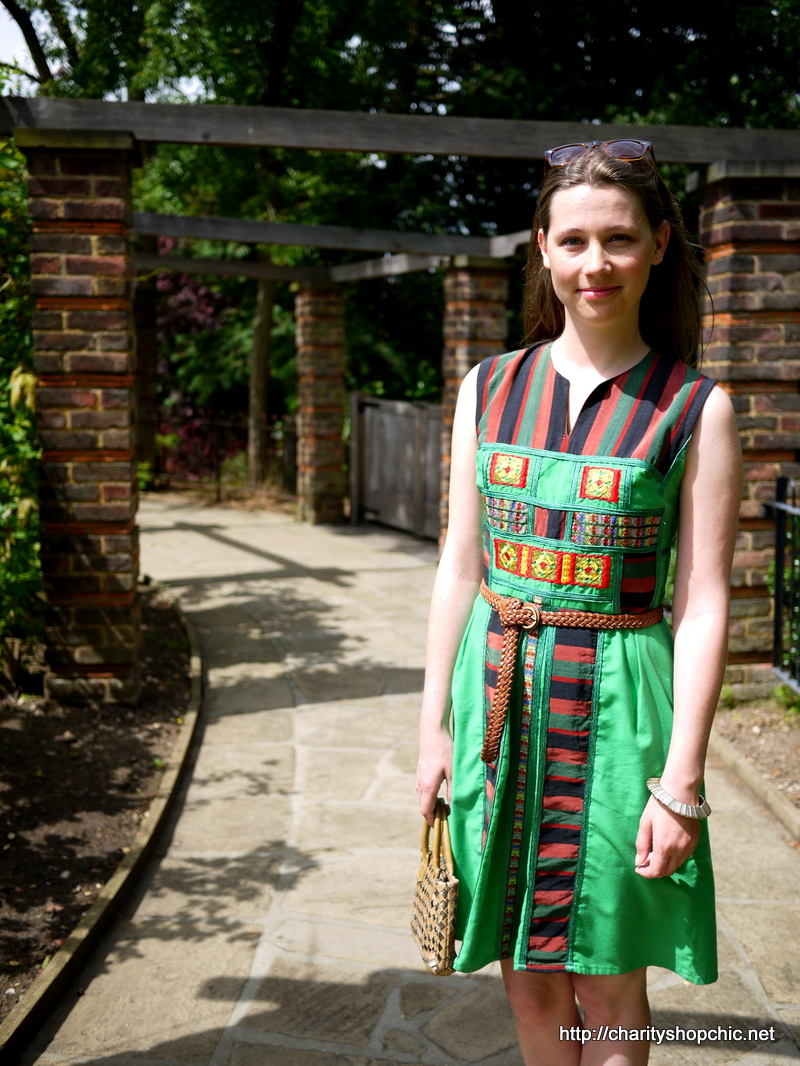


I love this dress… Runway worth it
Thank you Rachel :)
Oh wowzers, that’s stunning! Love the detailing you’ve kept – you’ve transformed it into a summer wardrobe staple! *love*
http://www.mancunianvintage.com
Thanks! Yes, I wanted to keep all the details, and I think I managed to preserve most of them. Removal of the trim on the shoulders was unfortunate as it went a little way down the back as well, but never mind.
Another amazing refashion. Love this! It’s great how you’ve kept so much of the detailing, you can hardly see that front French dart but it’s shaped perfectly.
Thanks Kathryn :) Yes, the dart placement was intended to preserve as much of the detail as possible. Actually you can barely notice it once the dress is on, so I’m happy!
Wow Sally, I can’t say much else but wow! You are so incredibly talented and have got such a great imagination! You definitely need imagination when it comes to items like this! You’ve done an amazing job and by far I think this is your best refashion yet!
http://www.angelfairydust.blogspot.com
I’ve got some surprises in store this week so keep an eye out!
Lauren xx
Yes, it does require a little imagination, but I remain convinced that anyone with basic sewing skills could manage something like this. Thanks for reading.
Oh my bloody word, this dress is one of your most incredible yet Sally! I’m in awe of how you’ve managed to salvage all the best bits and improve on the not-so-great. It’s quite literally perfect on you and the photoshoot location is spot on! Lovely dress and lovely photos my dear!
Ha, thanks Marie :) Yes, I wanted to keep as many of the details as humanly possible! Especially the embroidery, I love it…
So clever! I never fail to be amazed at what you can do with a cast off!
Thank you for the kind comment :)
Brilliant, you did a grand job! I’d wear that in a heartbeat.
Thank you Jennie – you’ll have to start looking for your own cast-off African robe to transform.
Love, Love, Love this! I nearly bought a similar garment recently thinking I might refashion it, but chickened out because it looked too complicated. Wish I’d bought it now….
Thanks, Judi! You should have bought it! This was actually quite a straightforward transformation, barring the dart placement. Next time!
Definately next time!
=D
Another triumph! Weren’t you tempted to do some Egyptian sand dance moves in you photos?
I really was… and I was tempted to title this post ‘Walk like an Egyptian’ as well!
Wow! Best refashion ever! And you’re making me miss my old South East London stamping grounds, we used to go to the Horniman all the time when we lived there.
Aw, thank you! It was my first visit to the Horniman but it won’t be the last. The garden and grounds were beautiful; I loved the conservatory especially.
I’d love to see a picture of the back to show all the pleat work you did.
Sorry, the back was really boring (plain green) compared to the front so I edited out those pictures… the skirt pleats are exactly the same as the front – inverted box pleat in the middle and a smaller pleat either side.
WOW, yet again another fantastic outfit. Your creativity never ceases to amaze me. Congratulations.
Thanks, Kim! :)
Stunning again!!! I wish I had your gift to really see the potential in such unique pieces.
Thank you for commenting Carlee, it’s rare that I don’t see potential in an item… I guess that’s one reason my stash is so big ;-)
Really great! You’re a braver soul than I would have been to cut into all that intricate trim. It looks wonderful.
Hi Kelley, yes I had to take a deep breath to cut the whole thing in half! A little scary, but it worked out well.
Great work! A really unique looking dress.
Aw, thank you! :)
What a wonderful refashion! I love the colours and textures, you managed to show off the best bits from the original while keeping it modern. Gorgeous pics too :)
Hi Katy, I wanted to keep as much of the detail as possible and I think I succeeded! Thanks for reading!
Such a unique item that most people would have turned away from due to its length and size. You really turned it into a work of art!
Oh, thank you! Yes it was rather ‘special’ but I just couldn’t walk away from something with appliqued shiny fabrics, embroidery and lampshade trim on it.
Really nice dress. The pictures in the park are lovely, I guess you have a great cameraman as well.
He’s not bad ;-)
Gorgeous!
Thanks! :)
I can’t believe how beautifully the bodice sits, you’re amazing, it looks fantastic! Did you study dressmaking at all? I feel like you’re so much more skilled then everyone else. Just curious, like a cat :)
I didn’t. I took an evening course in pattern drafting once but didn’t finish it for various reasons. Thanks for the sweet comment Amy, your support means a lot! x
See I’d have kept the Kimono sleeves AND the length – I’m a sucker for flappy sleeves and I adore the Maxi-dress length of this garment – you are so lucky it went right to the floor! I’d probably have taken it in and made it more fitted, added a zip in the back seam (partitioning off the sleeve Kimono-style) and some light shirring at the waist and worn it with a wide belt as a light maxi dress. The transformation you’ve done looks amazing, but I’m not keen on sleeveless and it seems such a shame to waste all that lovely maxi-length.
Hi Lex, thanks for commenting. I guess it’s ‘each to their own’ in this case. The robe is thick cotton and it’s sweltering here in London at the moment, so it definitely needed to be short sleeved. I toyed with the idea of cap sleeves but couldn’t make them work as the trim was making me look like a curtain pelmet. I went for a side zip as there wasn’t a seam at the centre back bodice, and I find side zips easier to do up when wearing. Although there was plenty of length, there wasn’t much width at the hem – I like my maxis more voluminous and flowing. I also have to consider what is flattering for my body shape, which includes sleeveless and knee-length dresses. Overall, a kimono sleeved maxi dress would have been very 70s, which is a style decade I do not favour. However, there may be enough fabric left to make a mini skirt… so nothing will be ‘wasted’… watch this space!
LOL agreed – the 70s are a period best left forgotten. I was in London the other weekend and agree that it is pretty warm here at the moment – I nearly fainted on the Jubilee line XD. The colour and pattern of this particular garment is rather loud and what you’ve done with it looks great, I just thought it was interesting that there are so many different ways of interpreting the same garment.
Yes, there are often many ways of restyling any garment… I just pick my favourite! :)
I just found your blog via Kathryn’s and I love it! I’m really inspired to do some charity shop-diving and try some refashions myself now. This dress is particularly ace. Look forward to seeing more of what you come up with.
Hi Katie, thanks for commenting! Definitely hit up your local charity shop for bargains. There are some wonderful, unusual things to be had. I love a good rummage!
THAT is a terrific dress!!!! and such an inspiration!
Thank you so much, Judy!
So freaking cute Sally! I could kick myself. I passes up on something similar recently as I couldn’t see the possibilities. Won’t make the same mistake again now that I have seen this. Great refashion!
Thanks Mary, sometimes you just have to take a chance on things, even without a clear idea of what that garment will become!
Wow! I am in awe of your dressmaking skills and imagination. I’m tempted to have a go, and as I tend to stick to pound stuff in the charity shops I shouldn’t cause too much damage if I go wrong!
Thanks so much for commenting, Claire. Yes, starting with cheaper charity shop items is a good way to practice your sewing! Have fun!
Wow, a totally unique dress – great find and perfect refashion!
Yes, I don’t think I’ll see another one like this any time soon… thanks for reading!
That rope is called ghamis. In my country, moslem’s woman wear it together with hijab. I have seen gamis like everywhere here, in every stores and markets. They came in beautiful colors and embroideries, but yours is so beautiful. And the transformation makes it five times more gorgeous. You brought me a bright idea of buying something like this in my local market and (of course) transform it like you. Congratulations! ;)
Hello and thank you so much for commenting! I am delighted to find out a little more about this garment’s origins.
I cannot even believe how much I love what you did with this dress! I love the colors, the details, and the fact that you belted it to make it more current. So awesome!! Now following you on Bloglovin’!
Hi Emily, thanks for the follow. Glad you liked this project!
So inspiring!!
Glad you liked it!
This is such a great refashion! You really have an amazing, unique piece in your wardrobe right now :)
Thanks Elisse, this is certainly ‘unique’! :)
Superb! ♥
Thanks! :)